Heat Transfer Vinyl Flock
Product Detail
Heat Transfer Vinyl Flock
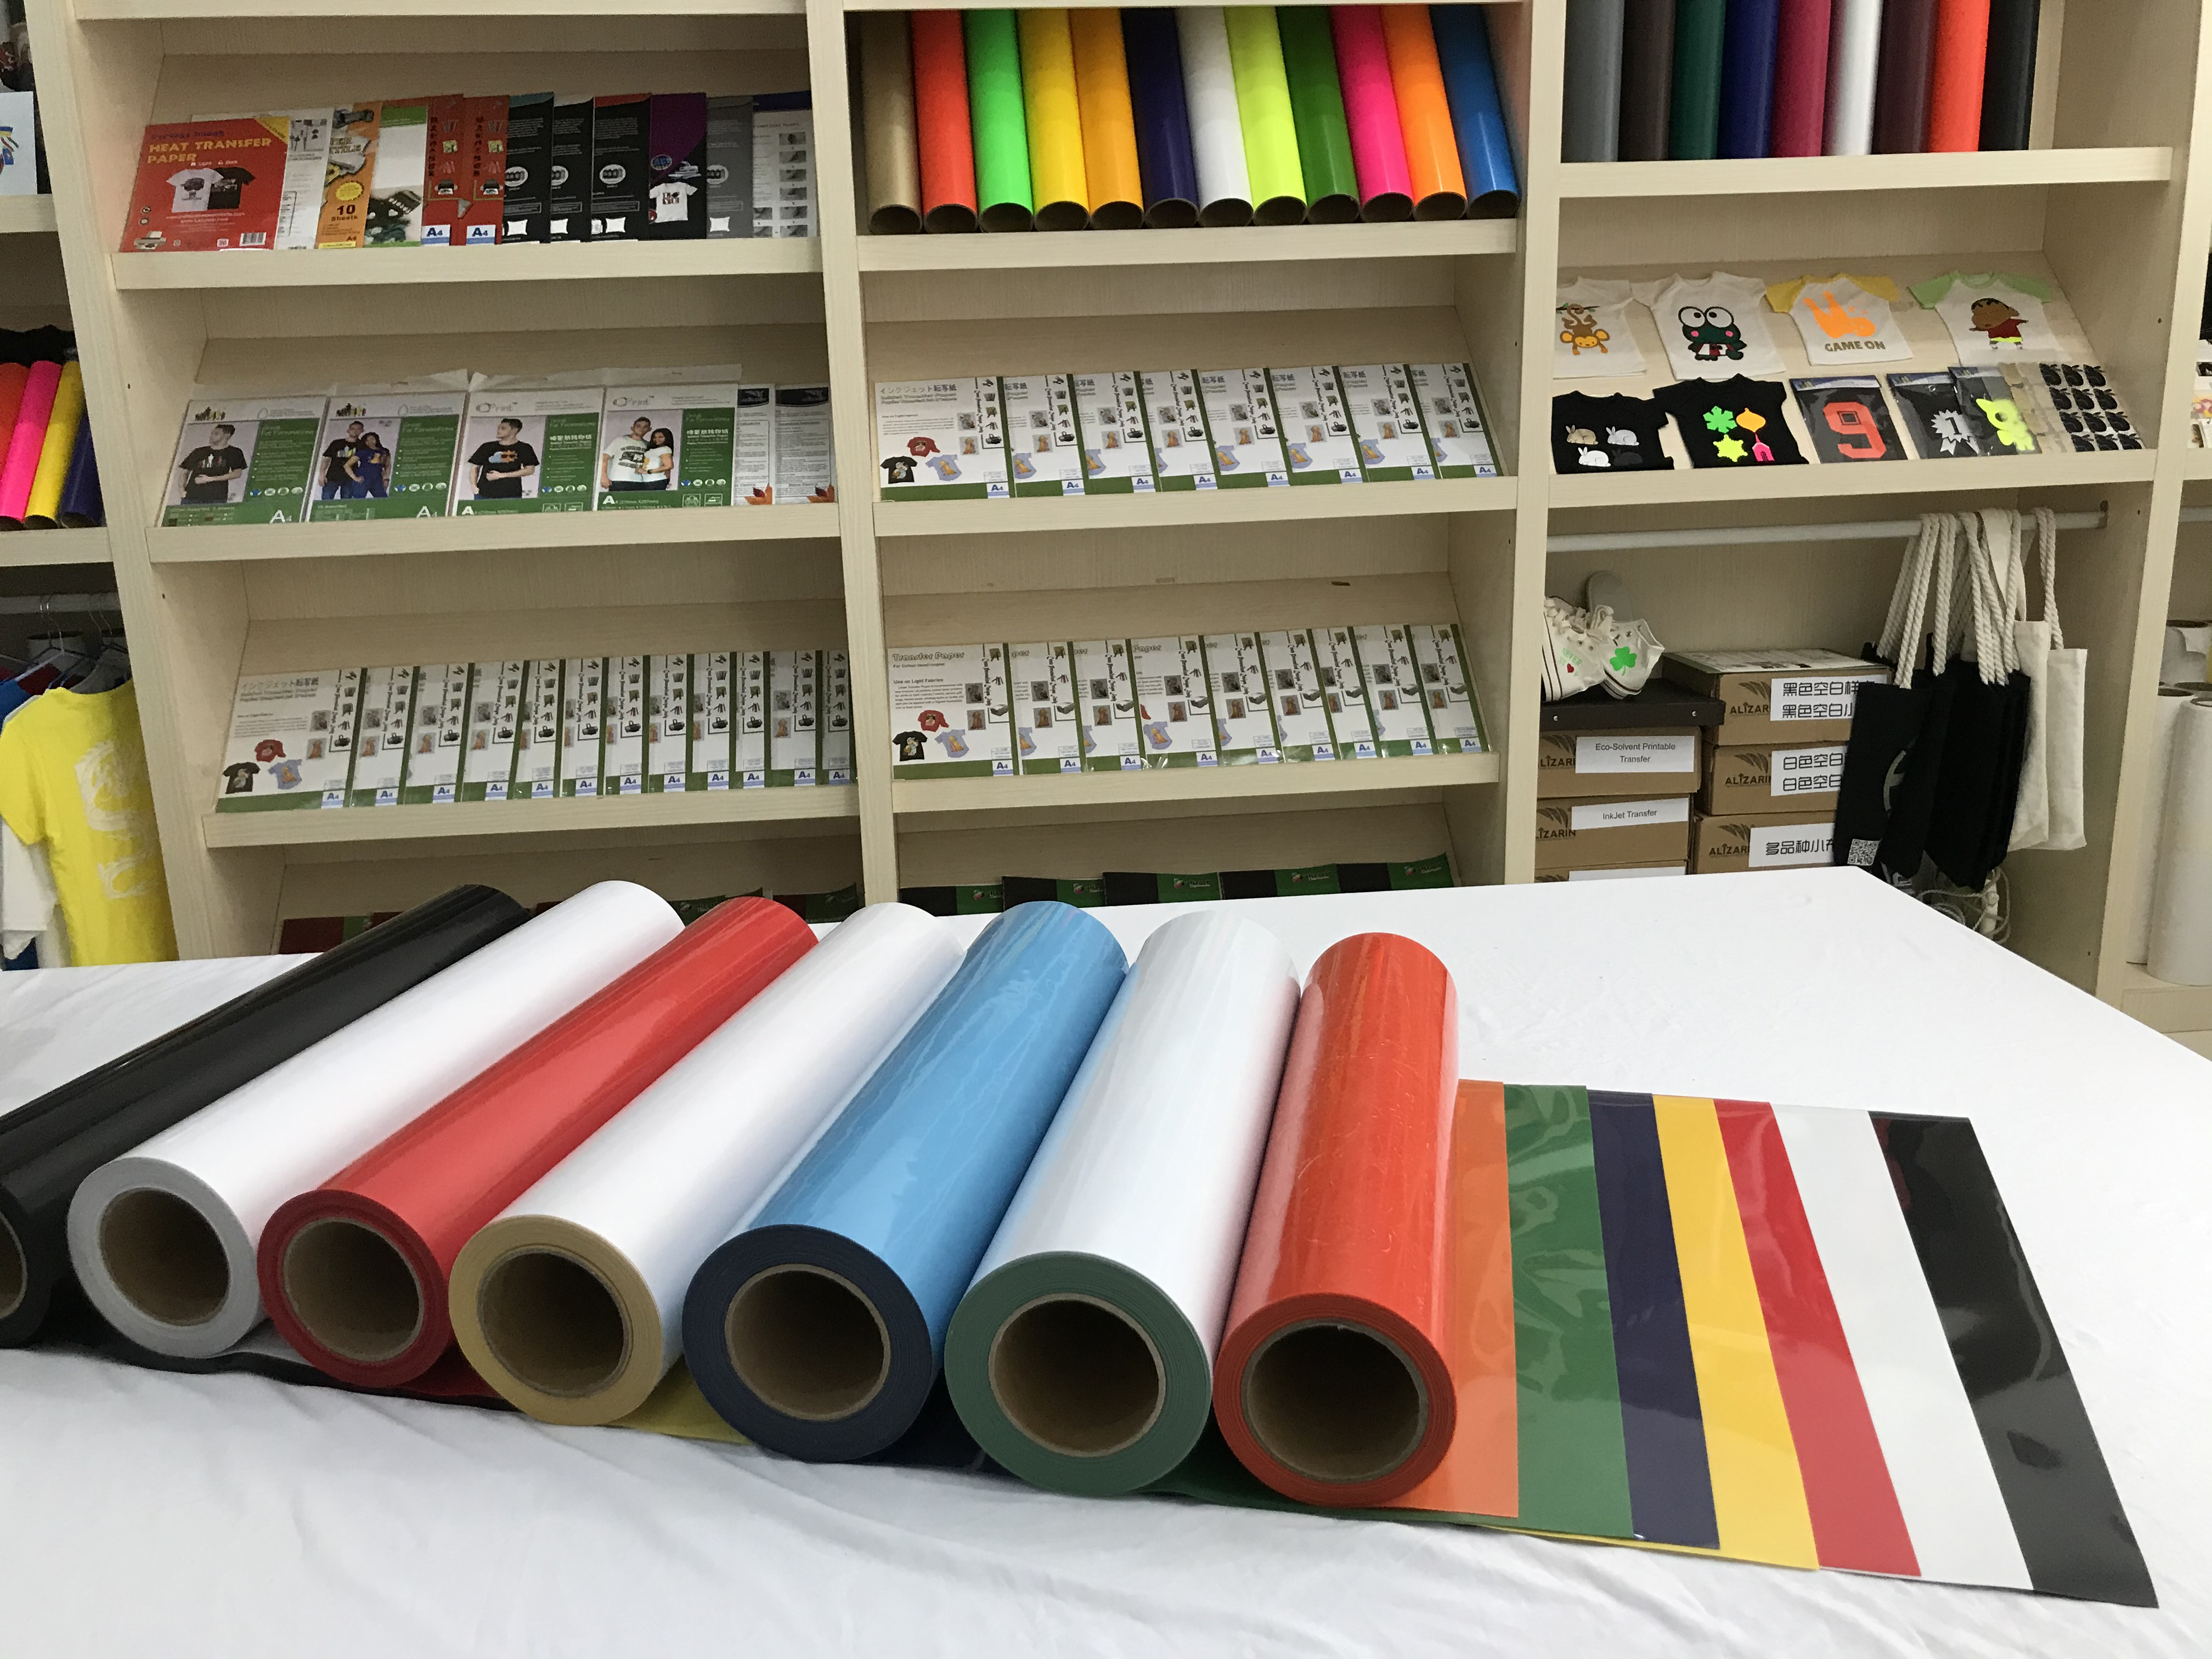
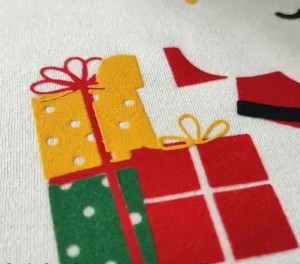
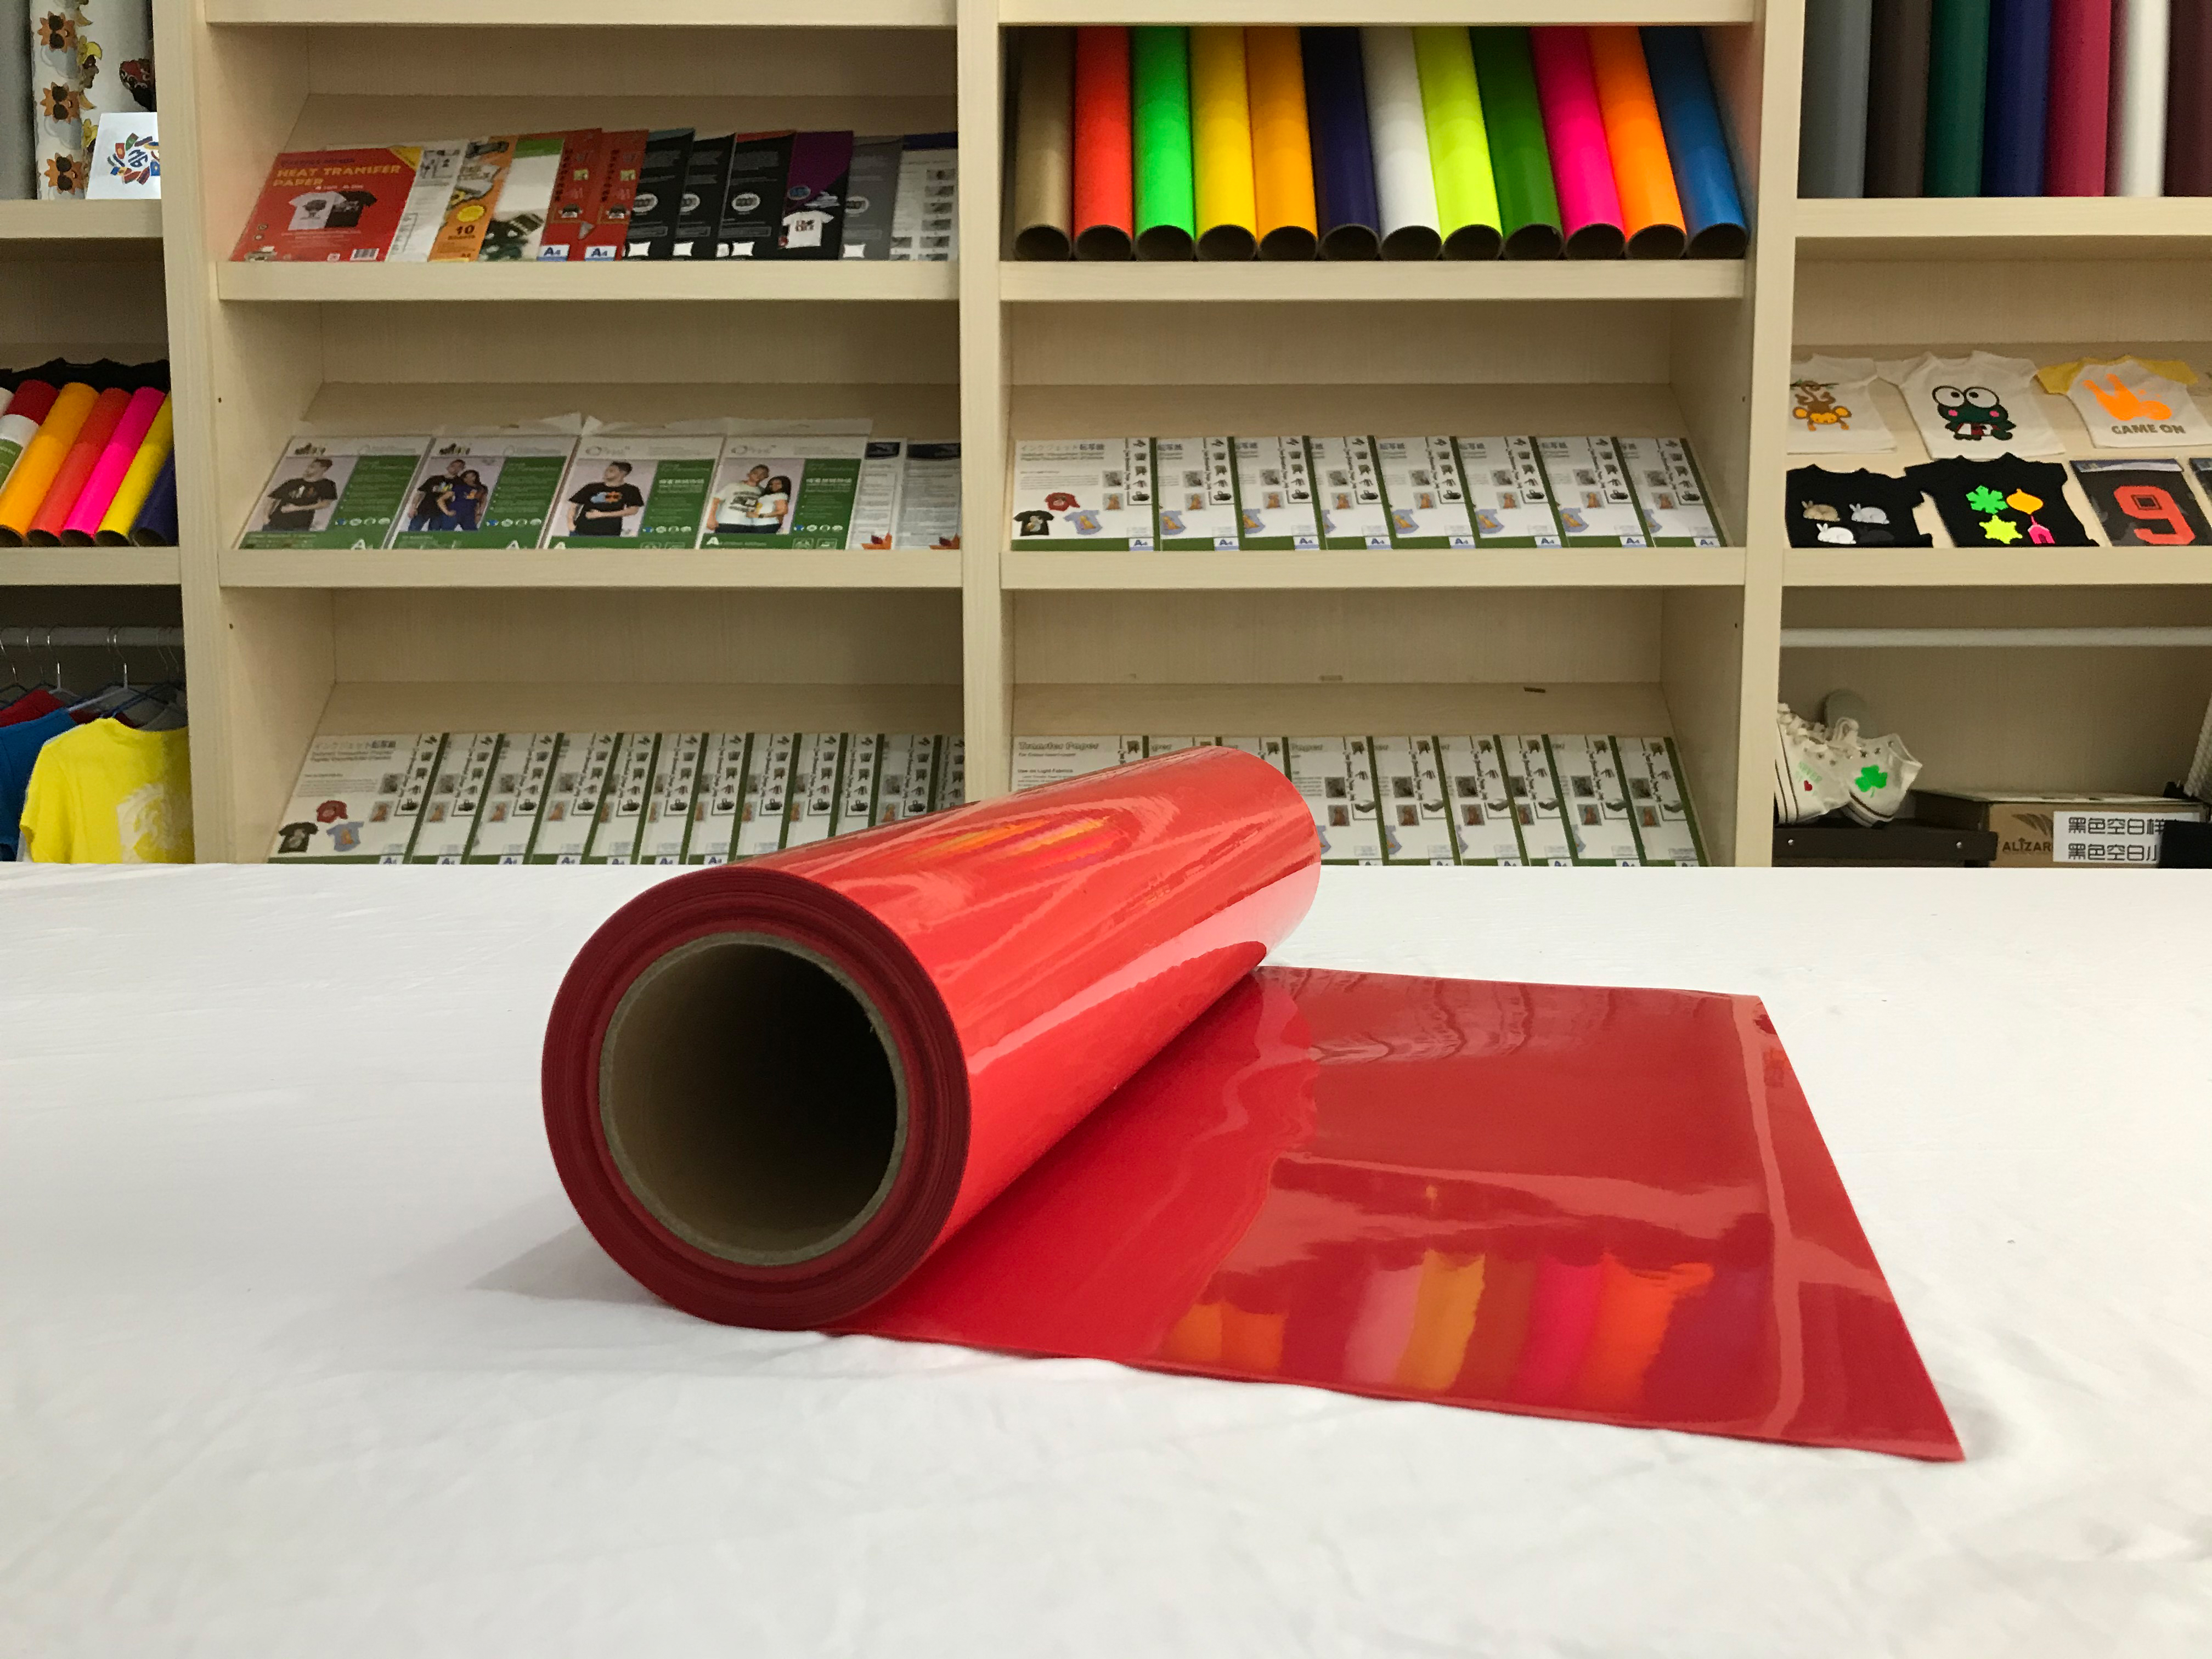
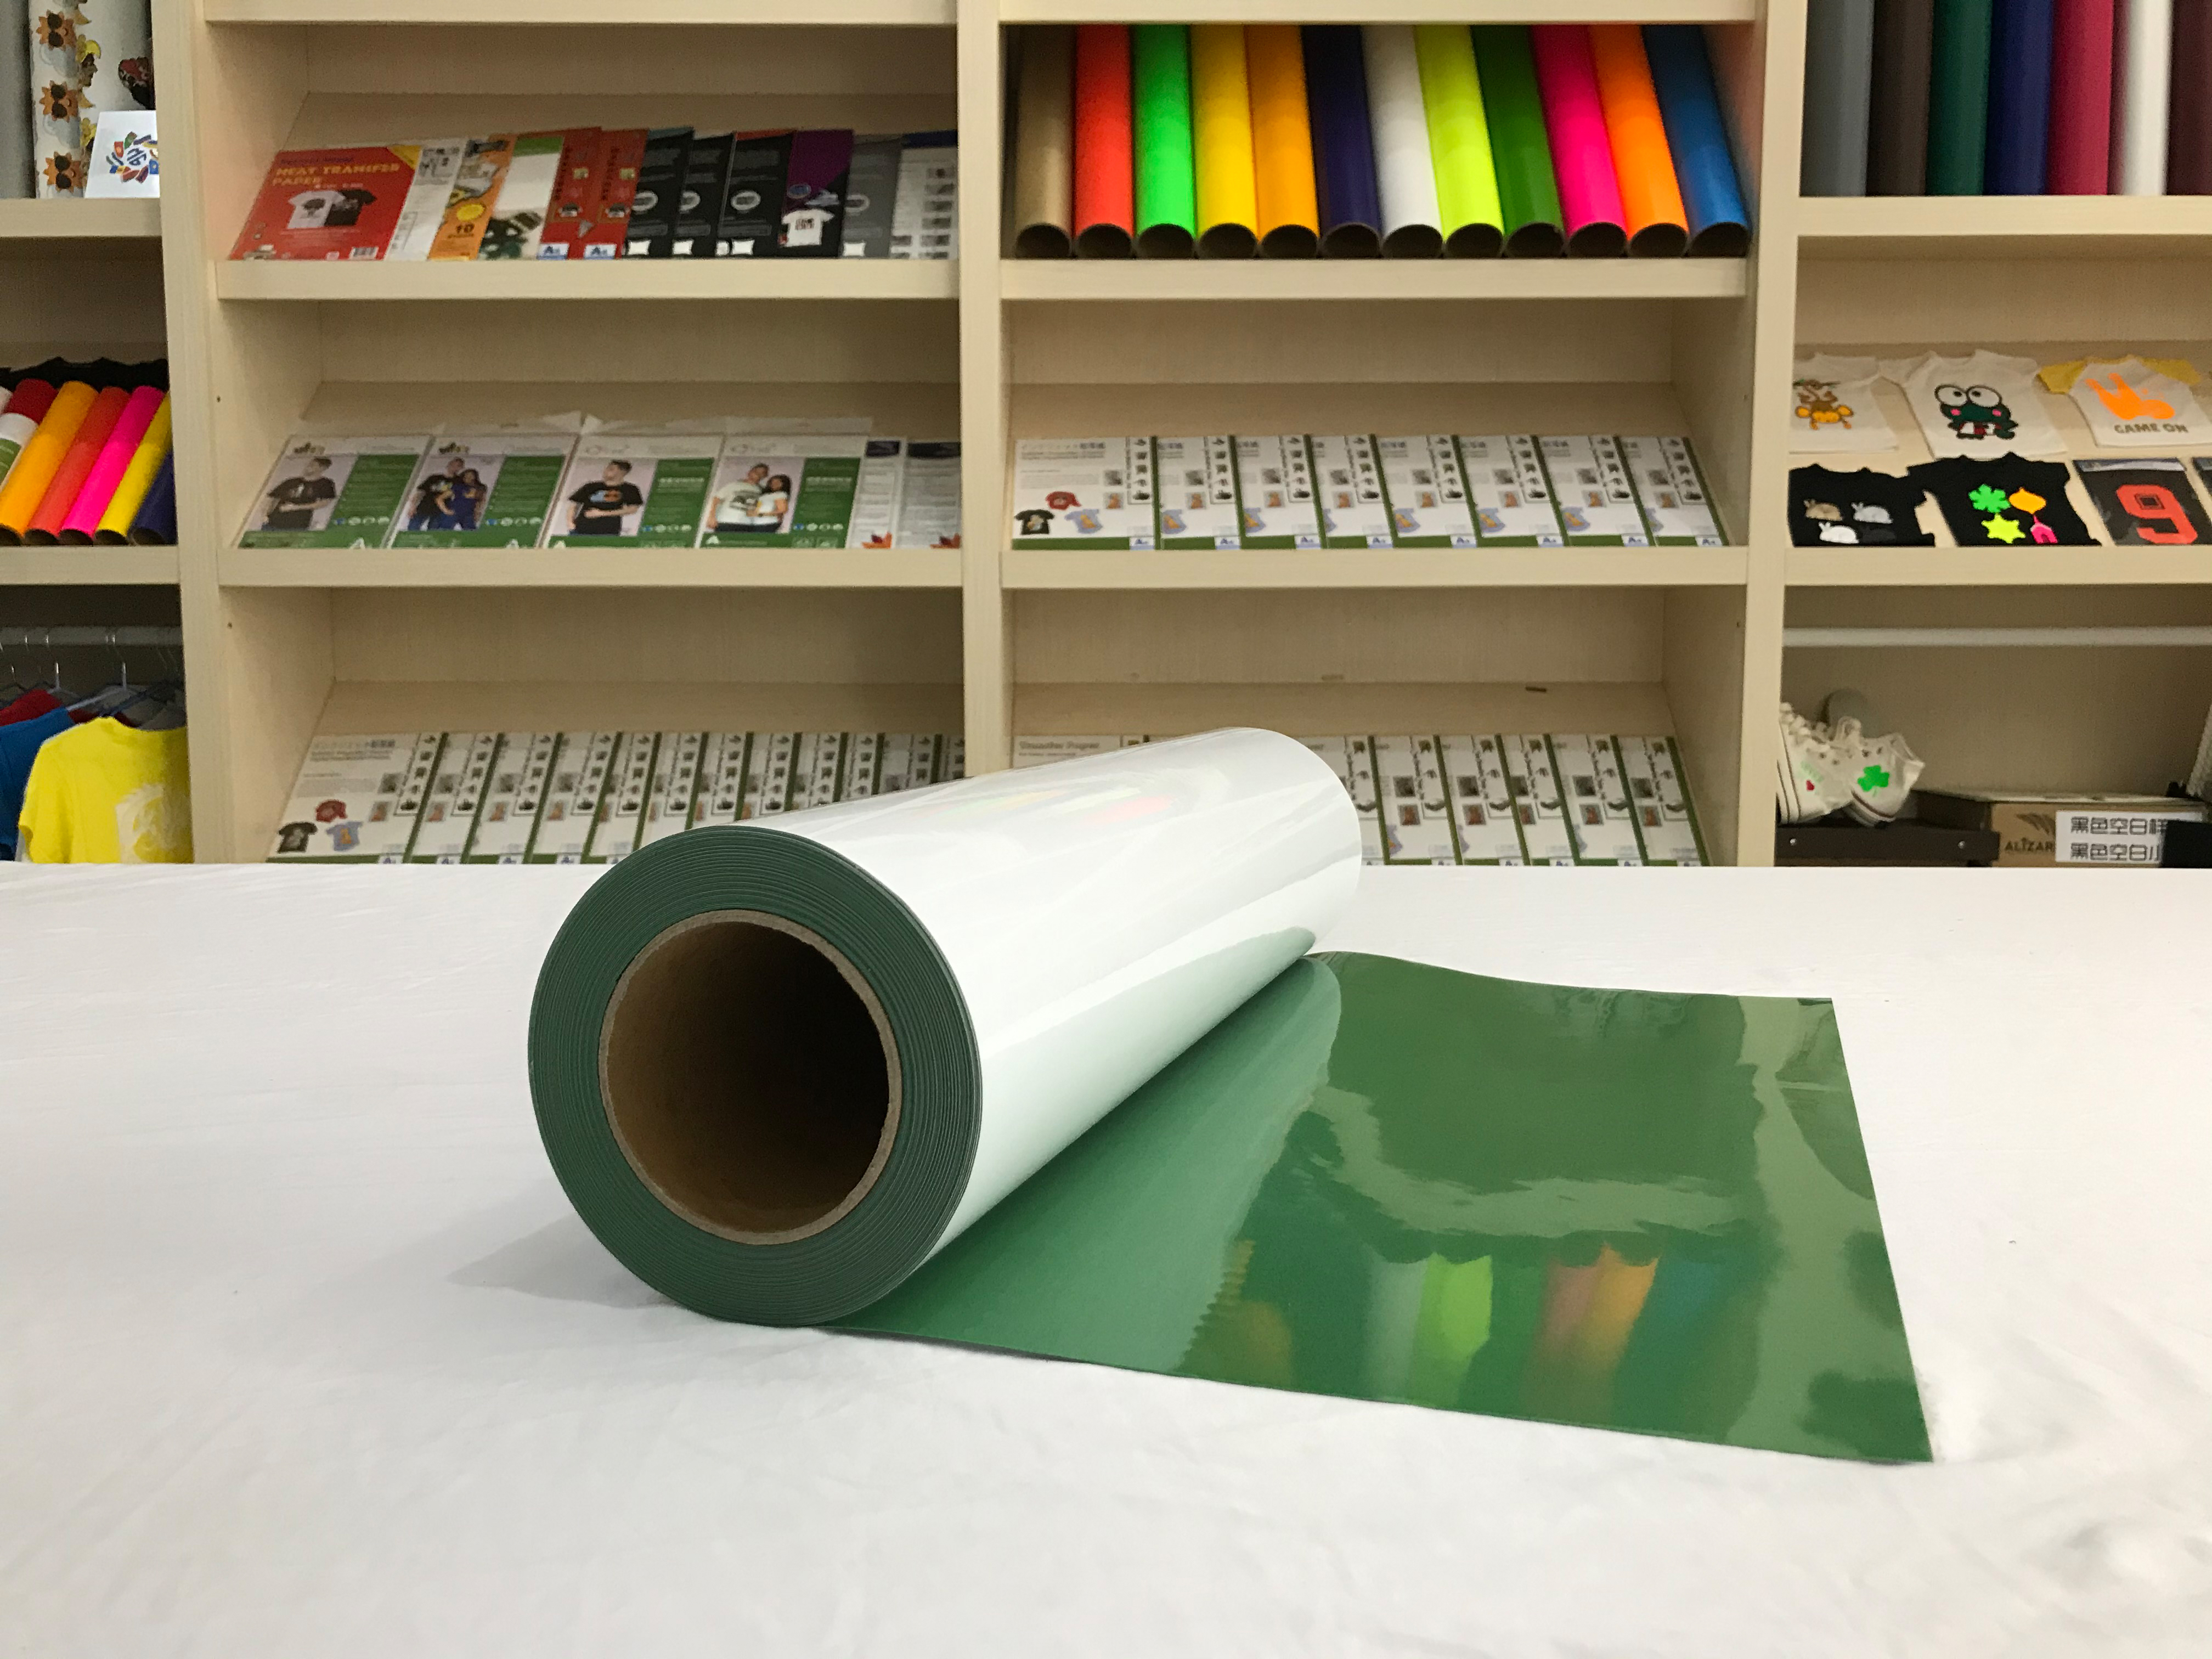
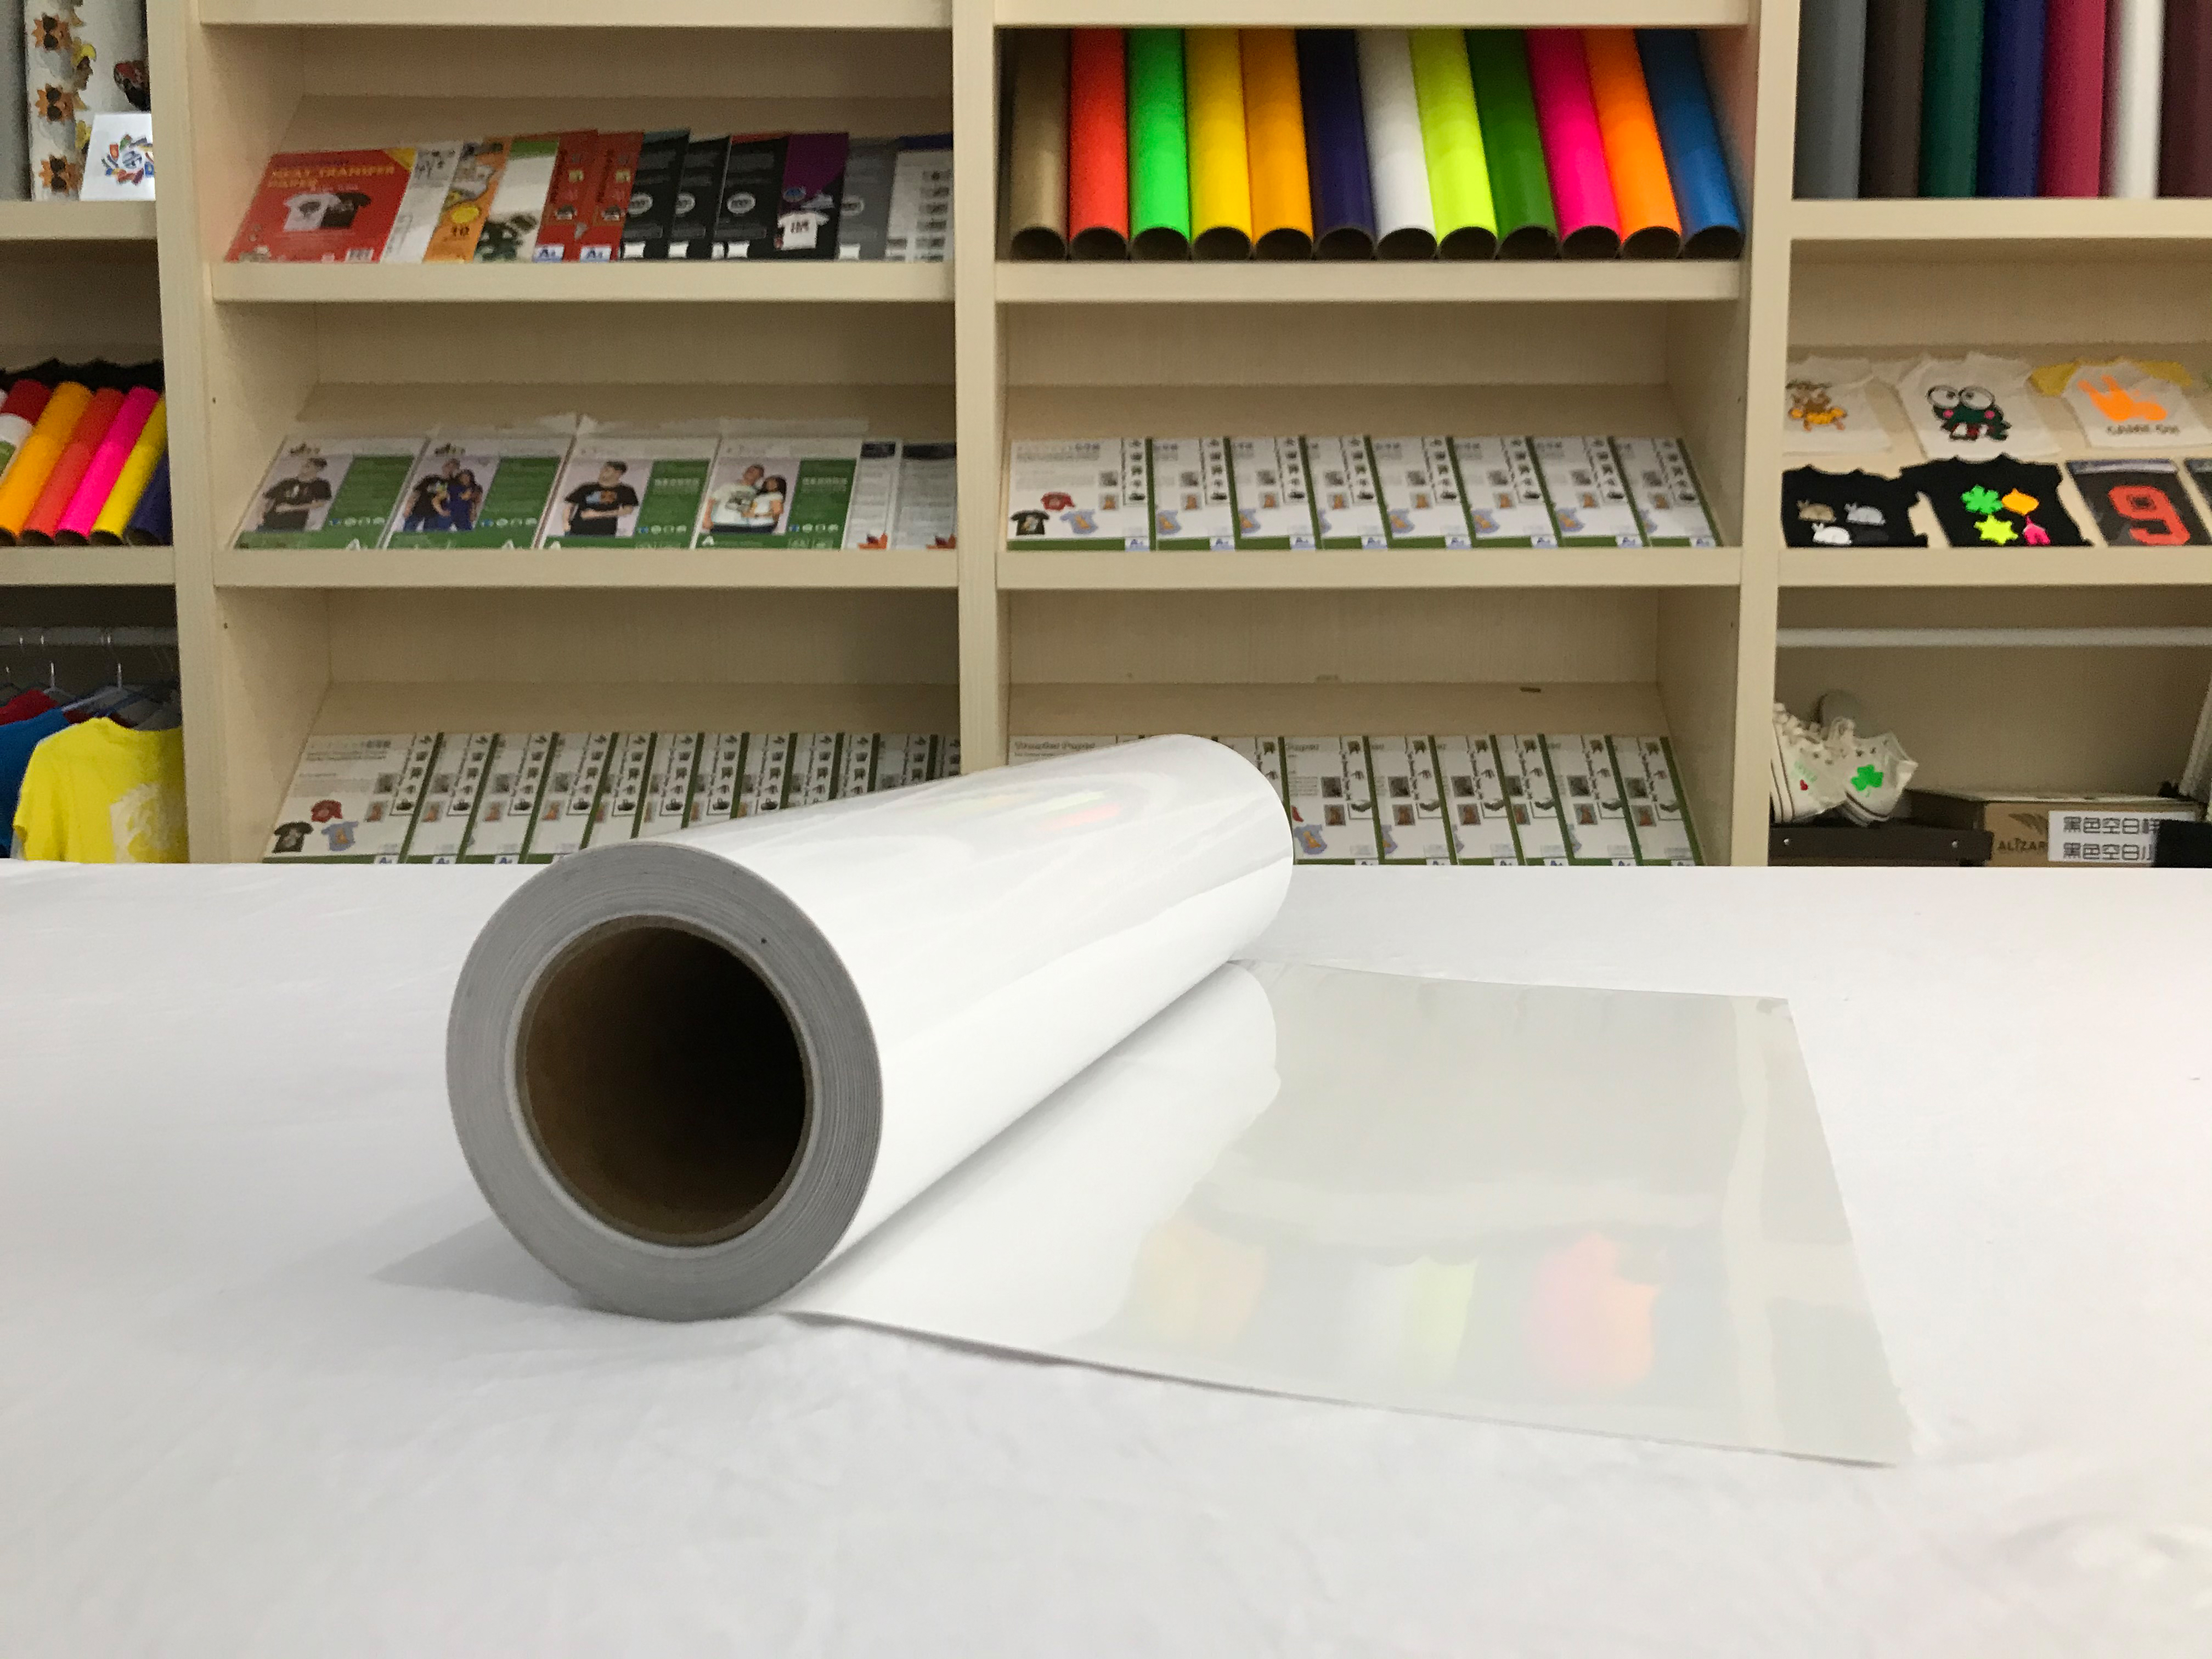
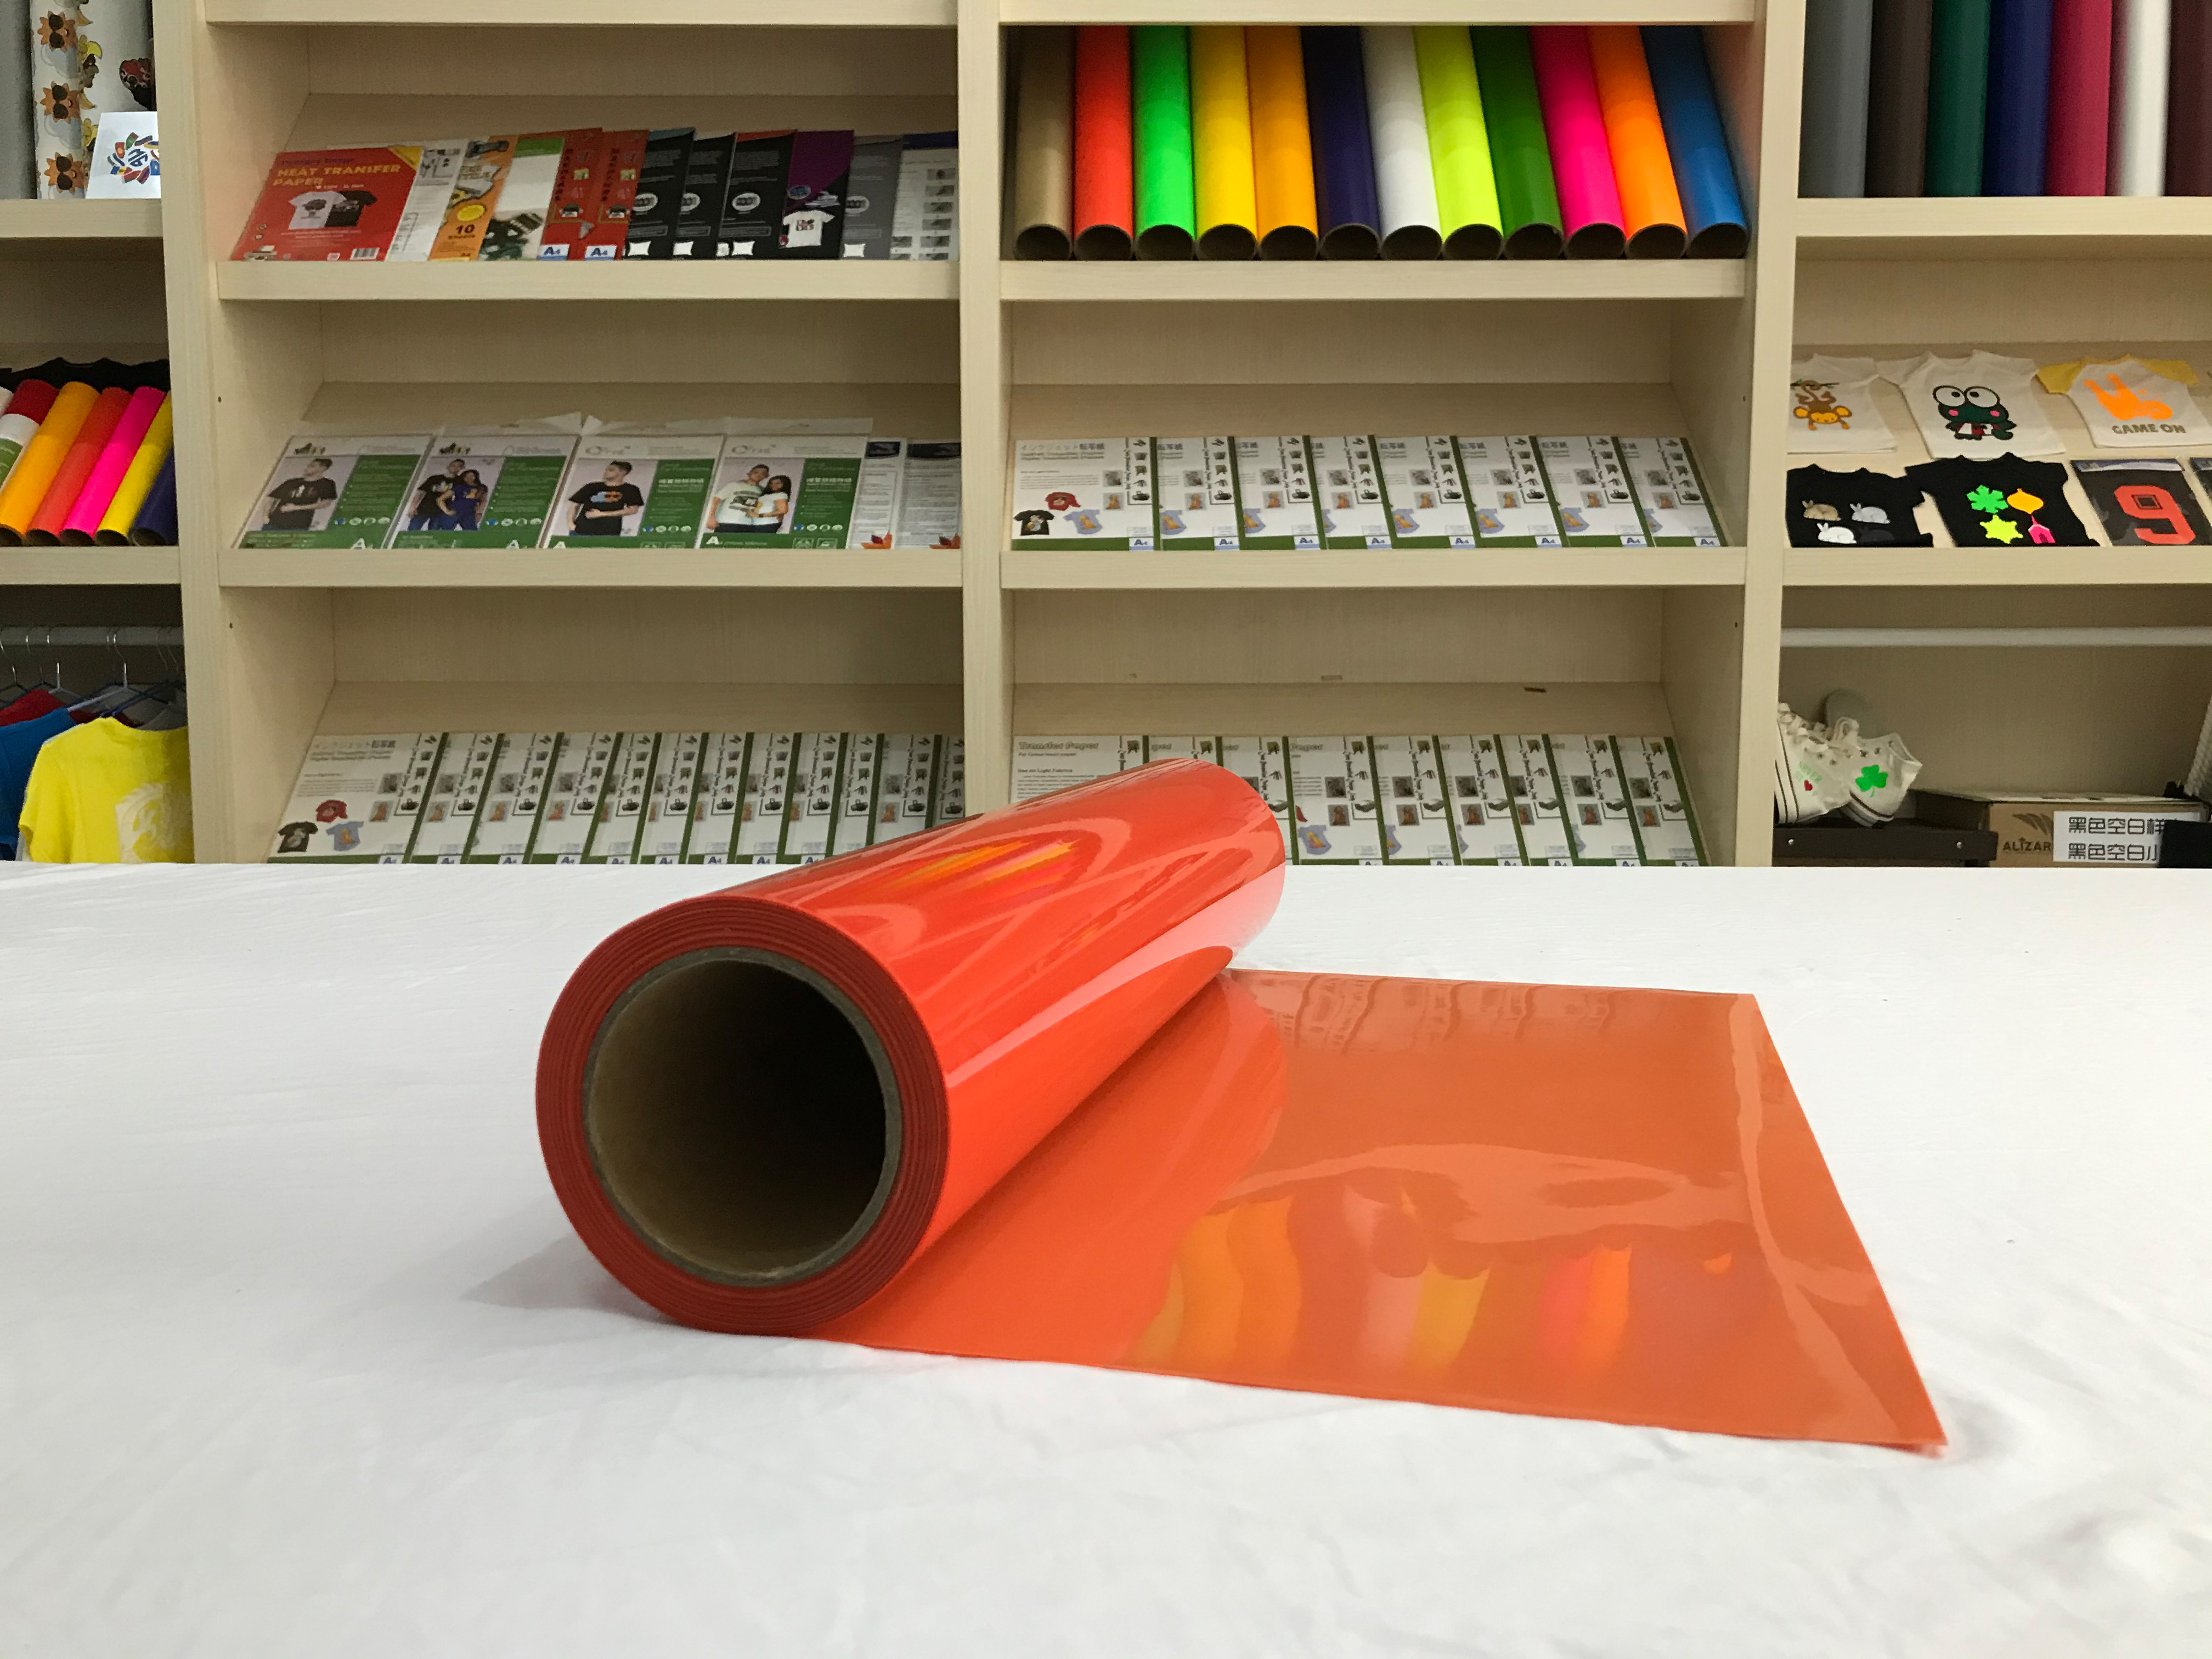
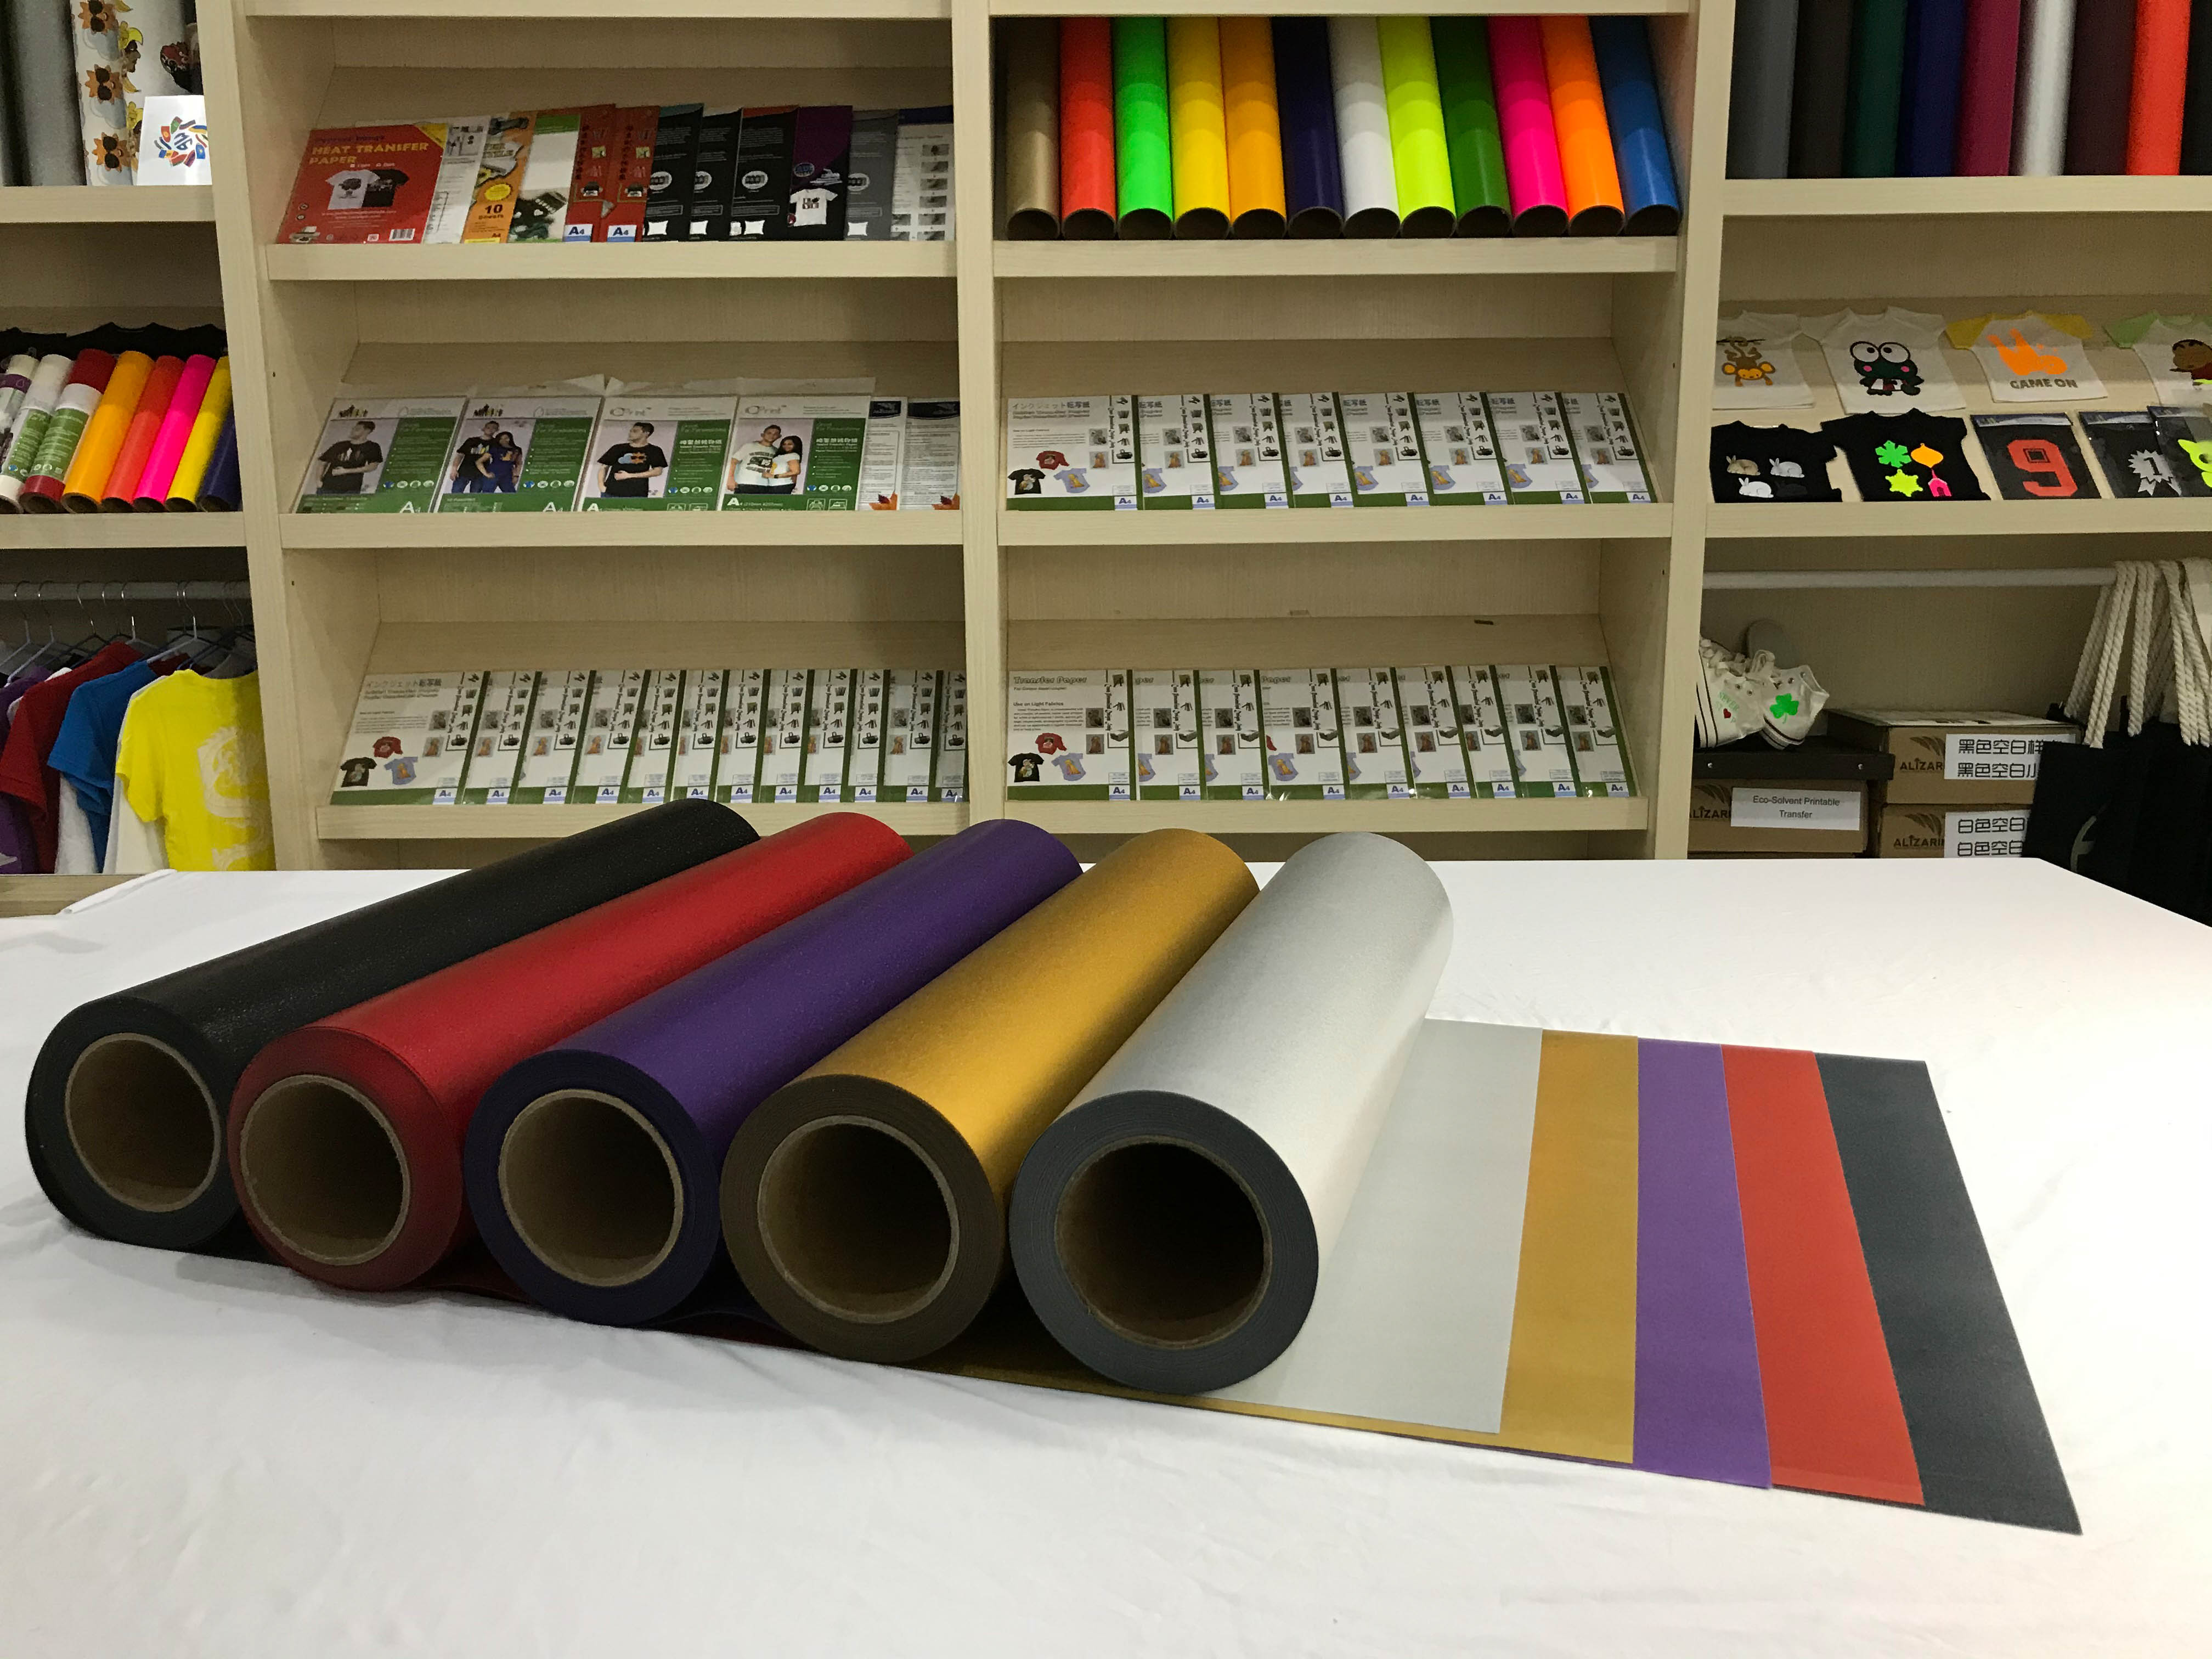
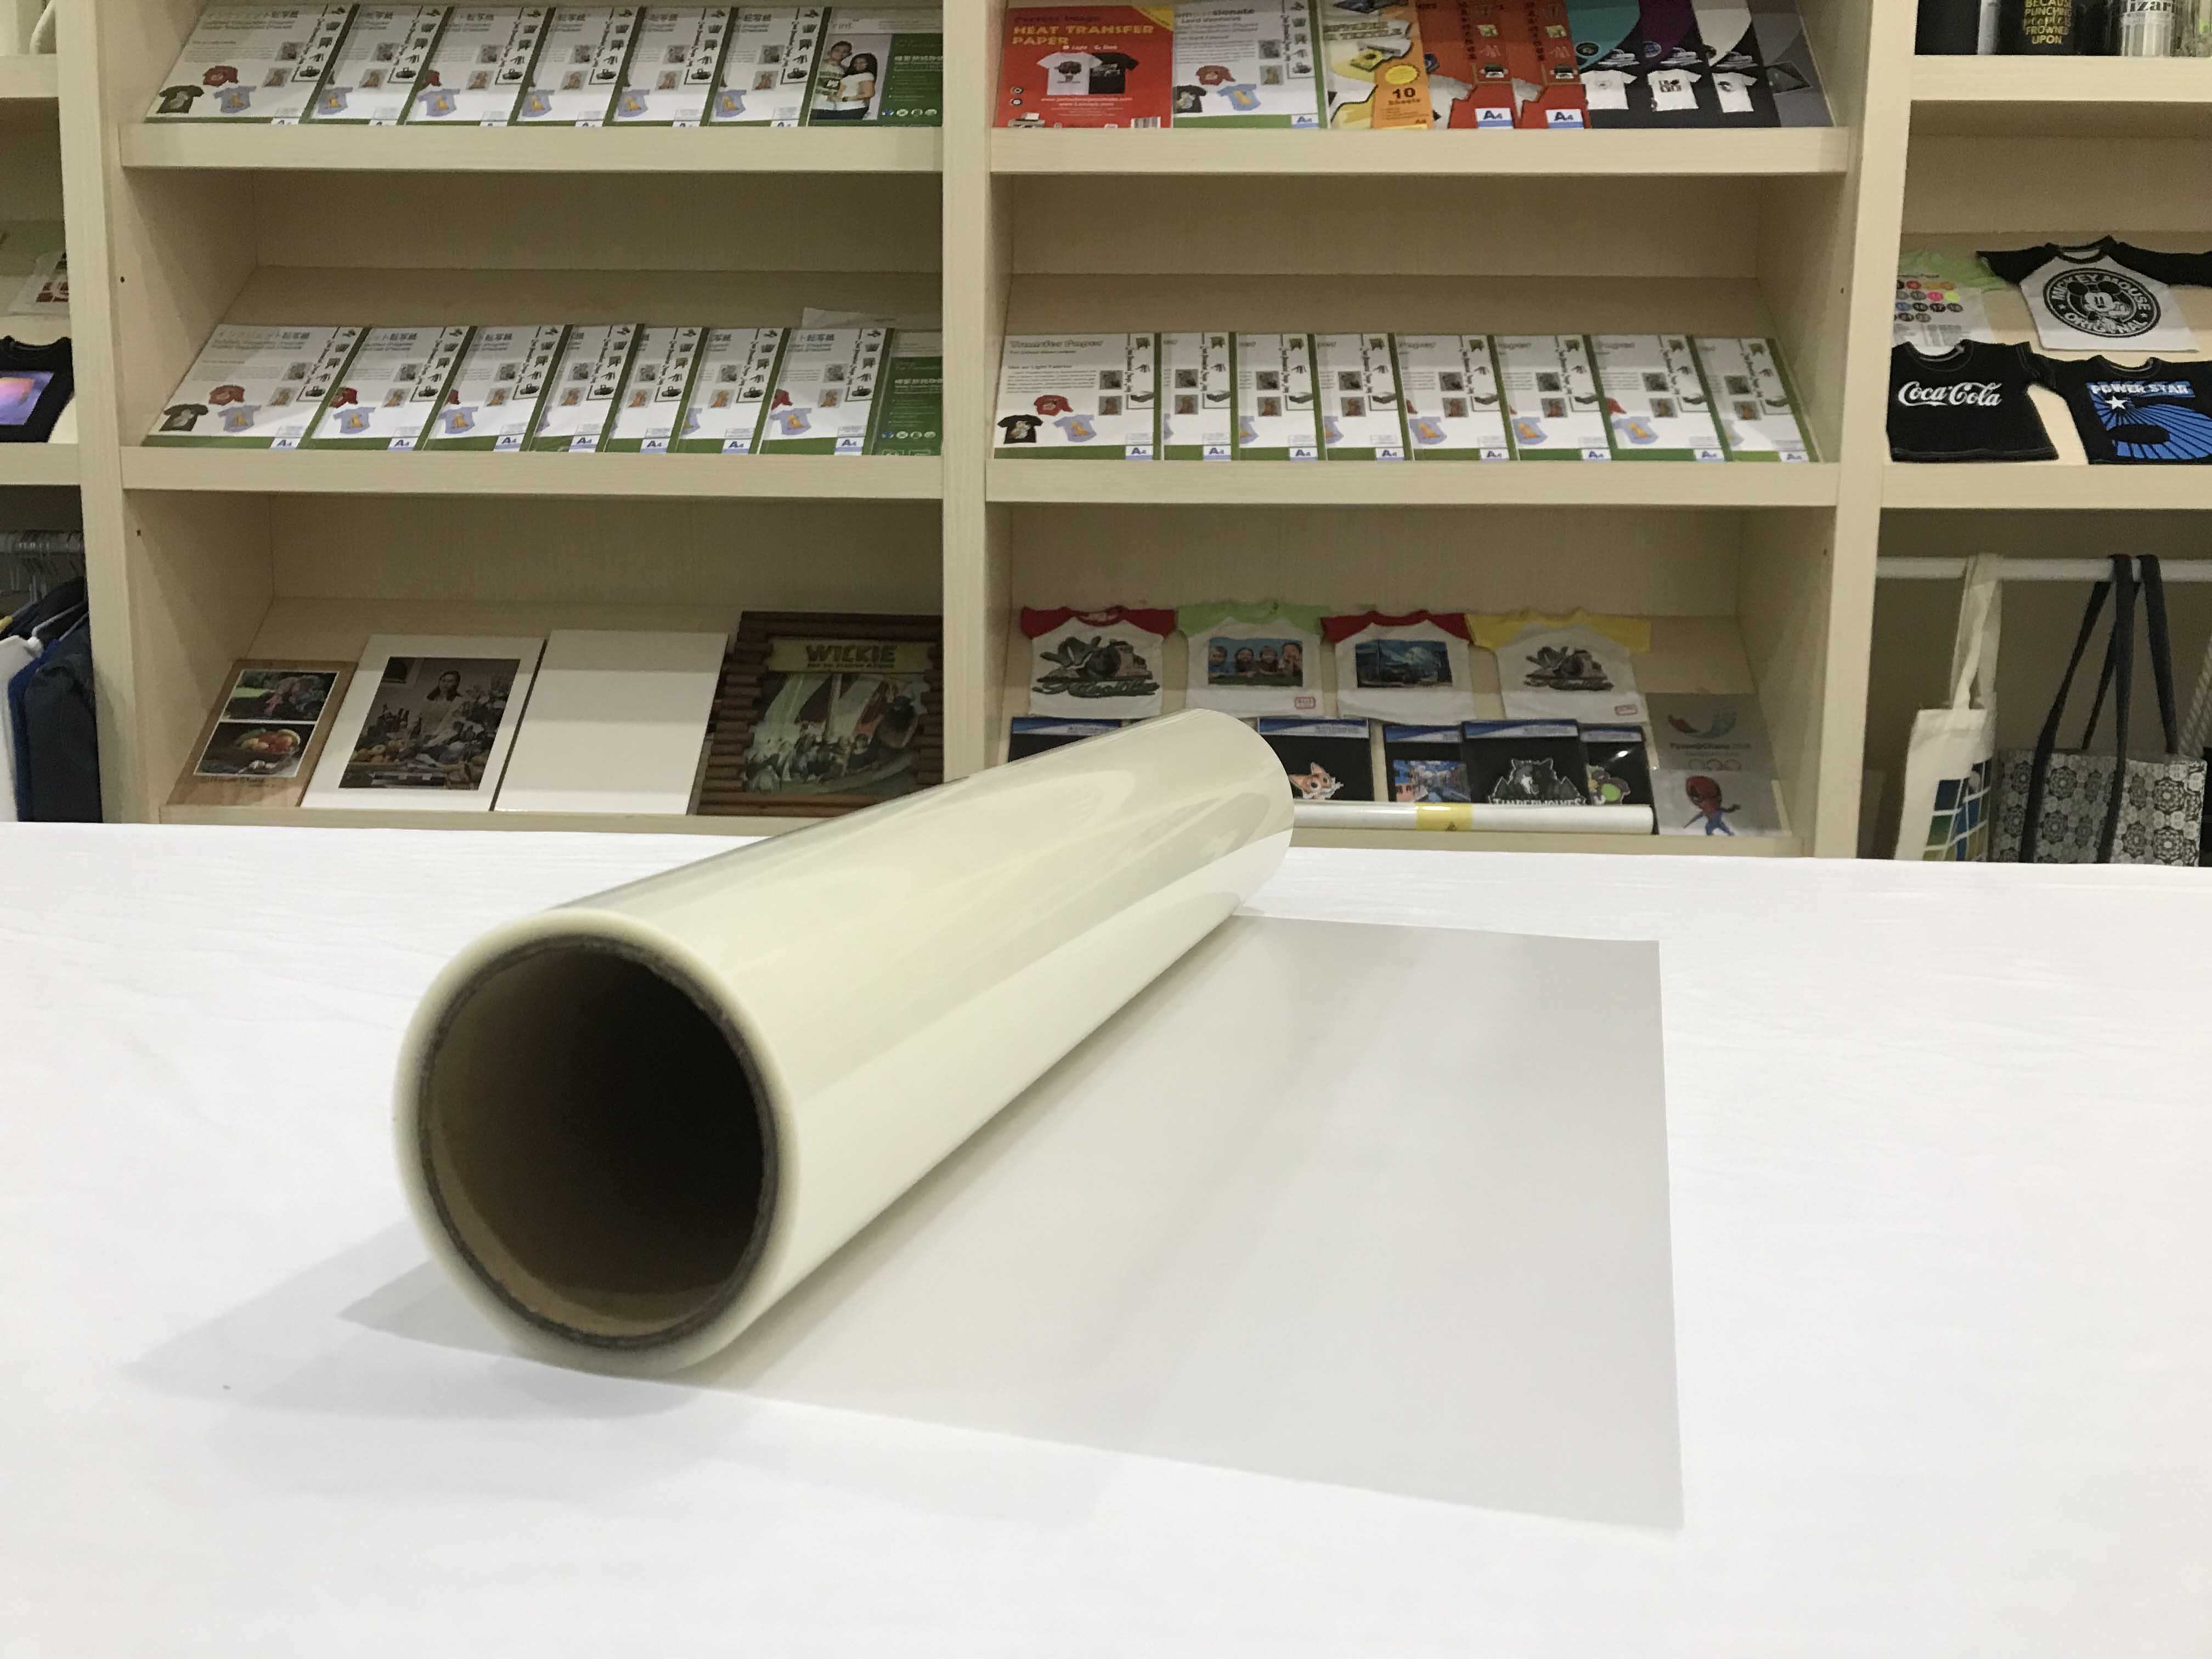
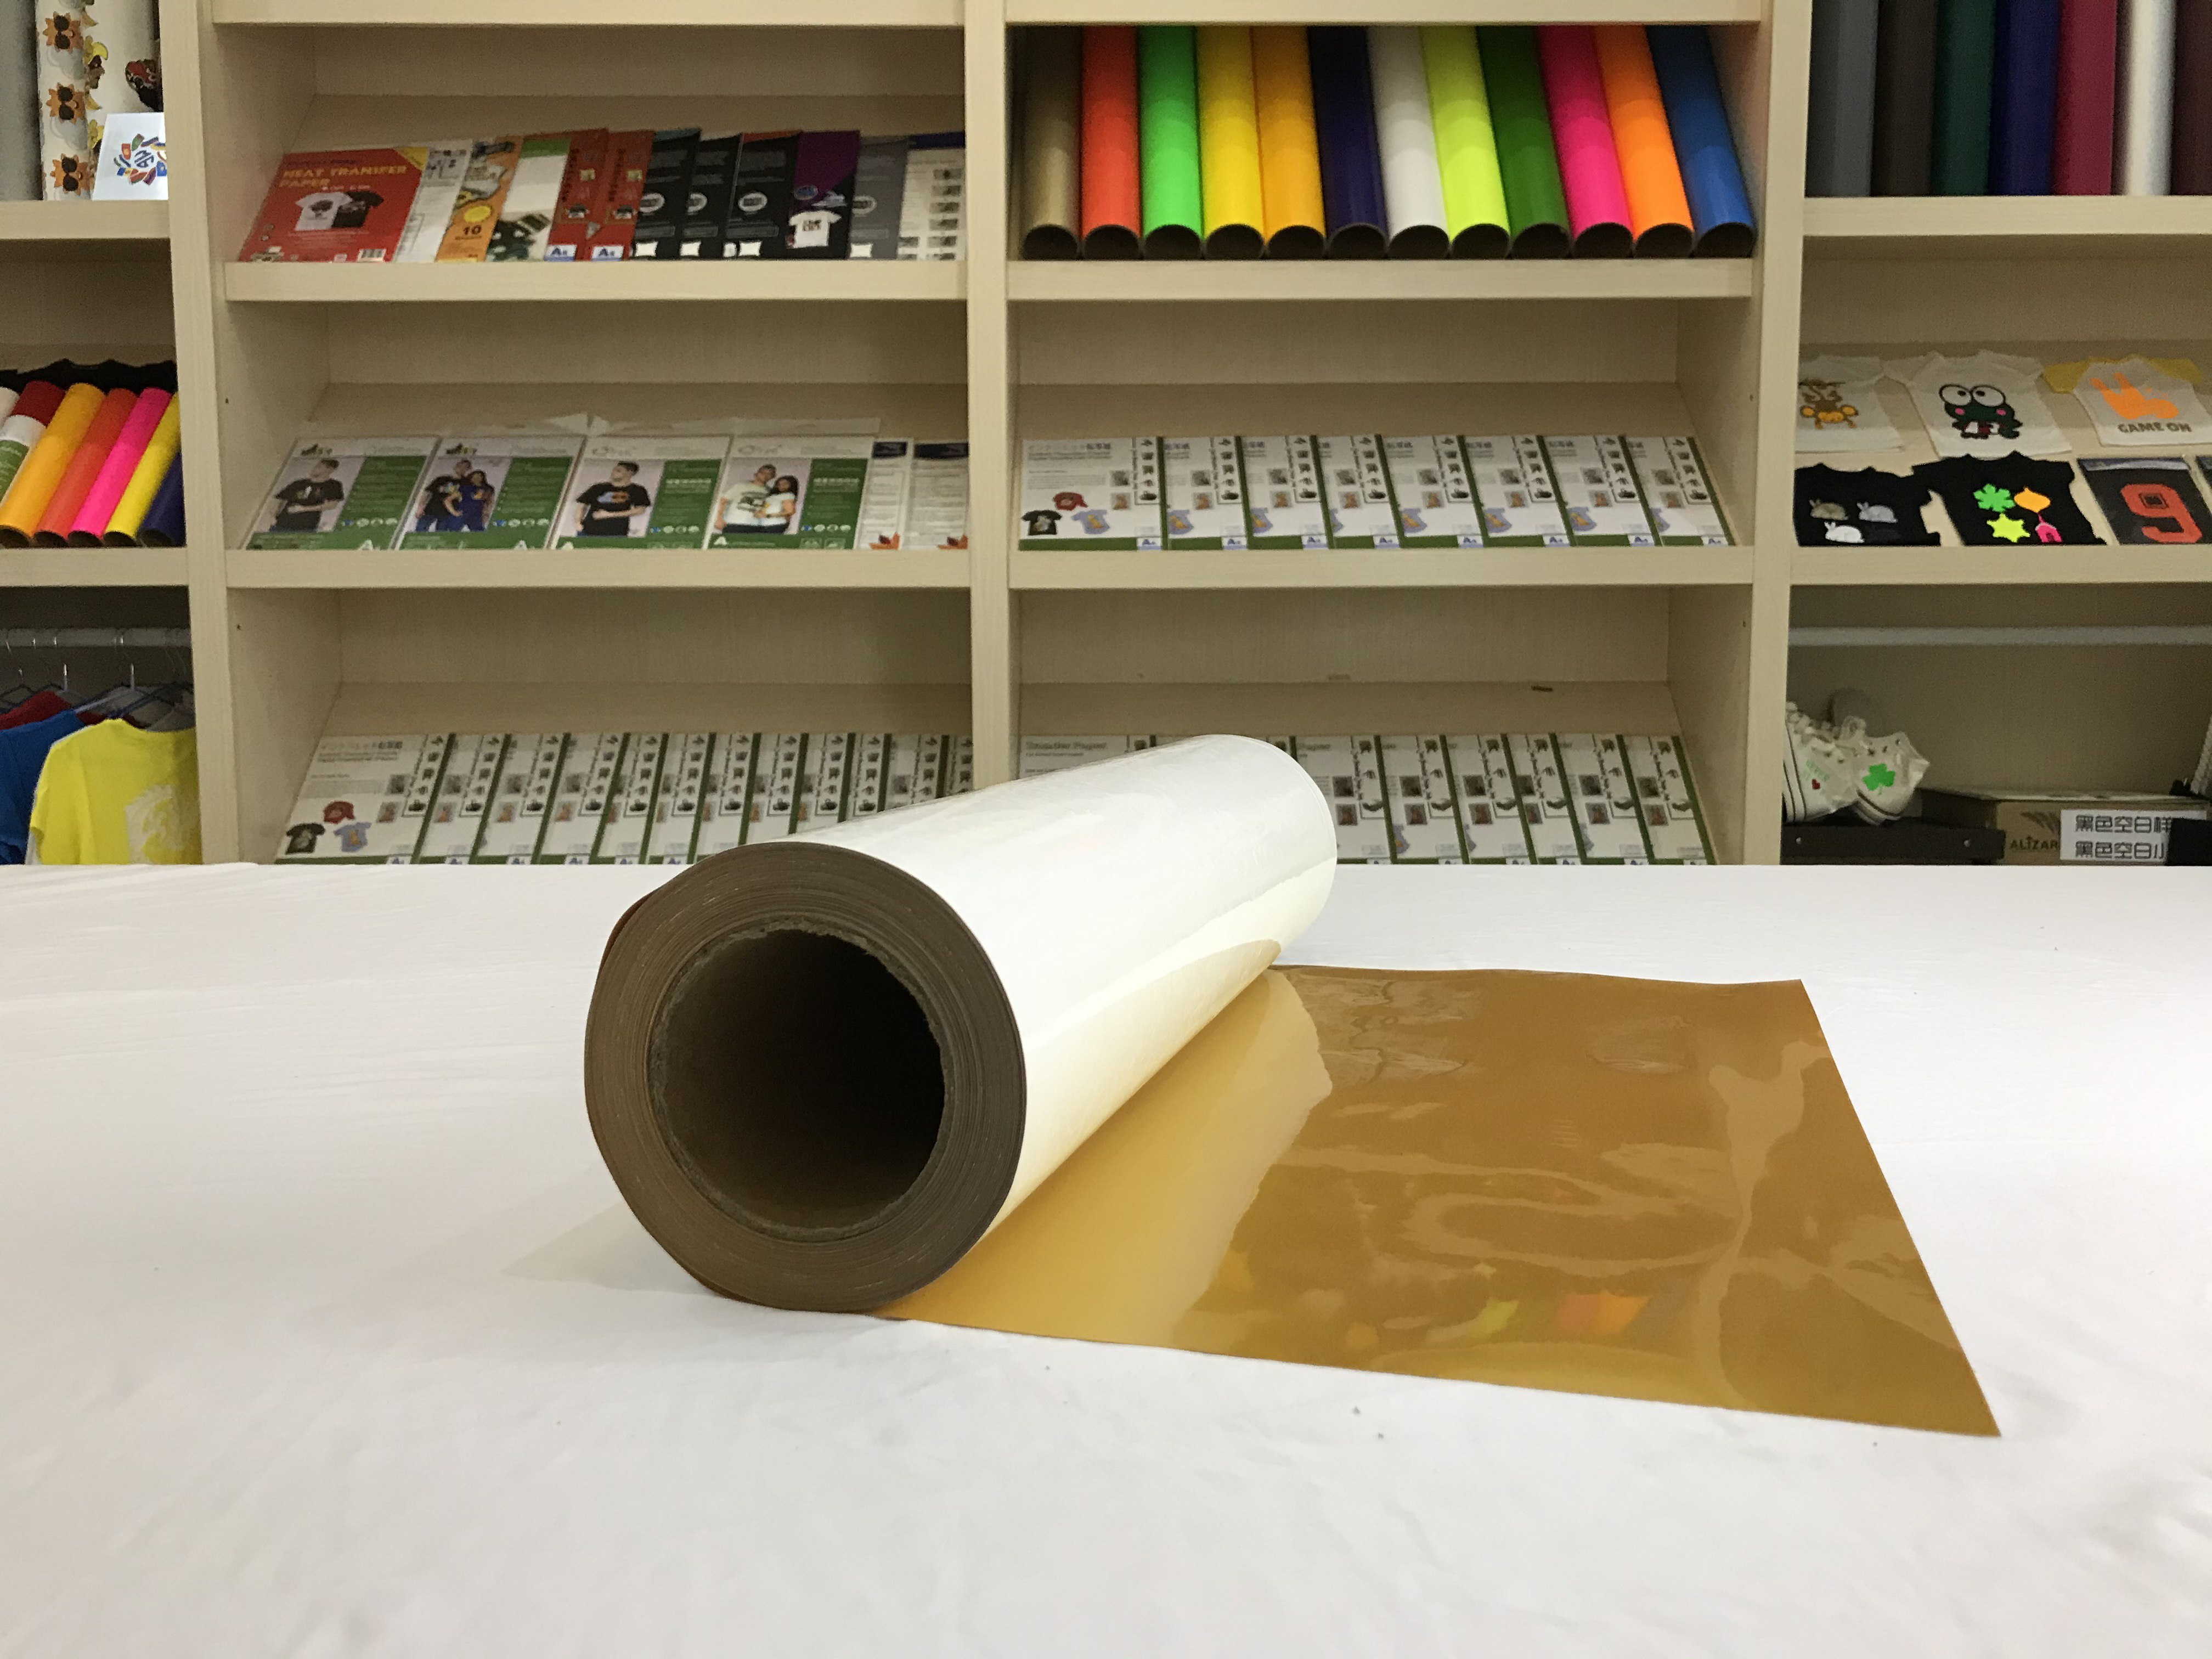
Heat Transfer Vinyl Flock is a high quality heat transfer viscose flock based on polyvinyl chloride film, with brilliance and texture due to high fibre density, produced according to the EN17 standard, Cut table Flock is based polyvinyl chloride film with hot melt adhesive on polyester film line, Excellent cutting and weeding properties. Even detailed logos and extremely small lettering are cut table. Innovative hot melt adhesive is suitable to transfer onto textiles like cotton, mixtures of polyester/cotton and polyester/acrylic, Nylon/Spandex etc. Heat Transfer Vinyl Flock can be used for printing on T-shirts, sport & leisure wear, uniforms, biking wear and promotional articles.
Advantages
■ Customize fabric with favorite multi-color graphics.
■ Designed for vivid results on dark or light-colored cotton or cotton/polyester blend fabrics
■ Ideal for personalizing T-shirts, canvas bags, aprons, gift bags, mouse pads, photographs on quilts etc.
■ Iron on with a regular household iron & heat press machines.
■ Good washable and keep coloration
■ More flexible and more elastic at room temperature,
■ Good low temperature resistance, above 6°C with good flexibility
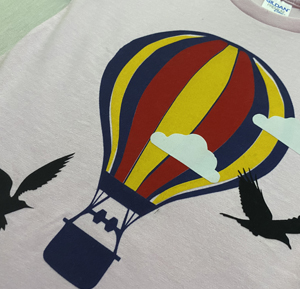
Exclusive Logos and Labels with Heat Transfer Vinyl Flock(CCF-Flock)
for T-shirts, Uniform
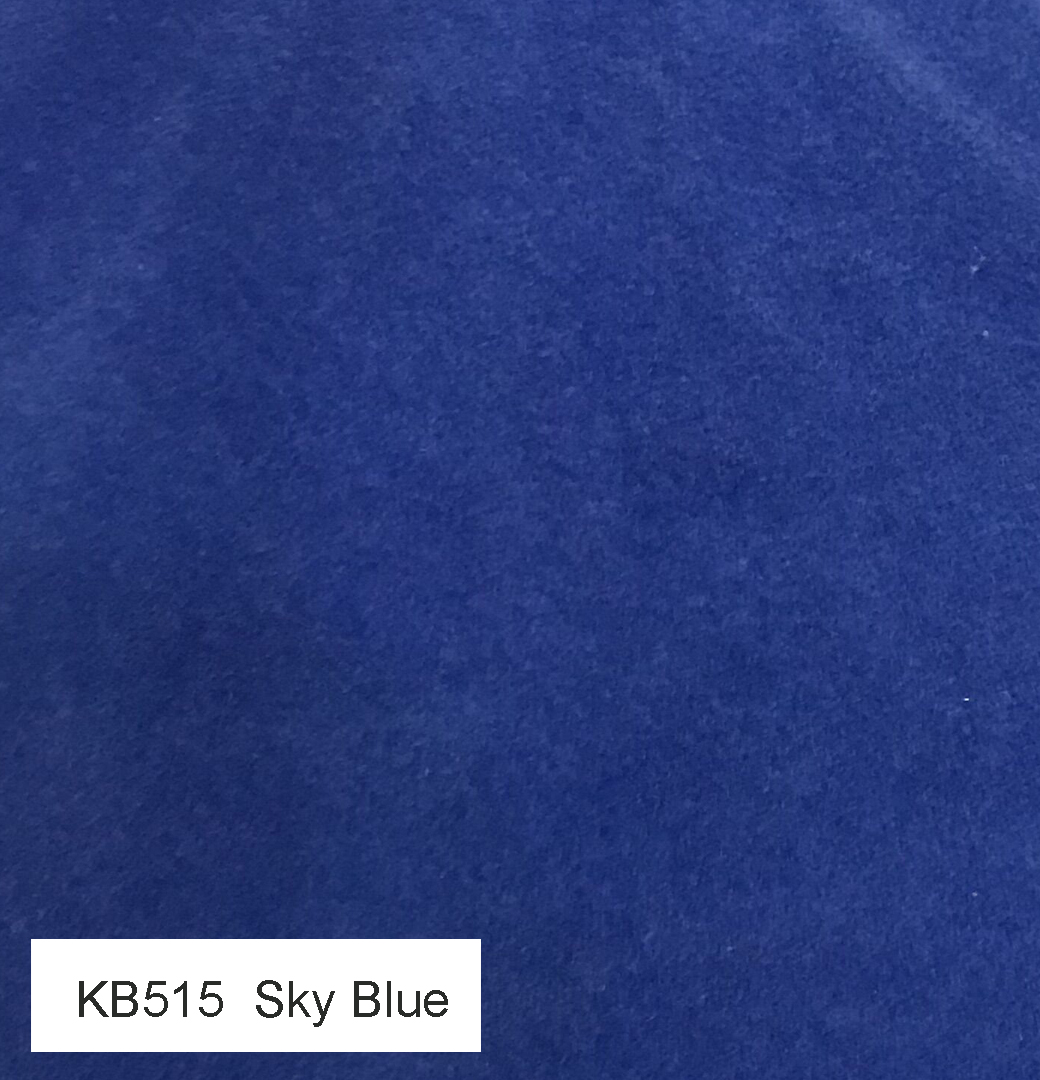
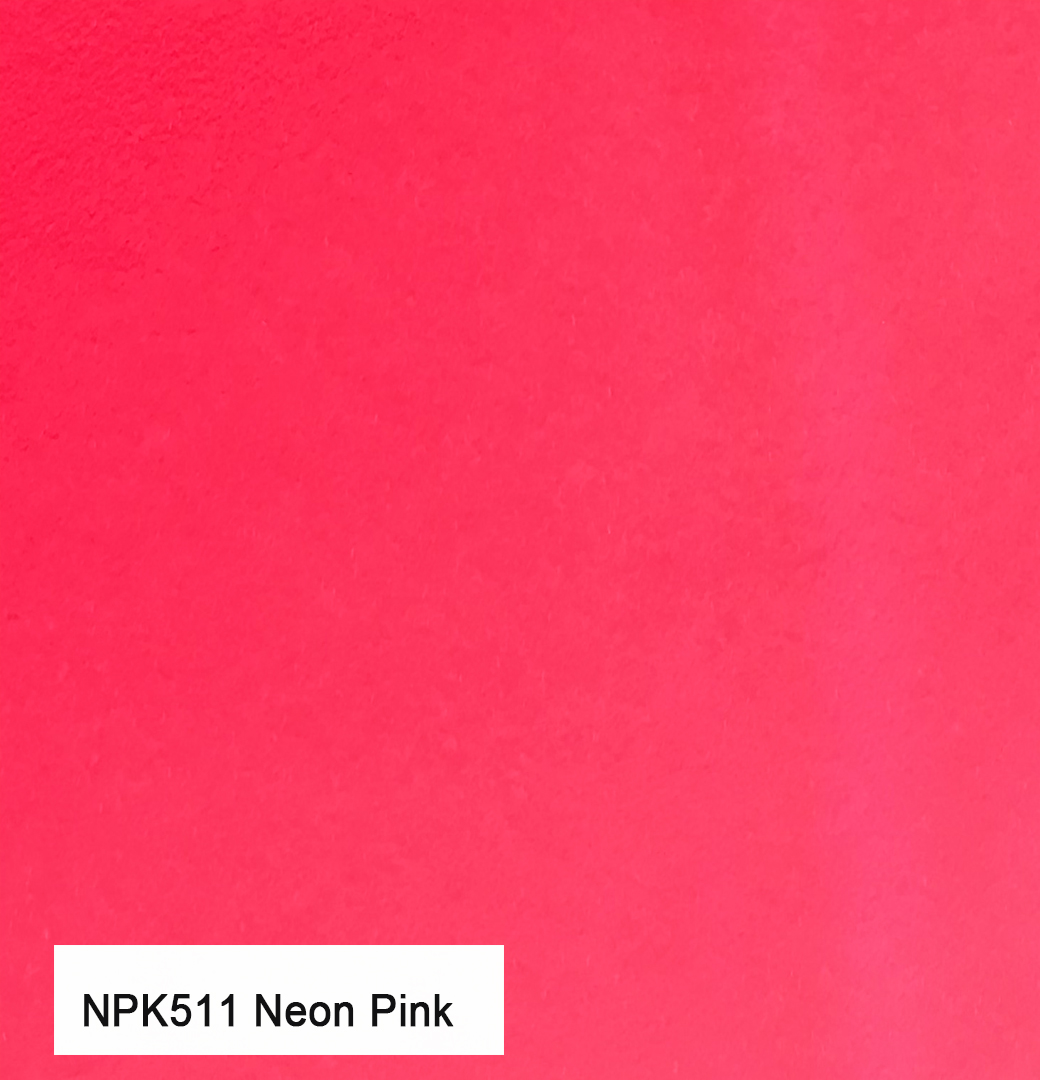
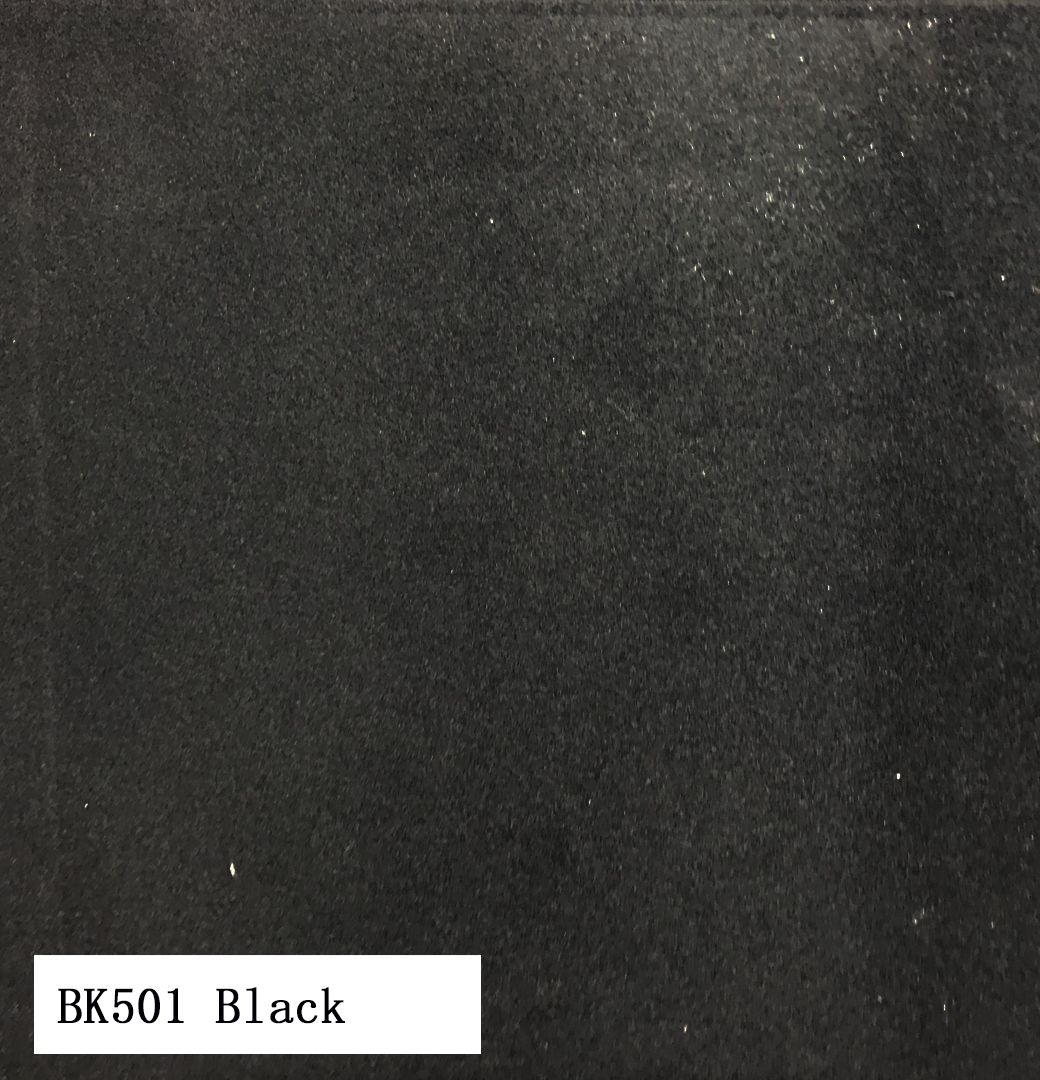
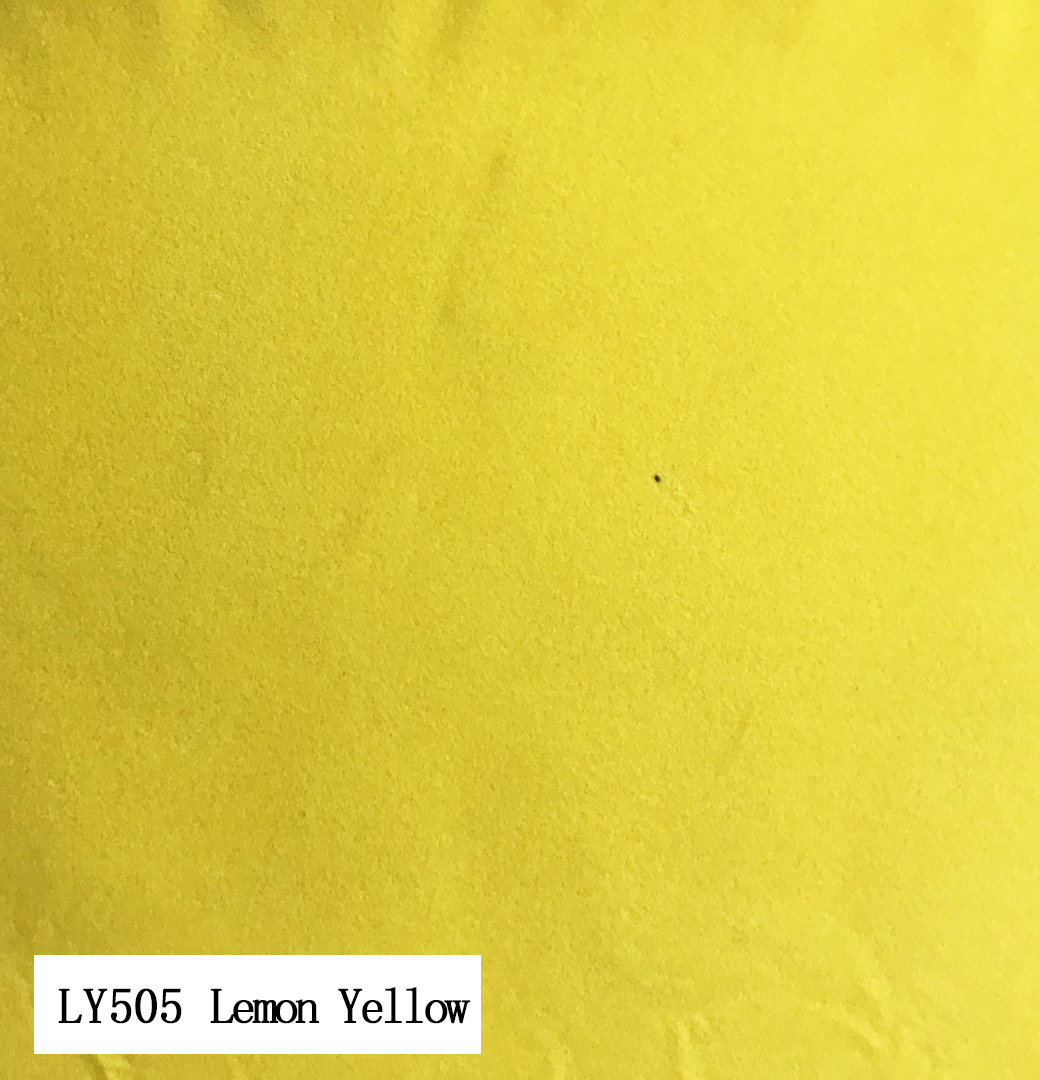
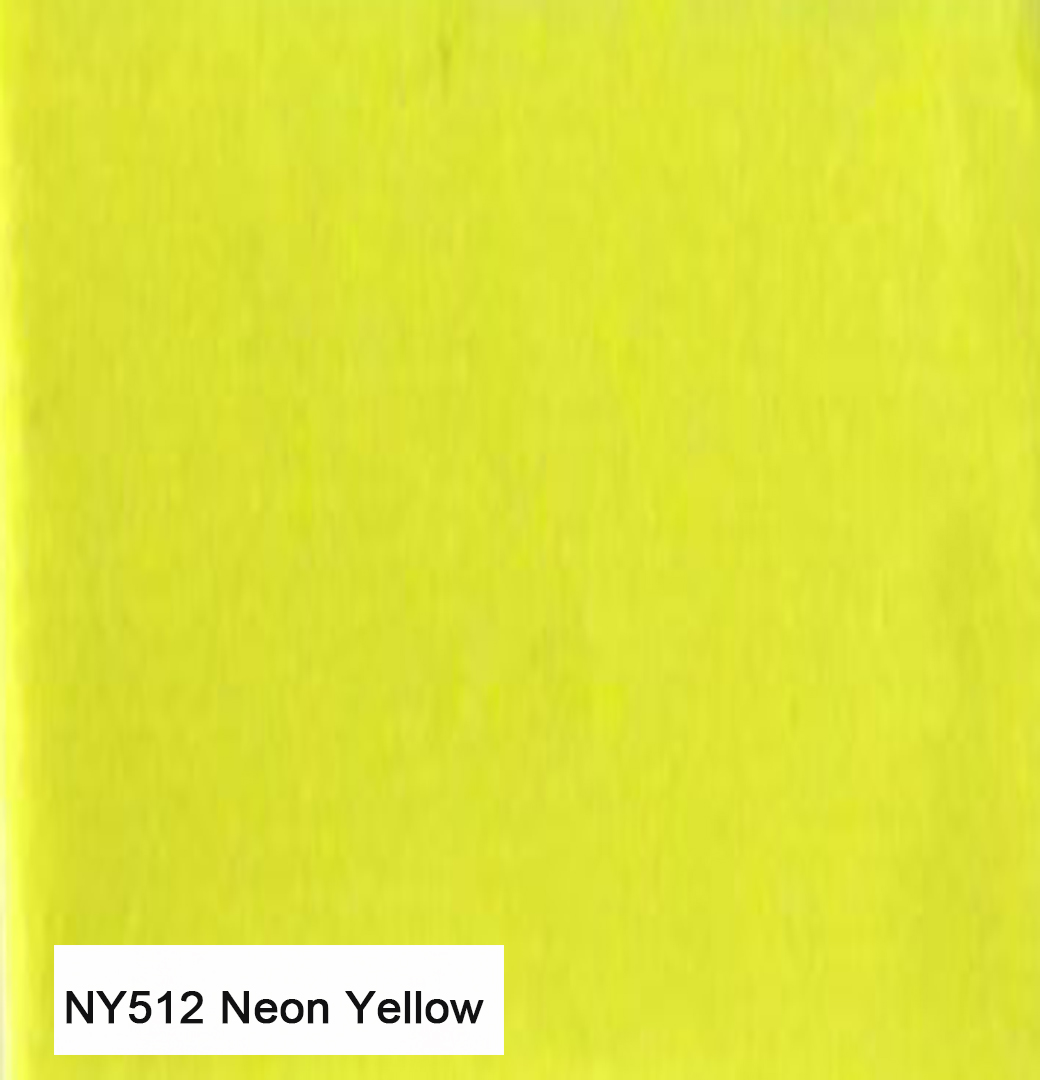
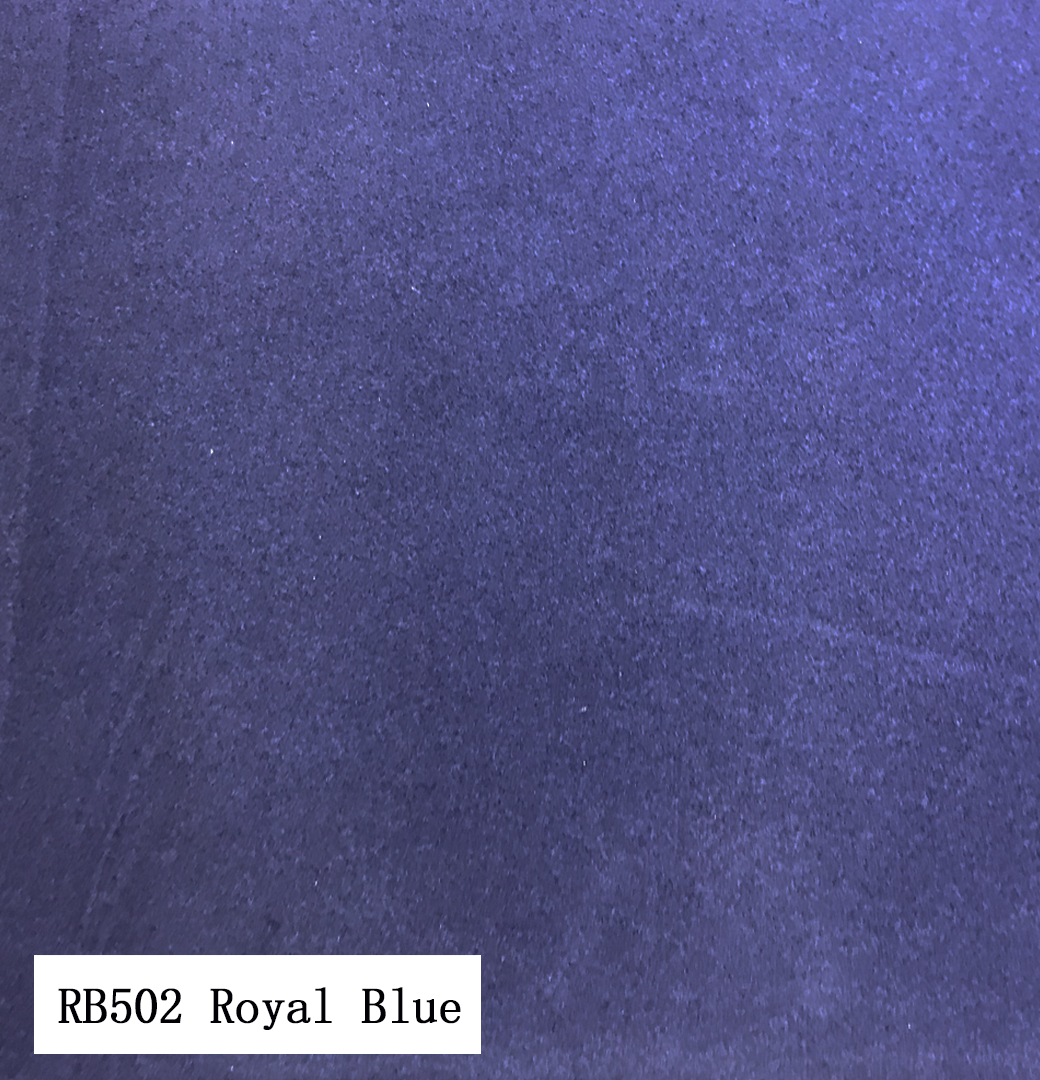
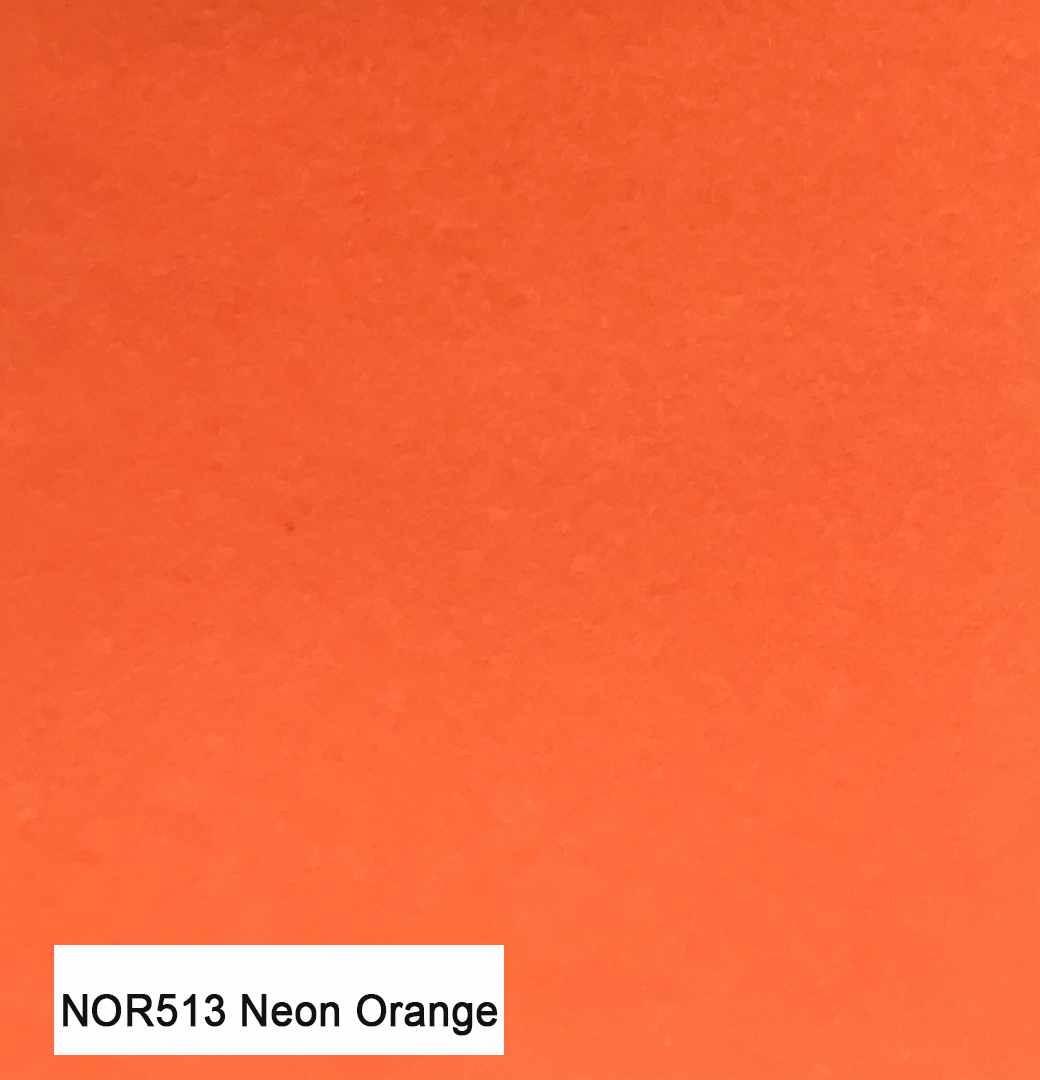
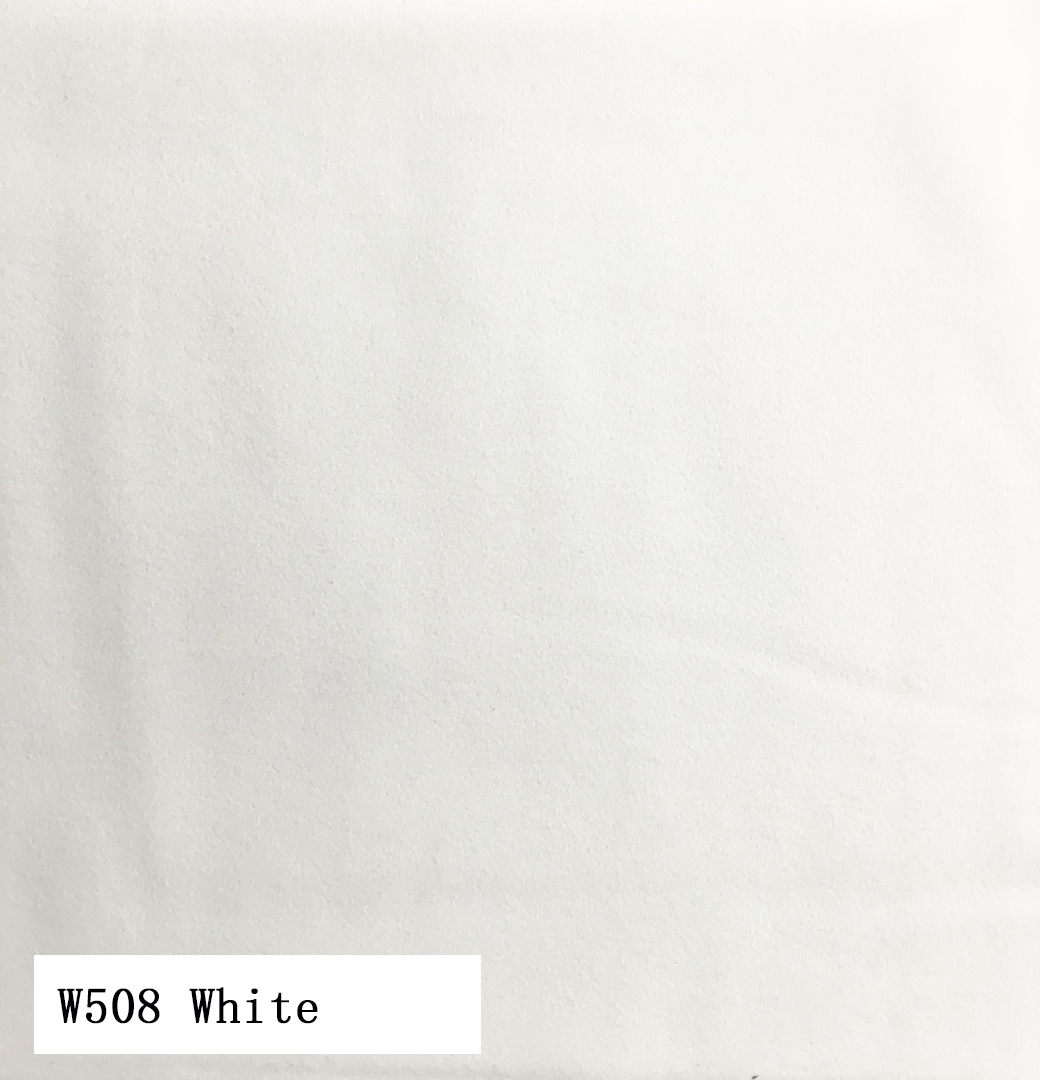
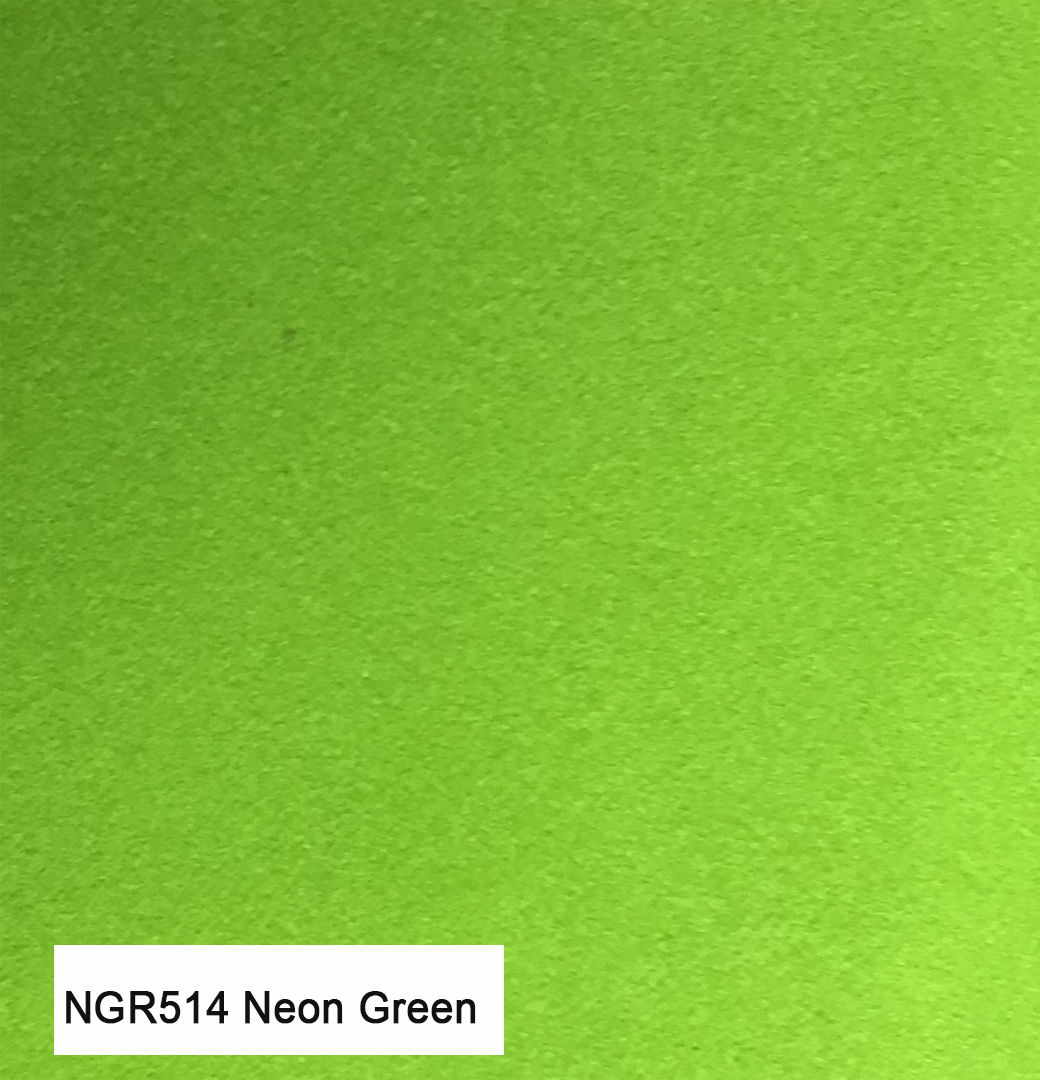
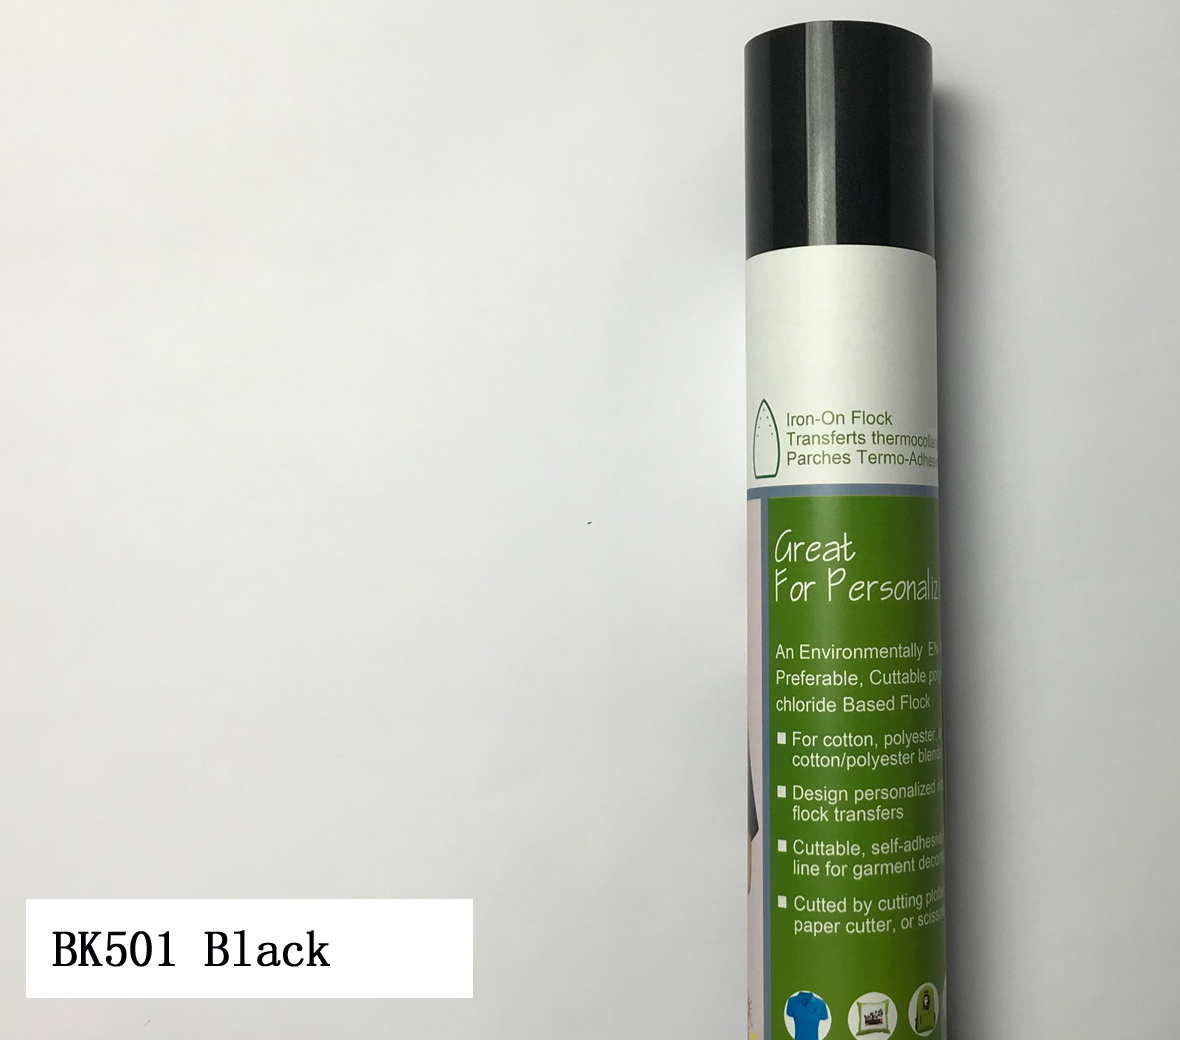
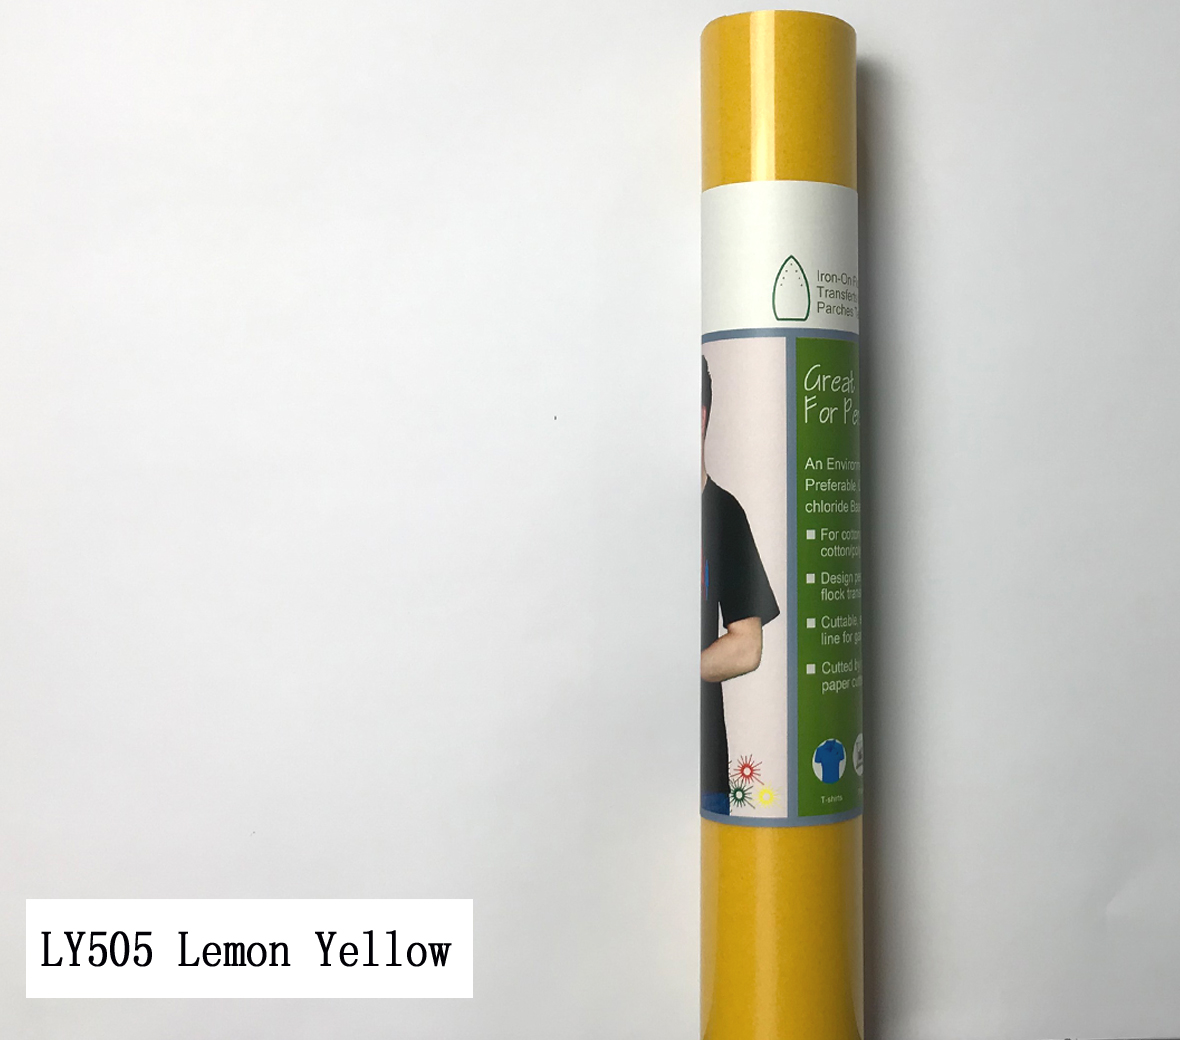
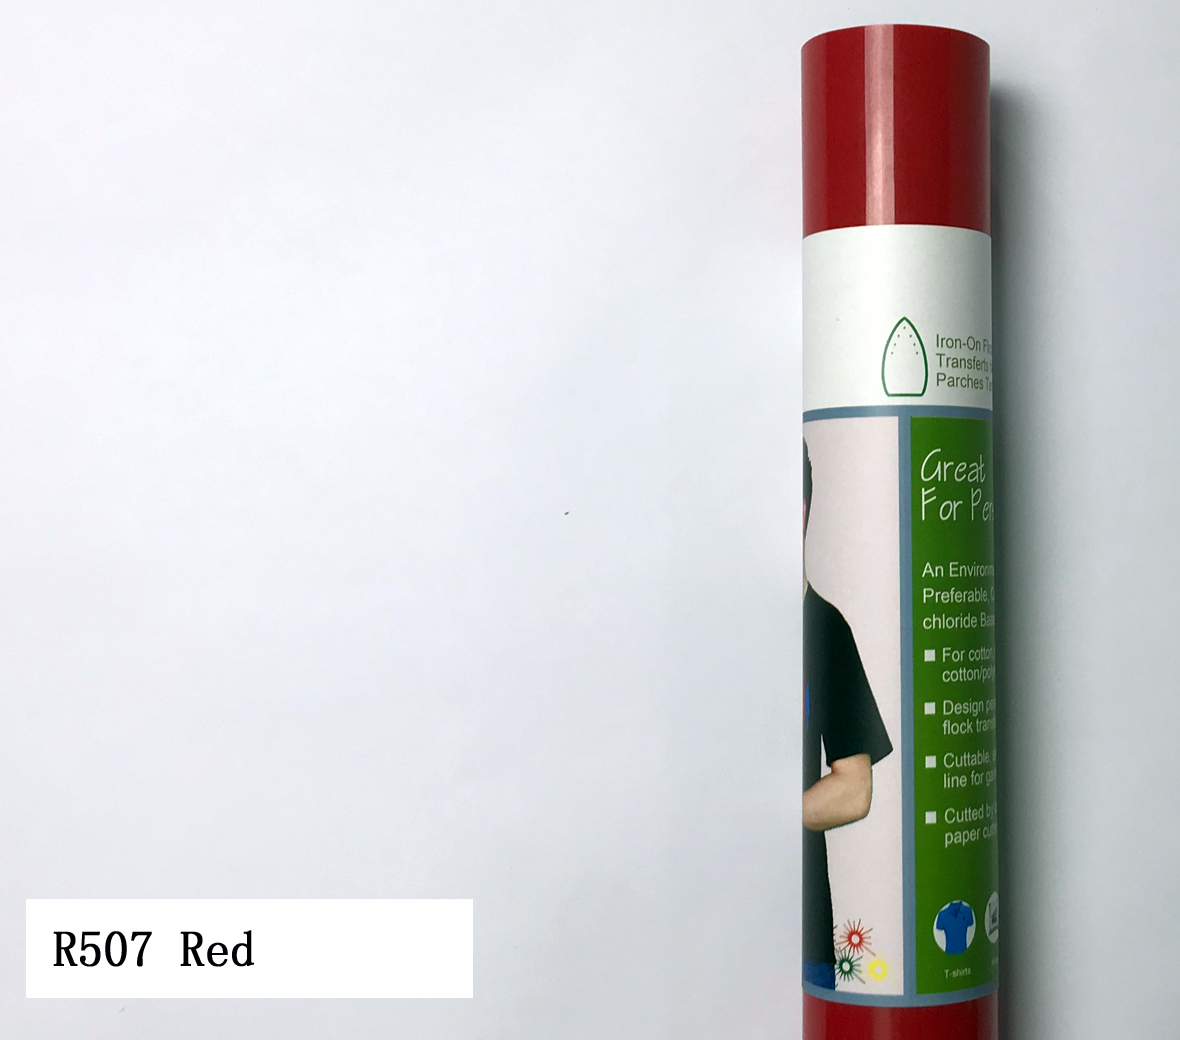
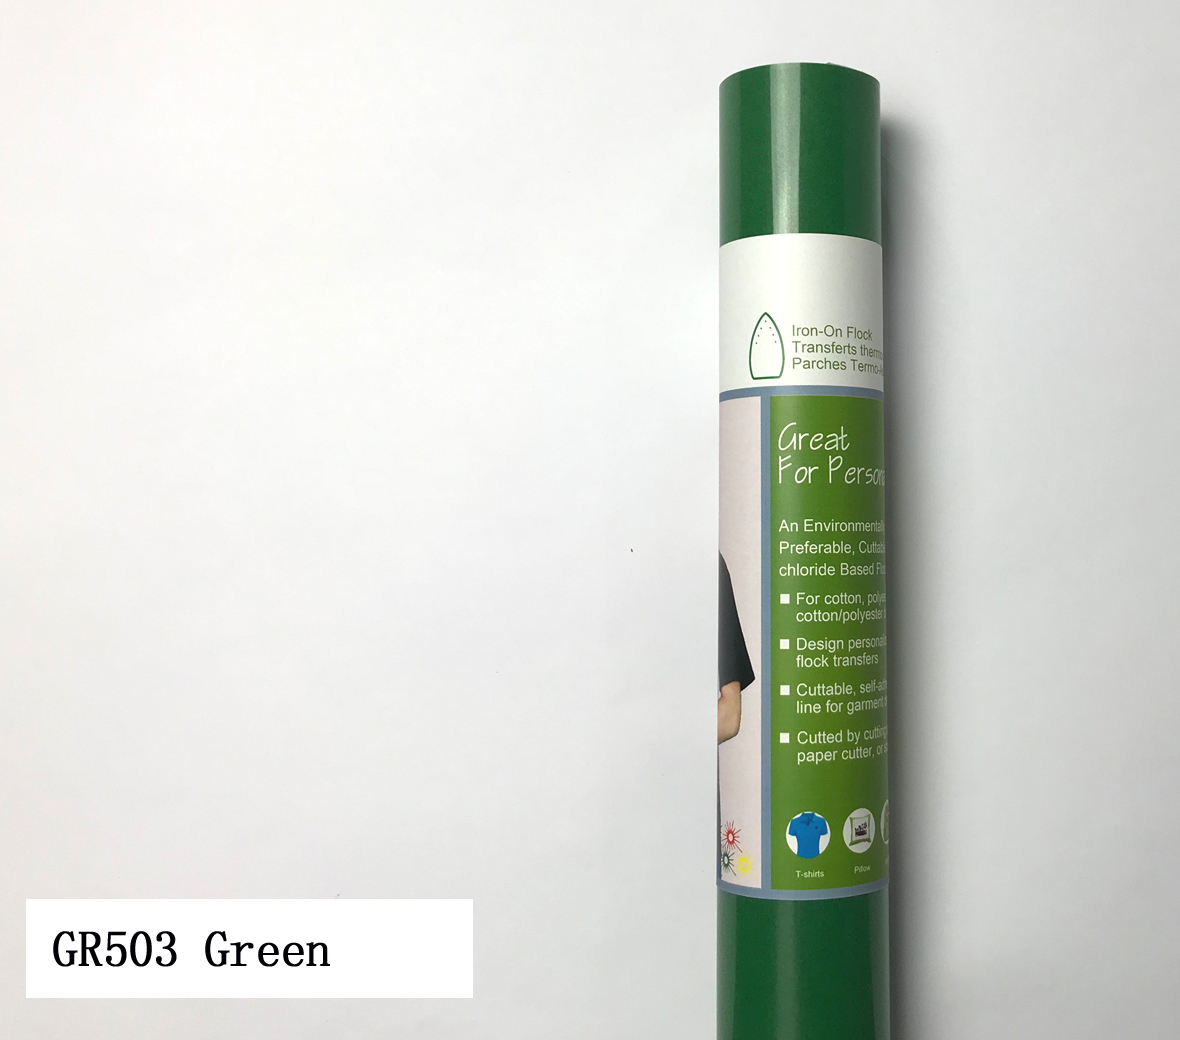
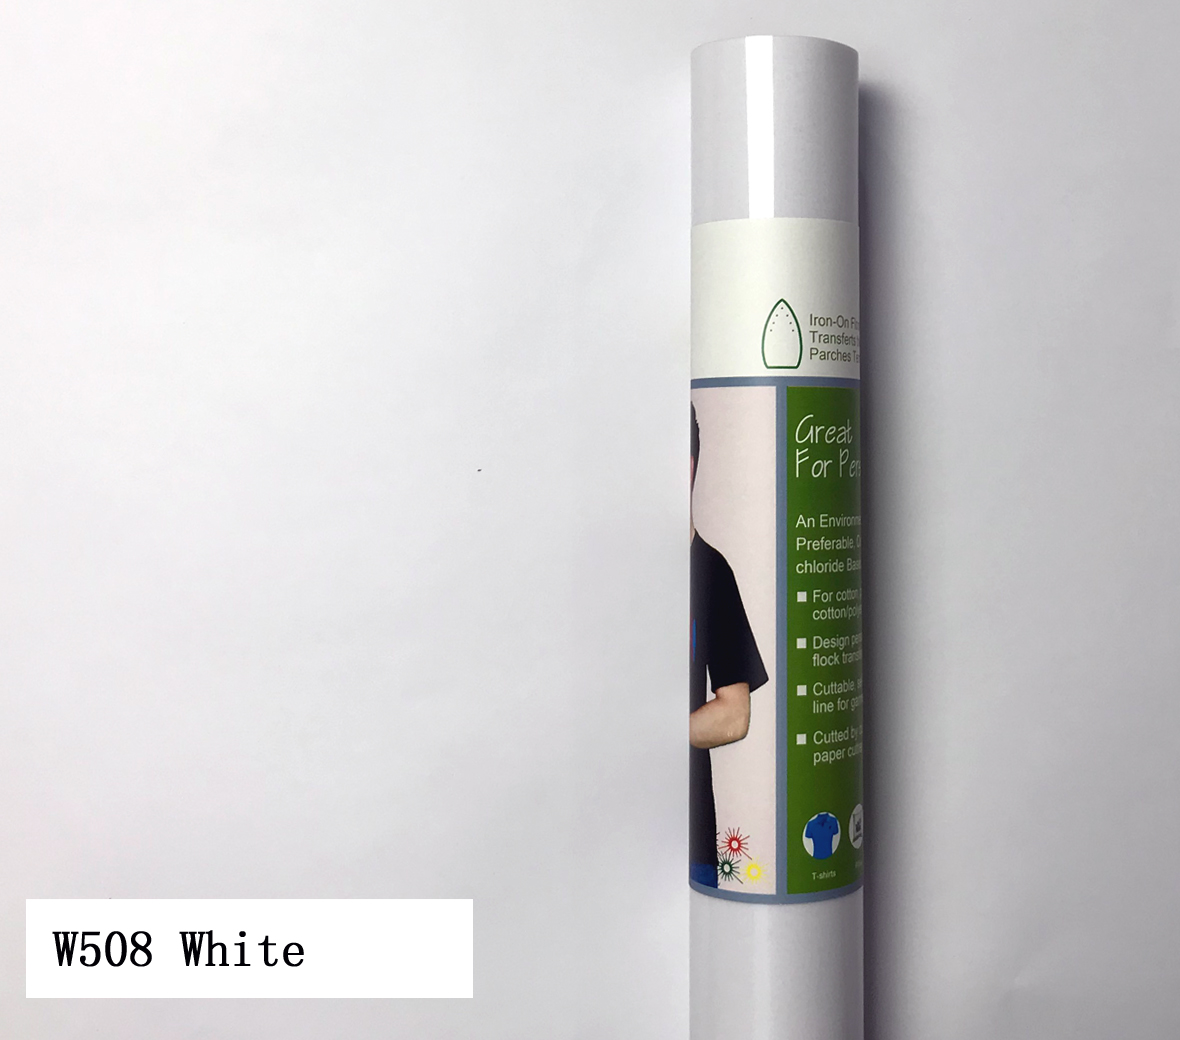
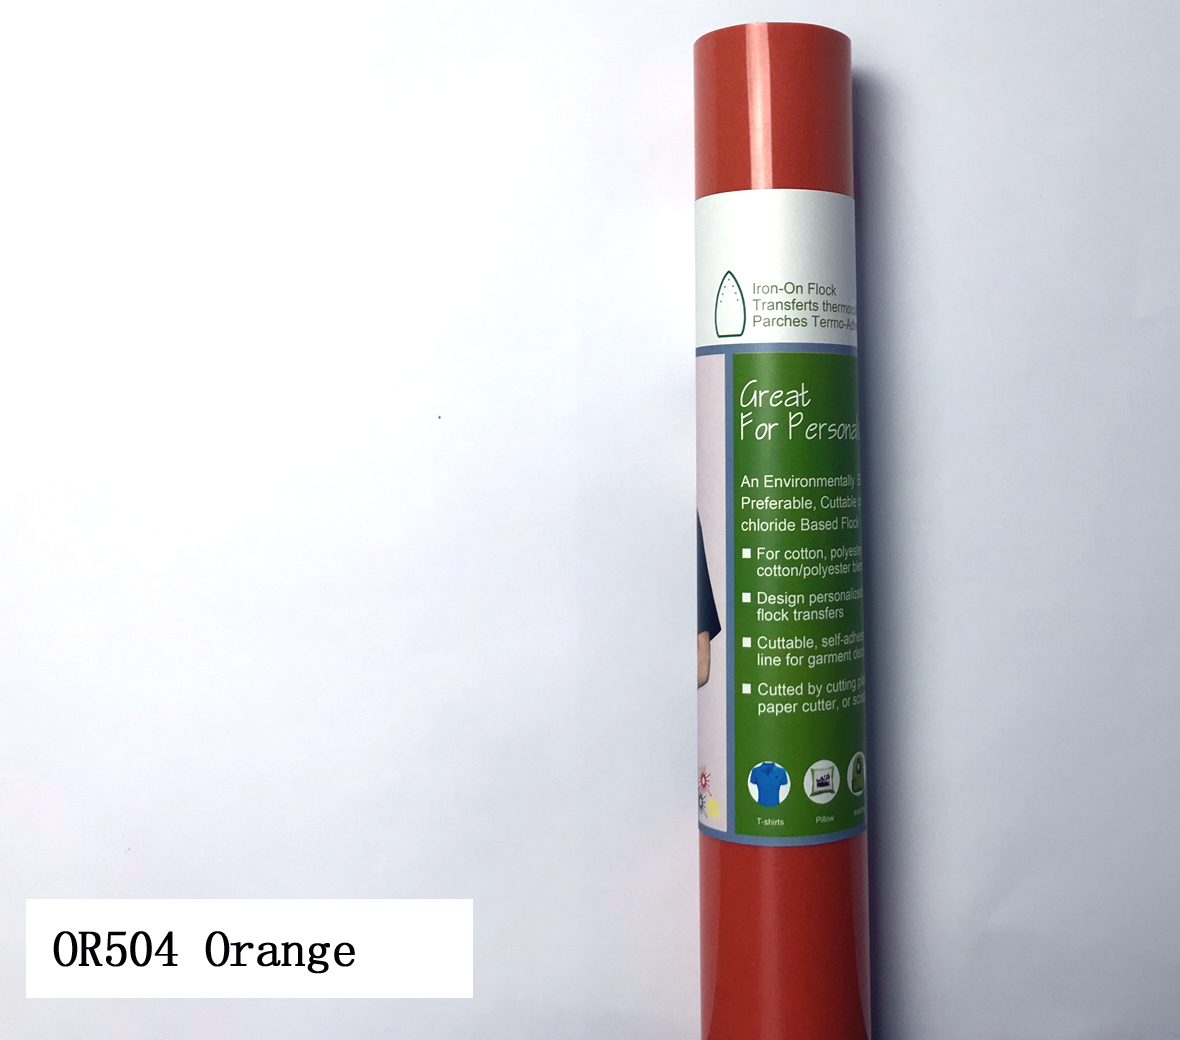
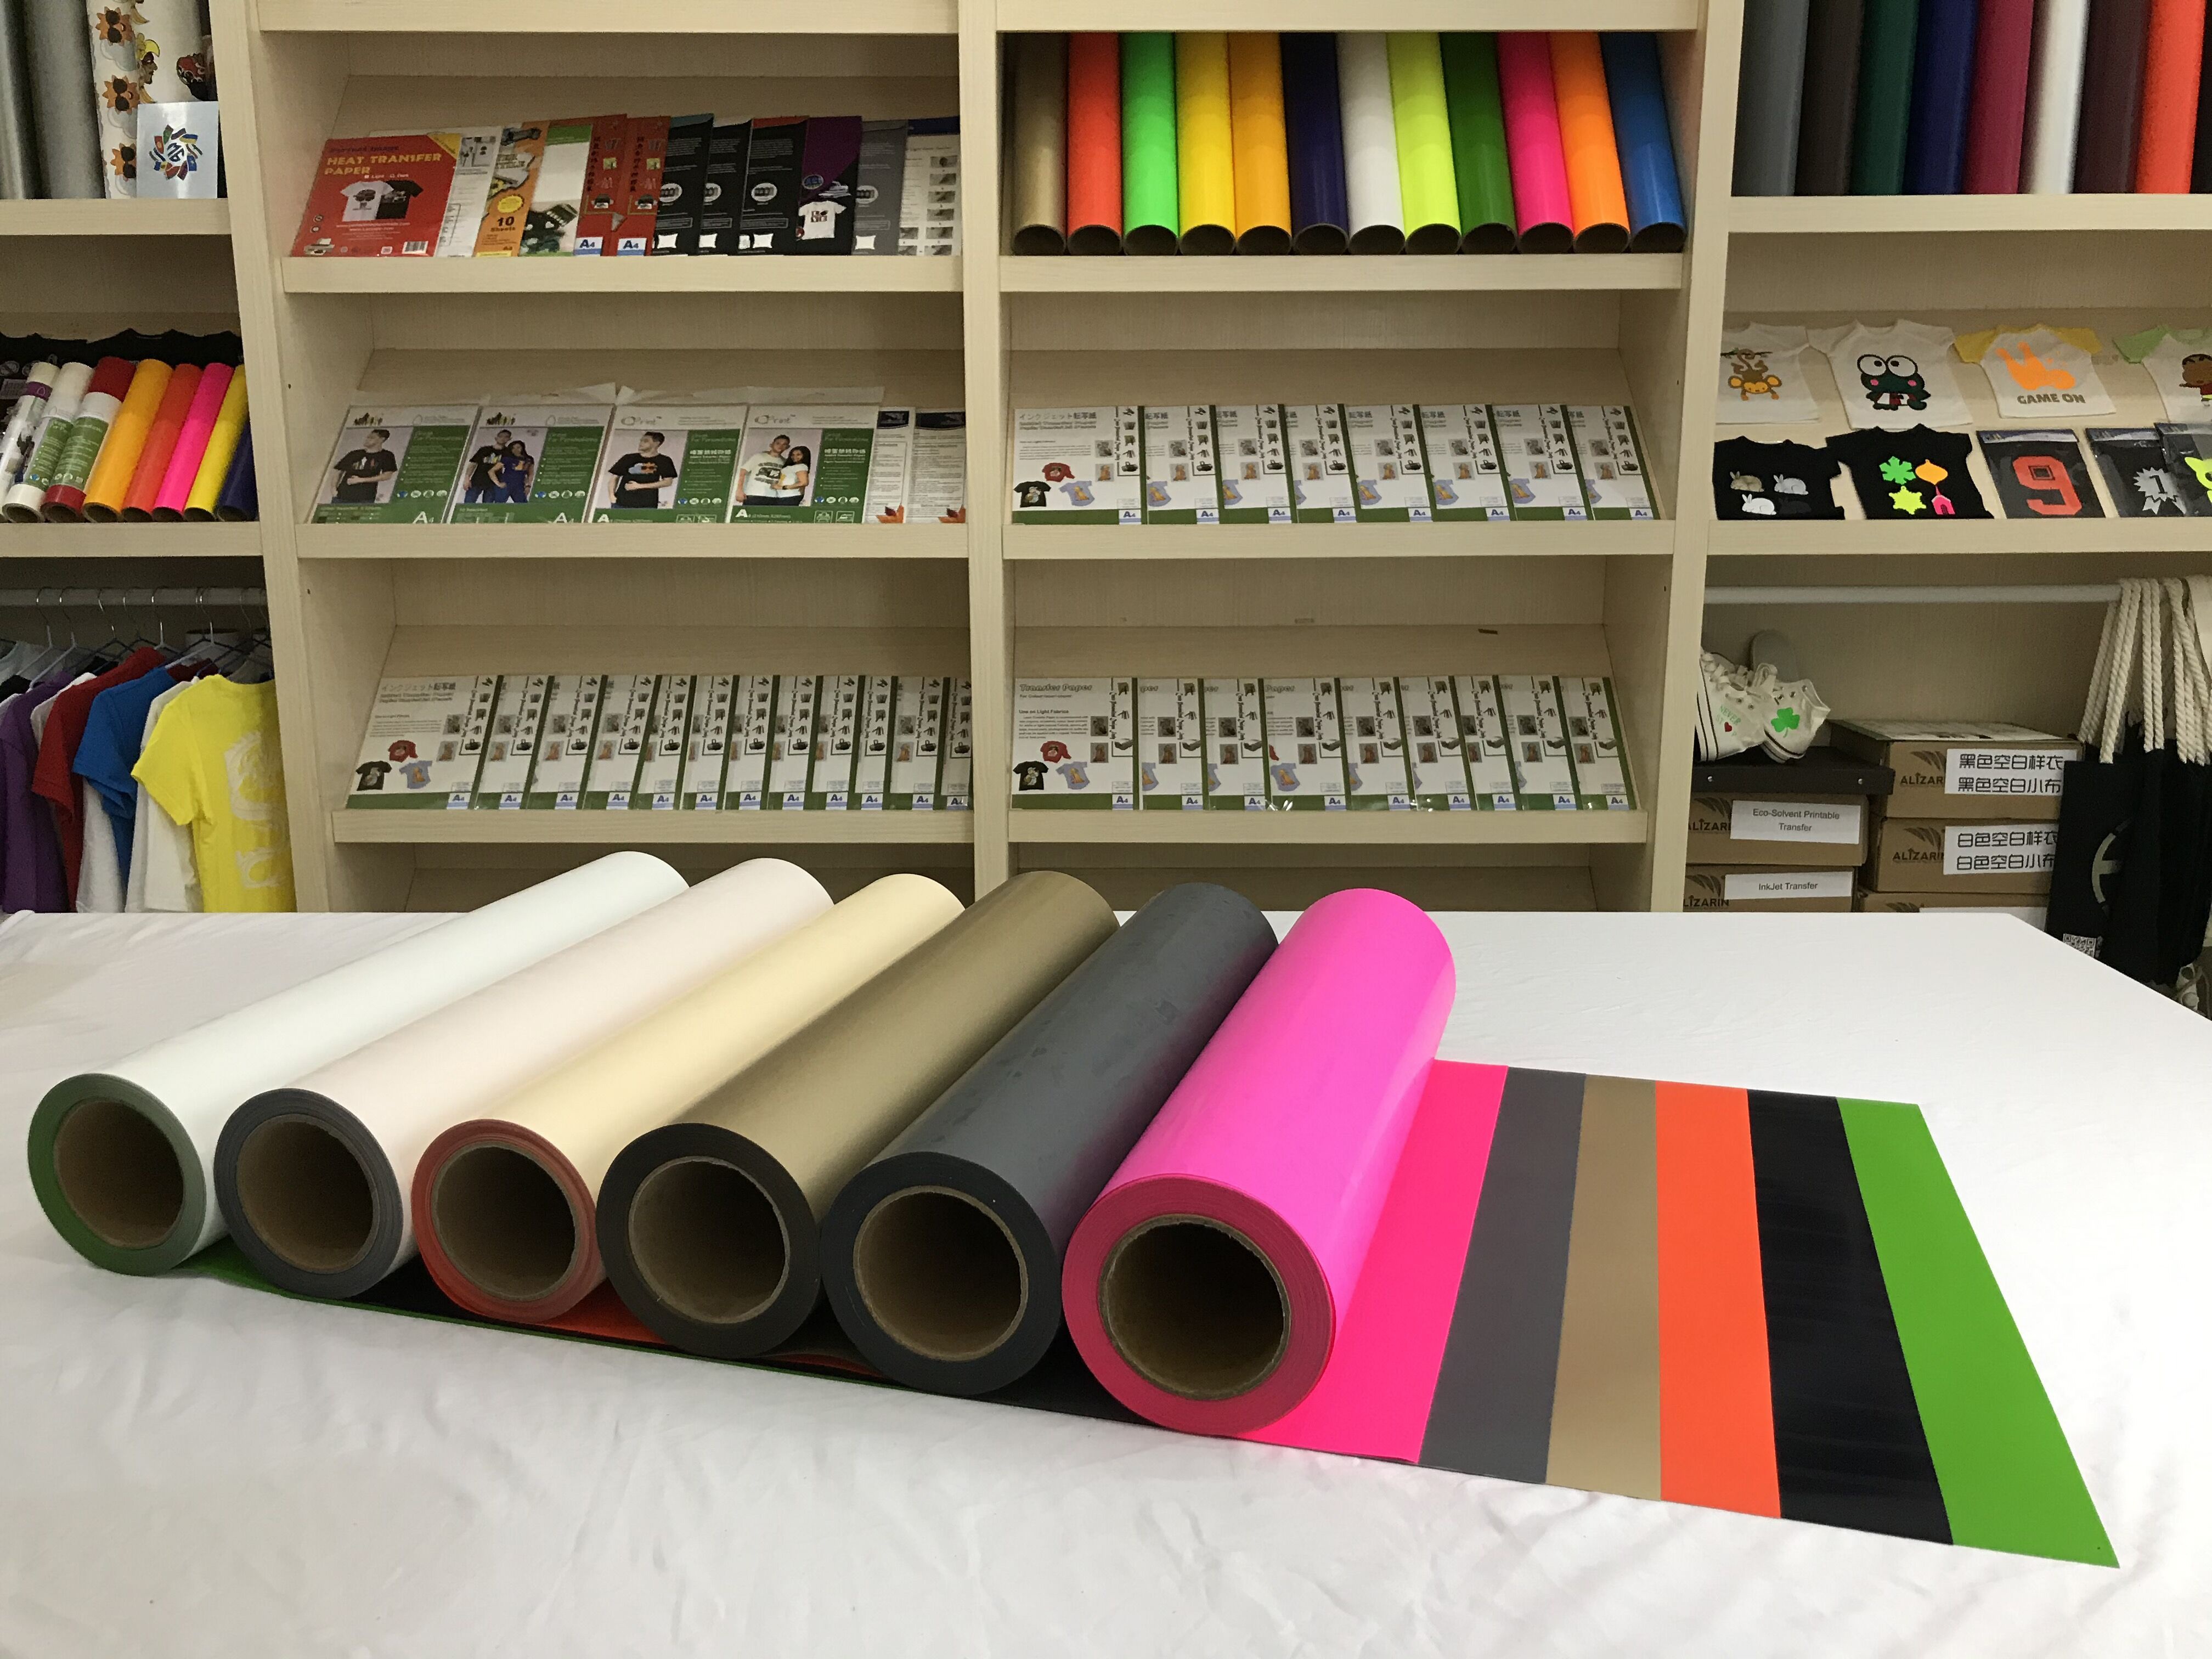
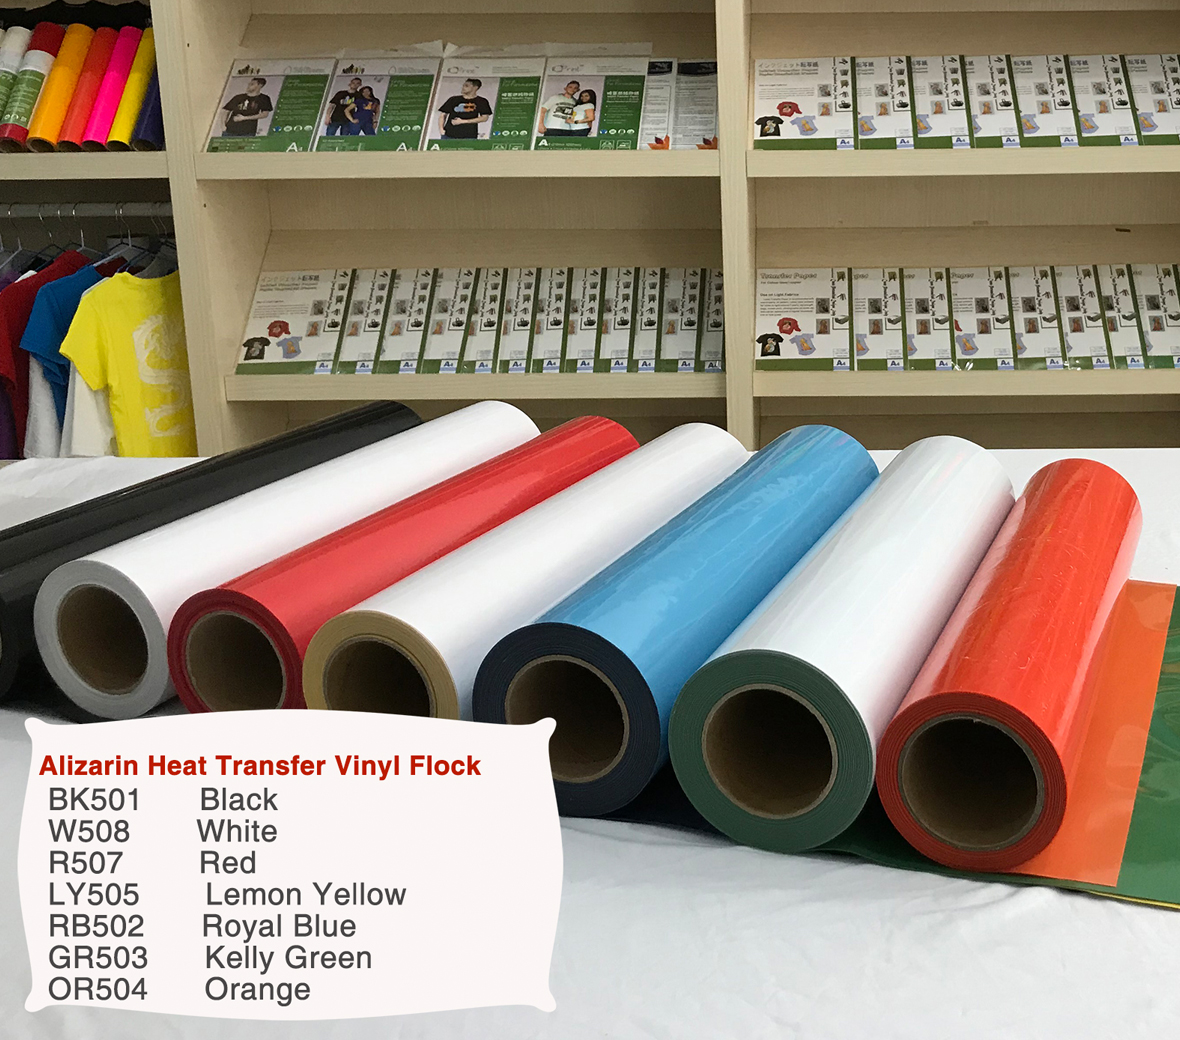
Heat Transfer Vinyl Flock Color Chart
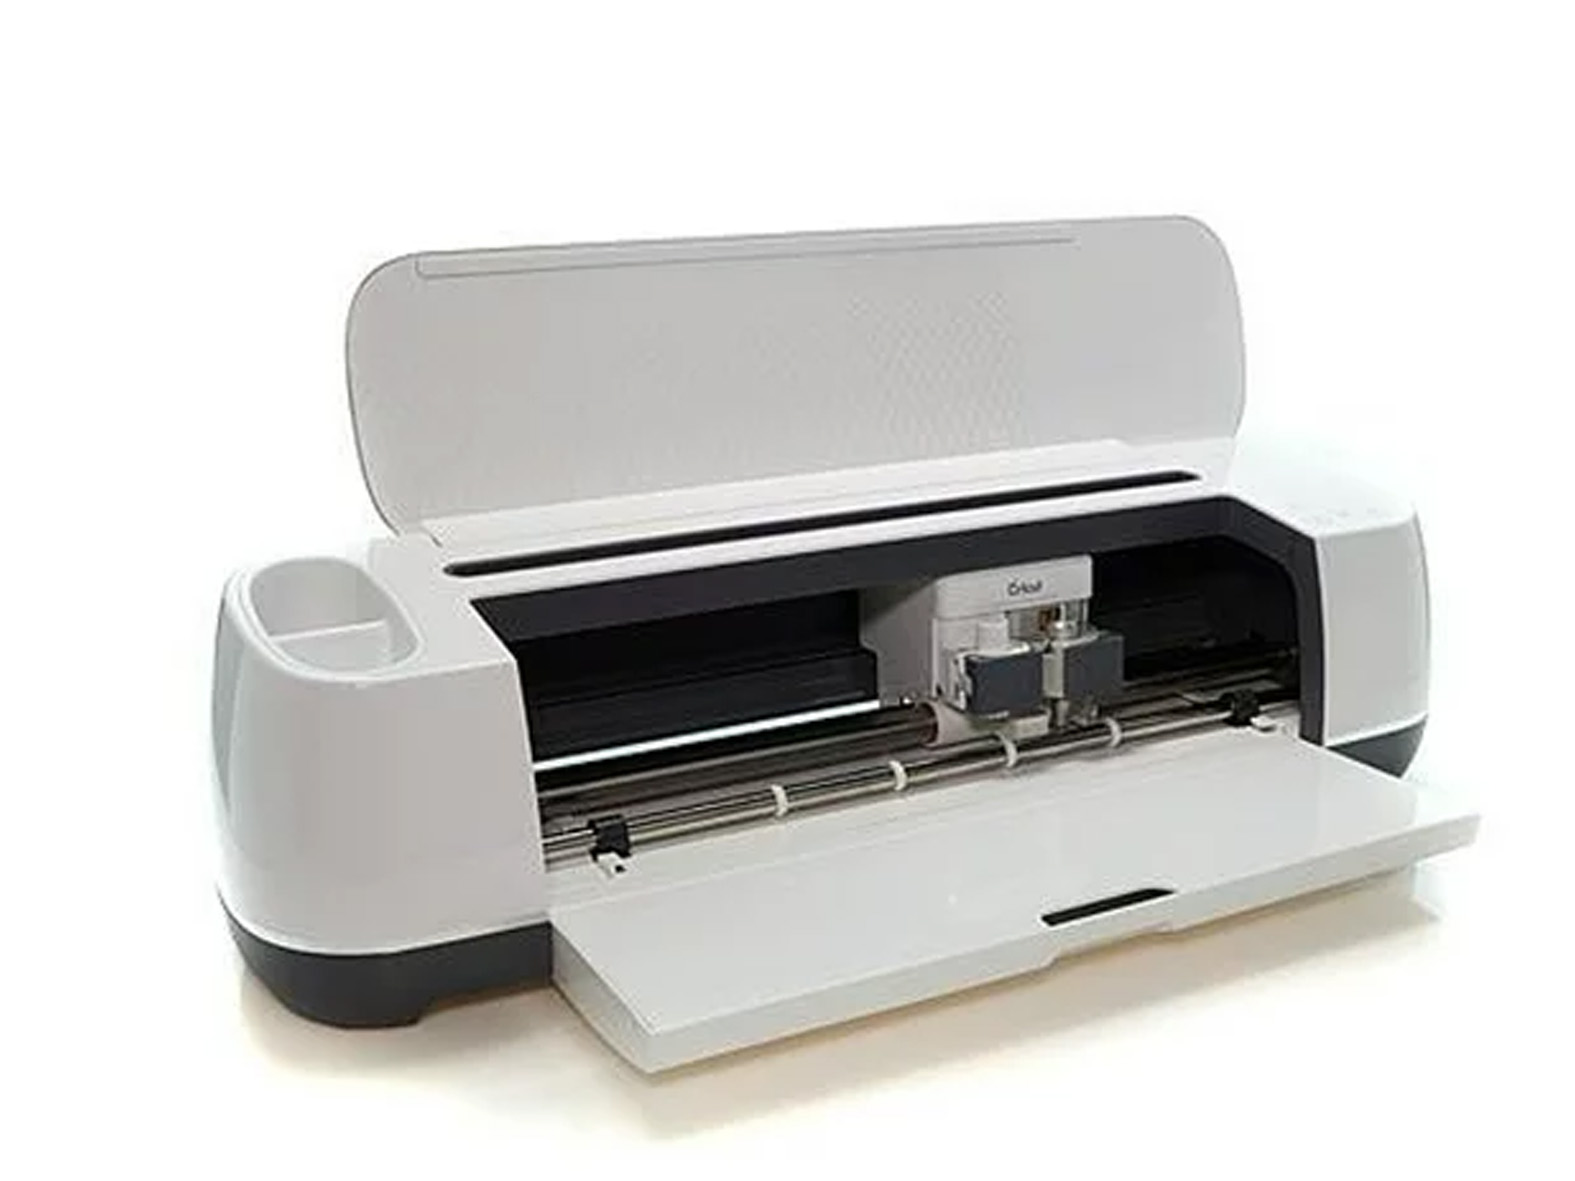
vinyl and fabric cutting plotter
what you can do for your Clothing and decorative fabrics projects ?
Product Uasge
4.Cutter Recommendations
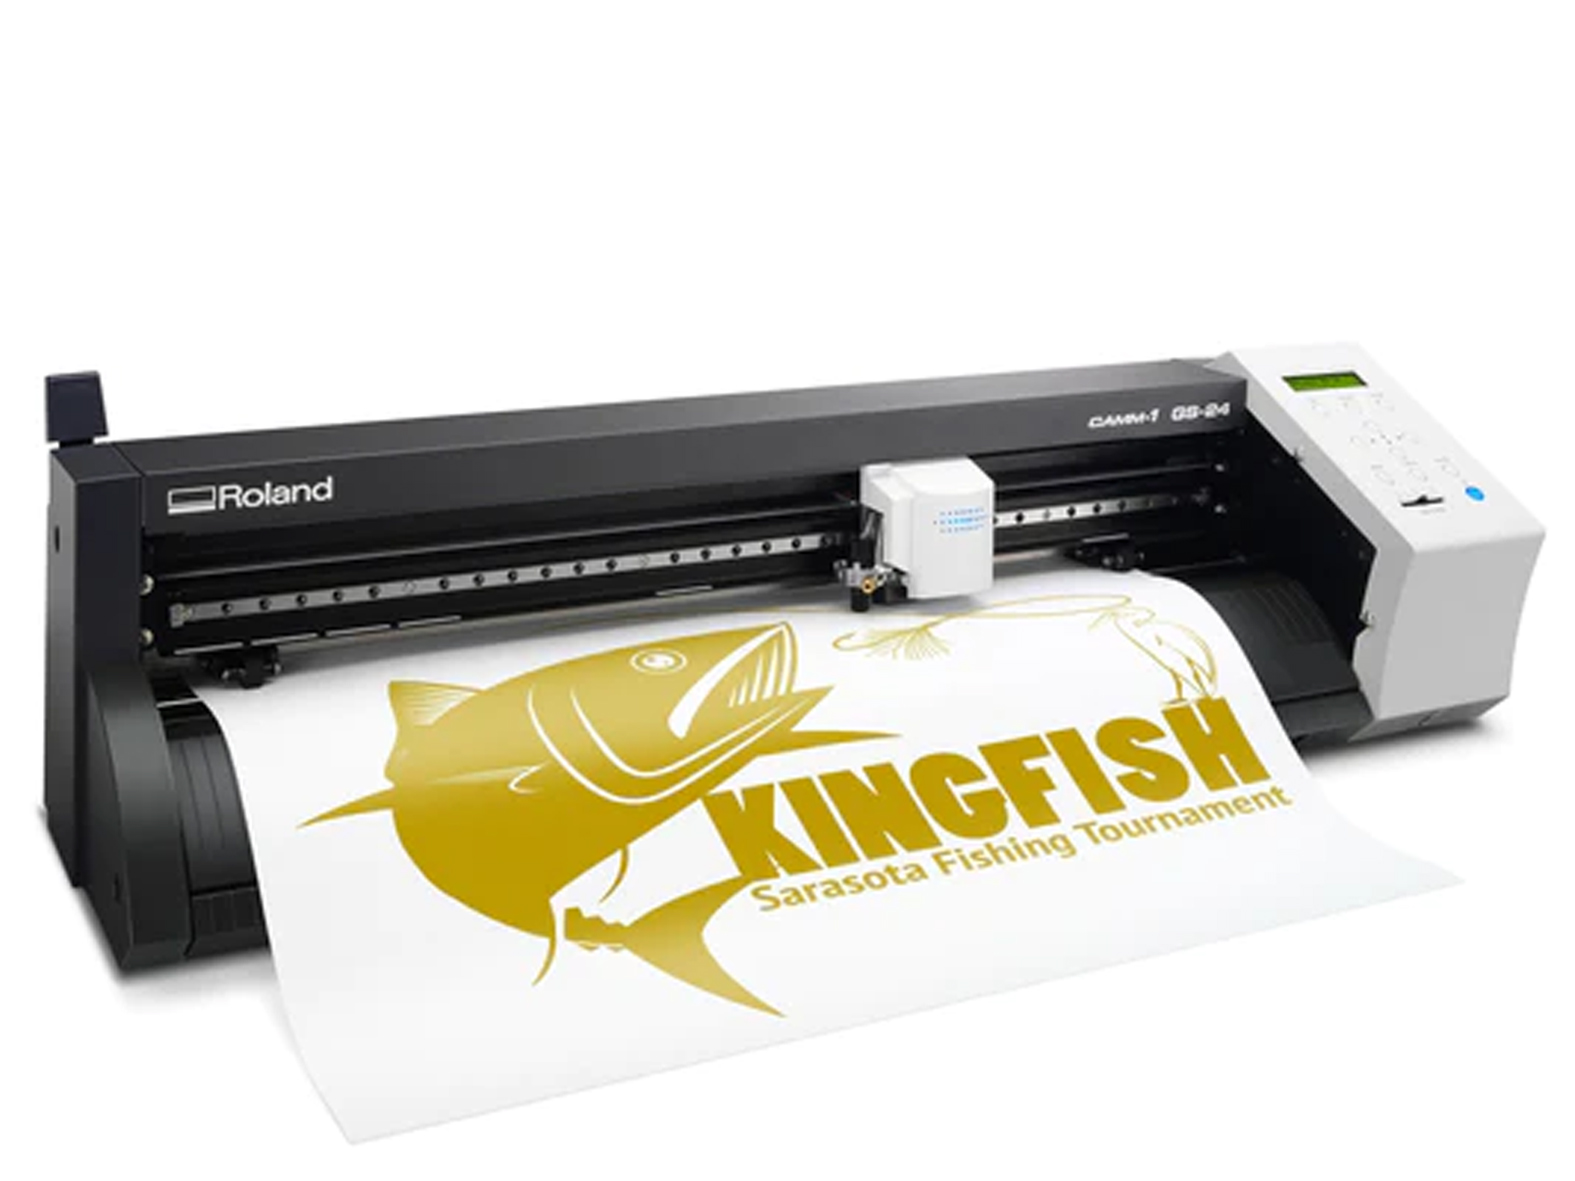
Heat Transfer Vinyl Flock can be cut by all conventional cutting plotters such as : Roland CAMM-1 GR/GS-24,STIKA SV-15/12/8 desktop, Mimaki 75FX/130FX series,CG-60SR/100SR/130SR,Graphtec CE6000 etc.
5.Cutting plotter setting
You should always adjust the knife pressure, cutting speed according to your blade ages and the Complicated or size of text.
Note: The above technical data and recommendations are based trials, but our customer’s operating environment,
non-control, we do not guarantee their applicability, Before use, Please to first full test.
6.Iron-On transferring
■ Prepare a stable, heat-resistant surface suitable for ironing on.
■ Preheat the iron to the < wool> setting, recommended ironing temperature 165°C.
■ Briefly iron the fabric to ensure that it is completely smooth, then place the transfer paper onto it with the printed image facing downwards.
■ Do not use the steam function.
■ Make sure that the heat is evenly transferred over the entire area.
■ Iron the transfer paper, applying as much pressure as possible.
■ When moving the iron, less pressure should be given.
■ Don’t forget the corners and edges.

■ Continue ironing until you have completely traced the sides of the image. This entire process should take about 60-70 seconds for an 8”x 10” image surface. Follow-up by ironing the whole image quickly, heating all of the transfer paper again for approximately 10-13 seconds.
■ Peel the back film starting at the corner after the ironing process.
7.Heat press transferring
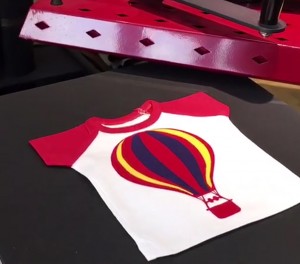
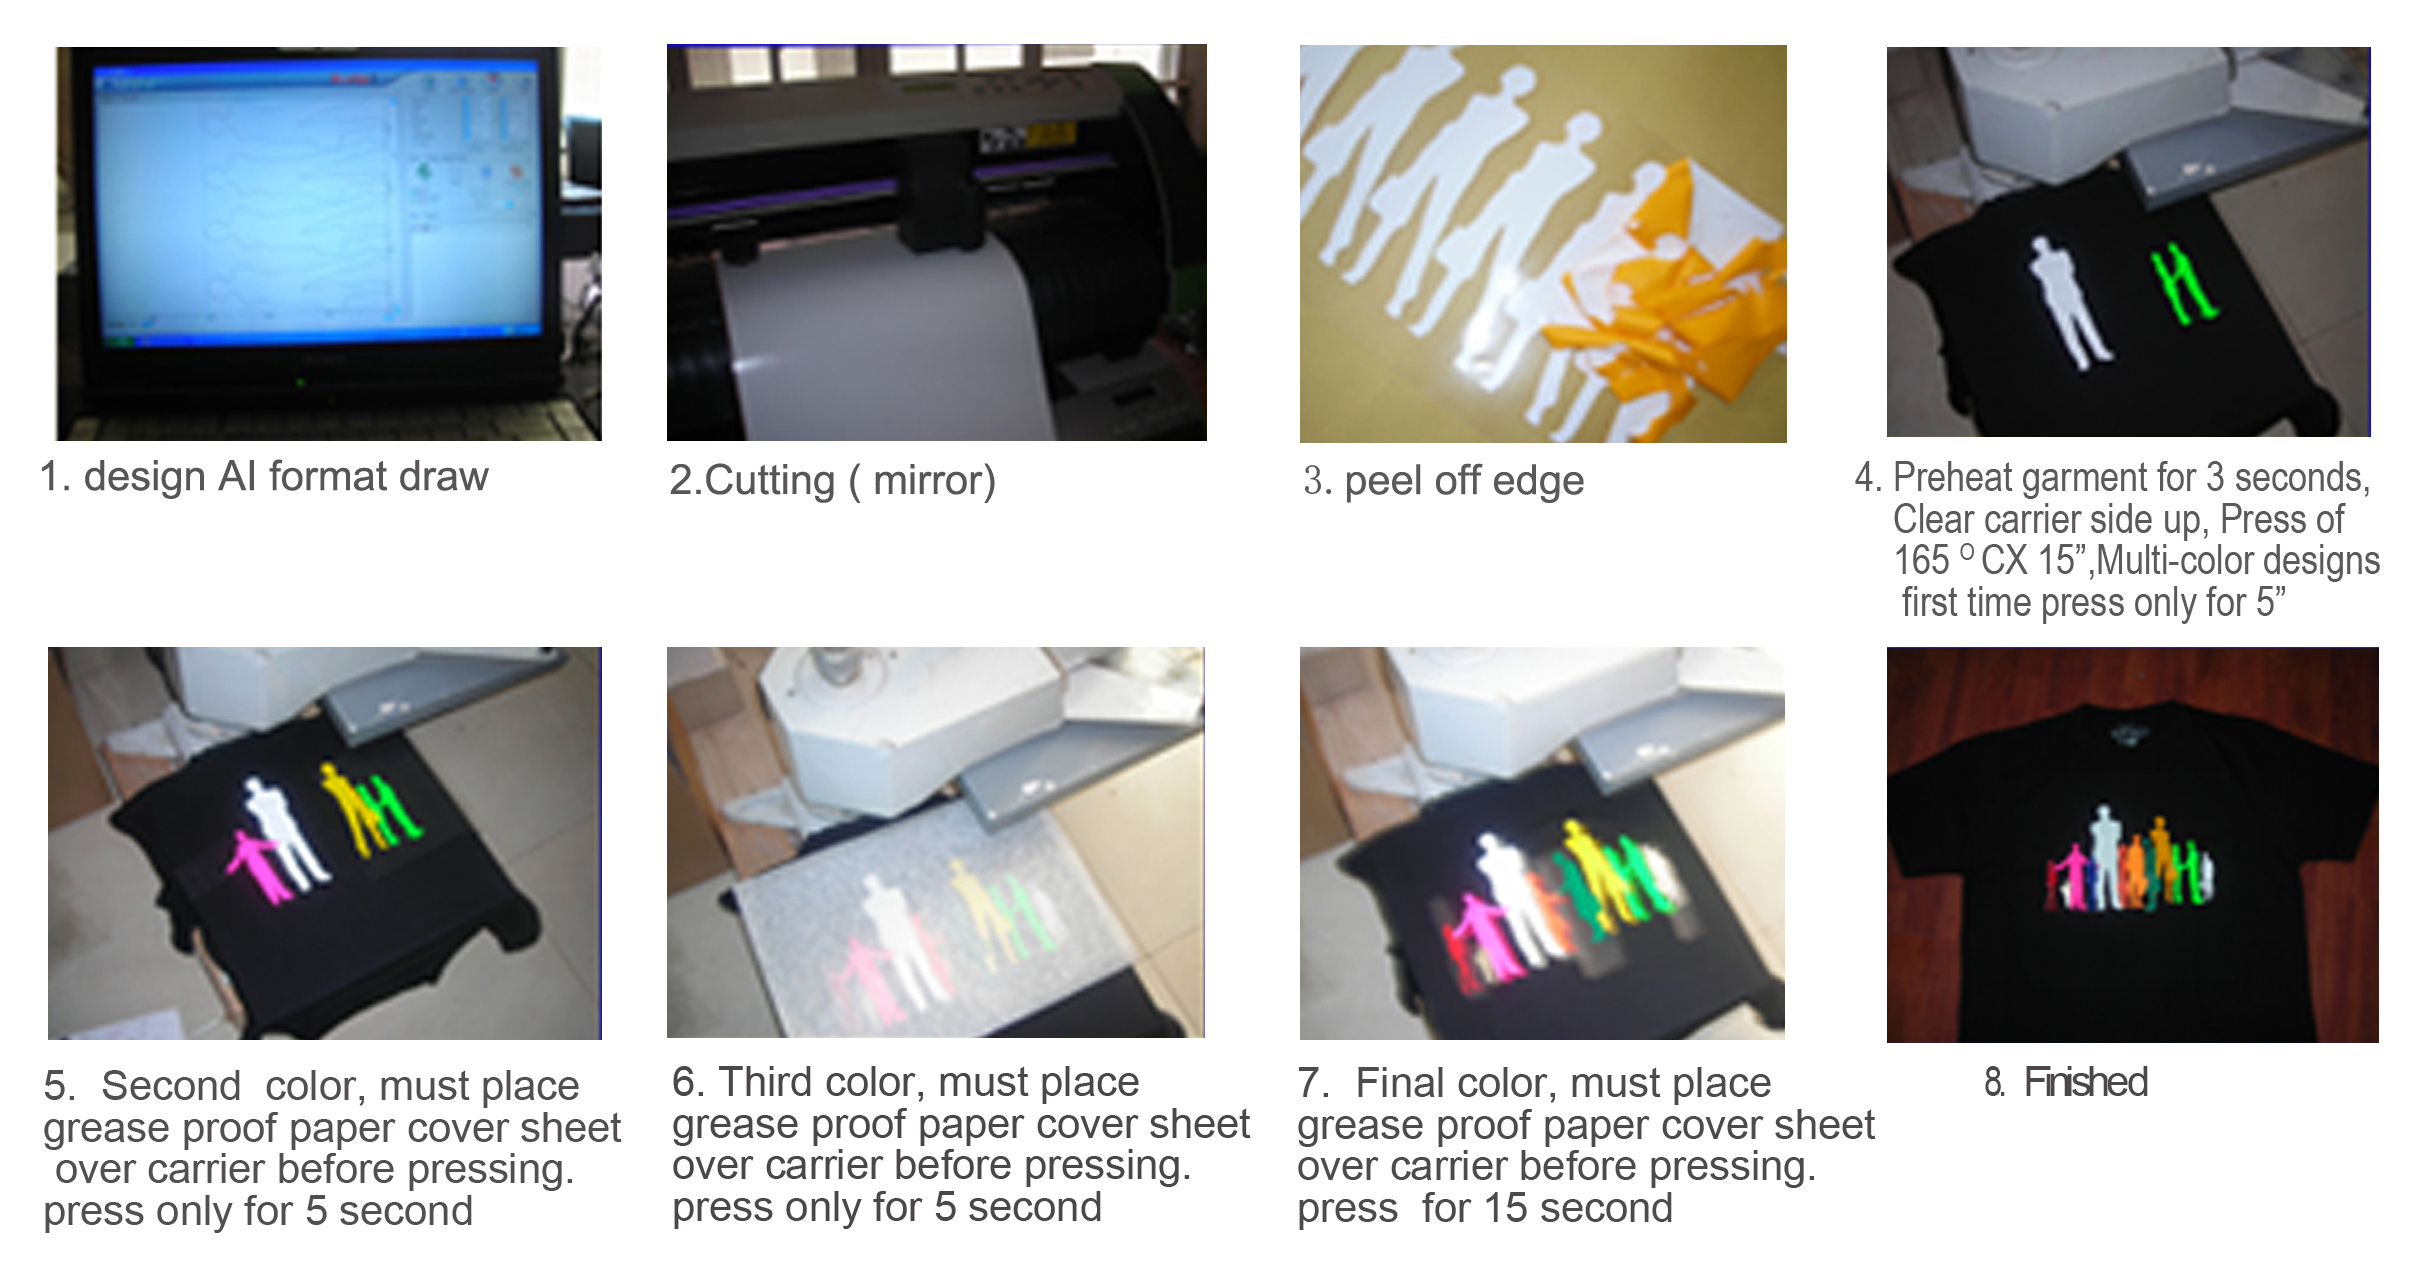
■ Setting heat press machine 165°C for 15~25 seconds using moderate pressure. the press should snap closed firmly.
■ Briefly press the fabric 165°C for 5 seconds to ensure that it is completely smooth.
■ Place the transfer paper onto it with the printed image facing downwards.
■ Press machine 165°C for 15~25 seconds.
■ Peel the back film starting at the corner.
8.Washing Instructions:
Wash inside out in COLD WATER. DO NOT USE BLEACH. Place into the dryer or do hang to dry immediately. Please do not stretch the image transferred or the T-shirt as this may cause cracking to occur, If cracking or wrinkling does occur, please place a sheet of greasy proof paper over the transfer and heat press or iron for a few seconds making sure to press firmly over the entire transfer again.
Please remember to not iron directly on the image surface.
9.Finishing Recommendations
Material Handling & Storage: conditions of 35-65% Relative Humidity and at a temperature of 10-30°C.
Storage of open packages: When an open packages of media is not being used remove the roll or sheets from the printer cover the roll or sheets with a plastic bag to protect it from contaminants, if you are storing it on end, use an end plug and tape down the edge to prevent damage to the edge of the roll do not lay sharp or heavy objects on unprotected rolls and do not stack them.


