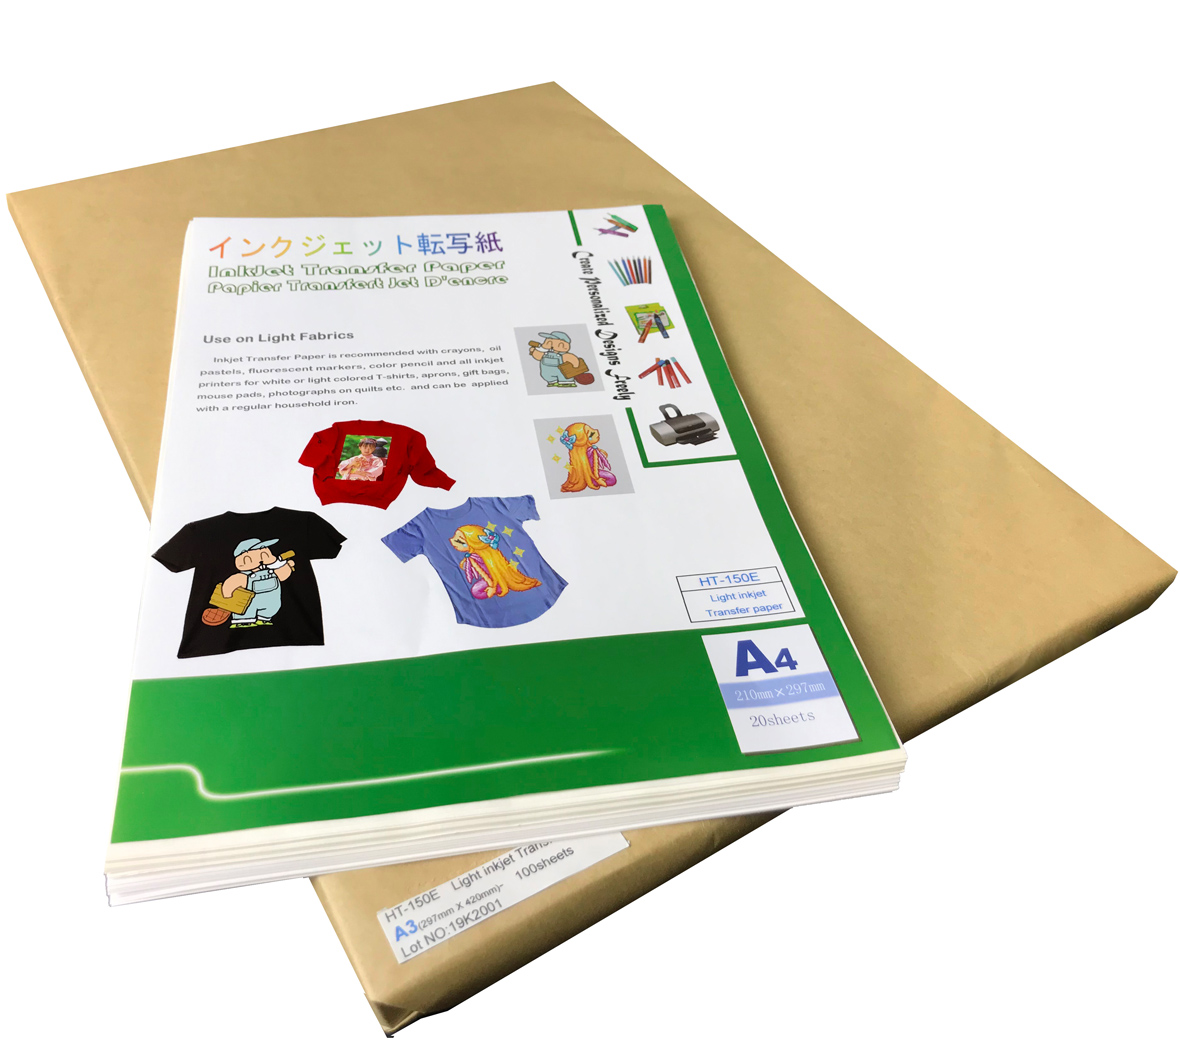
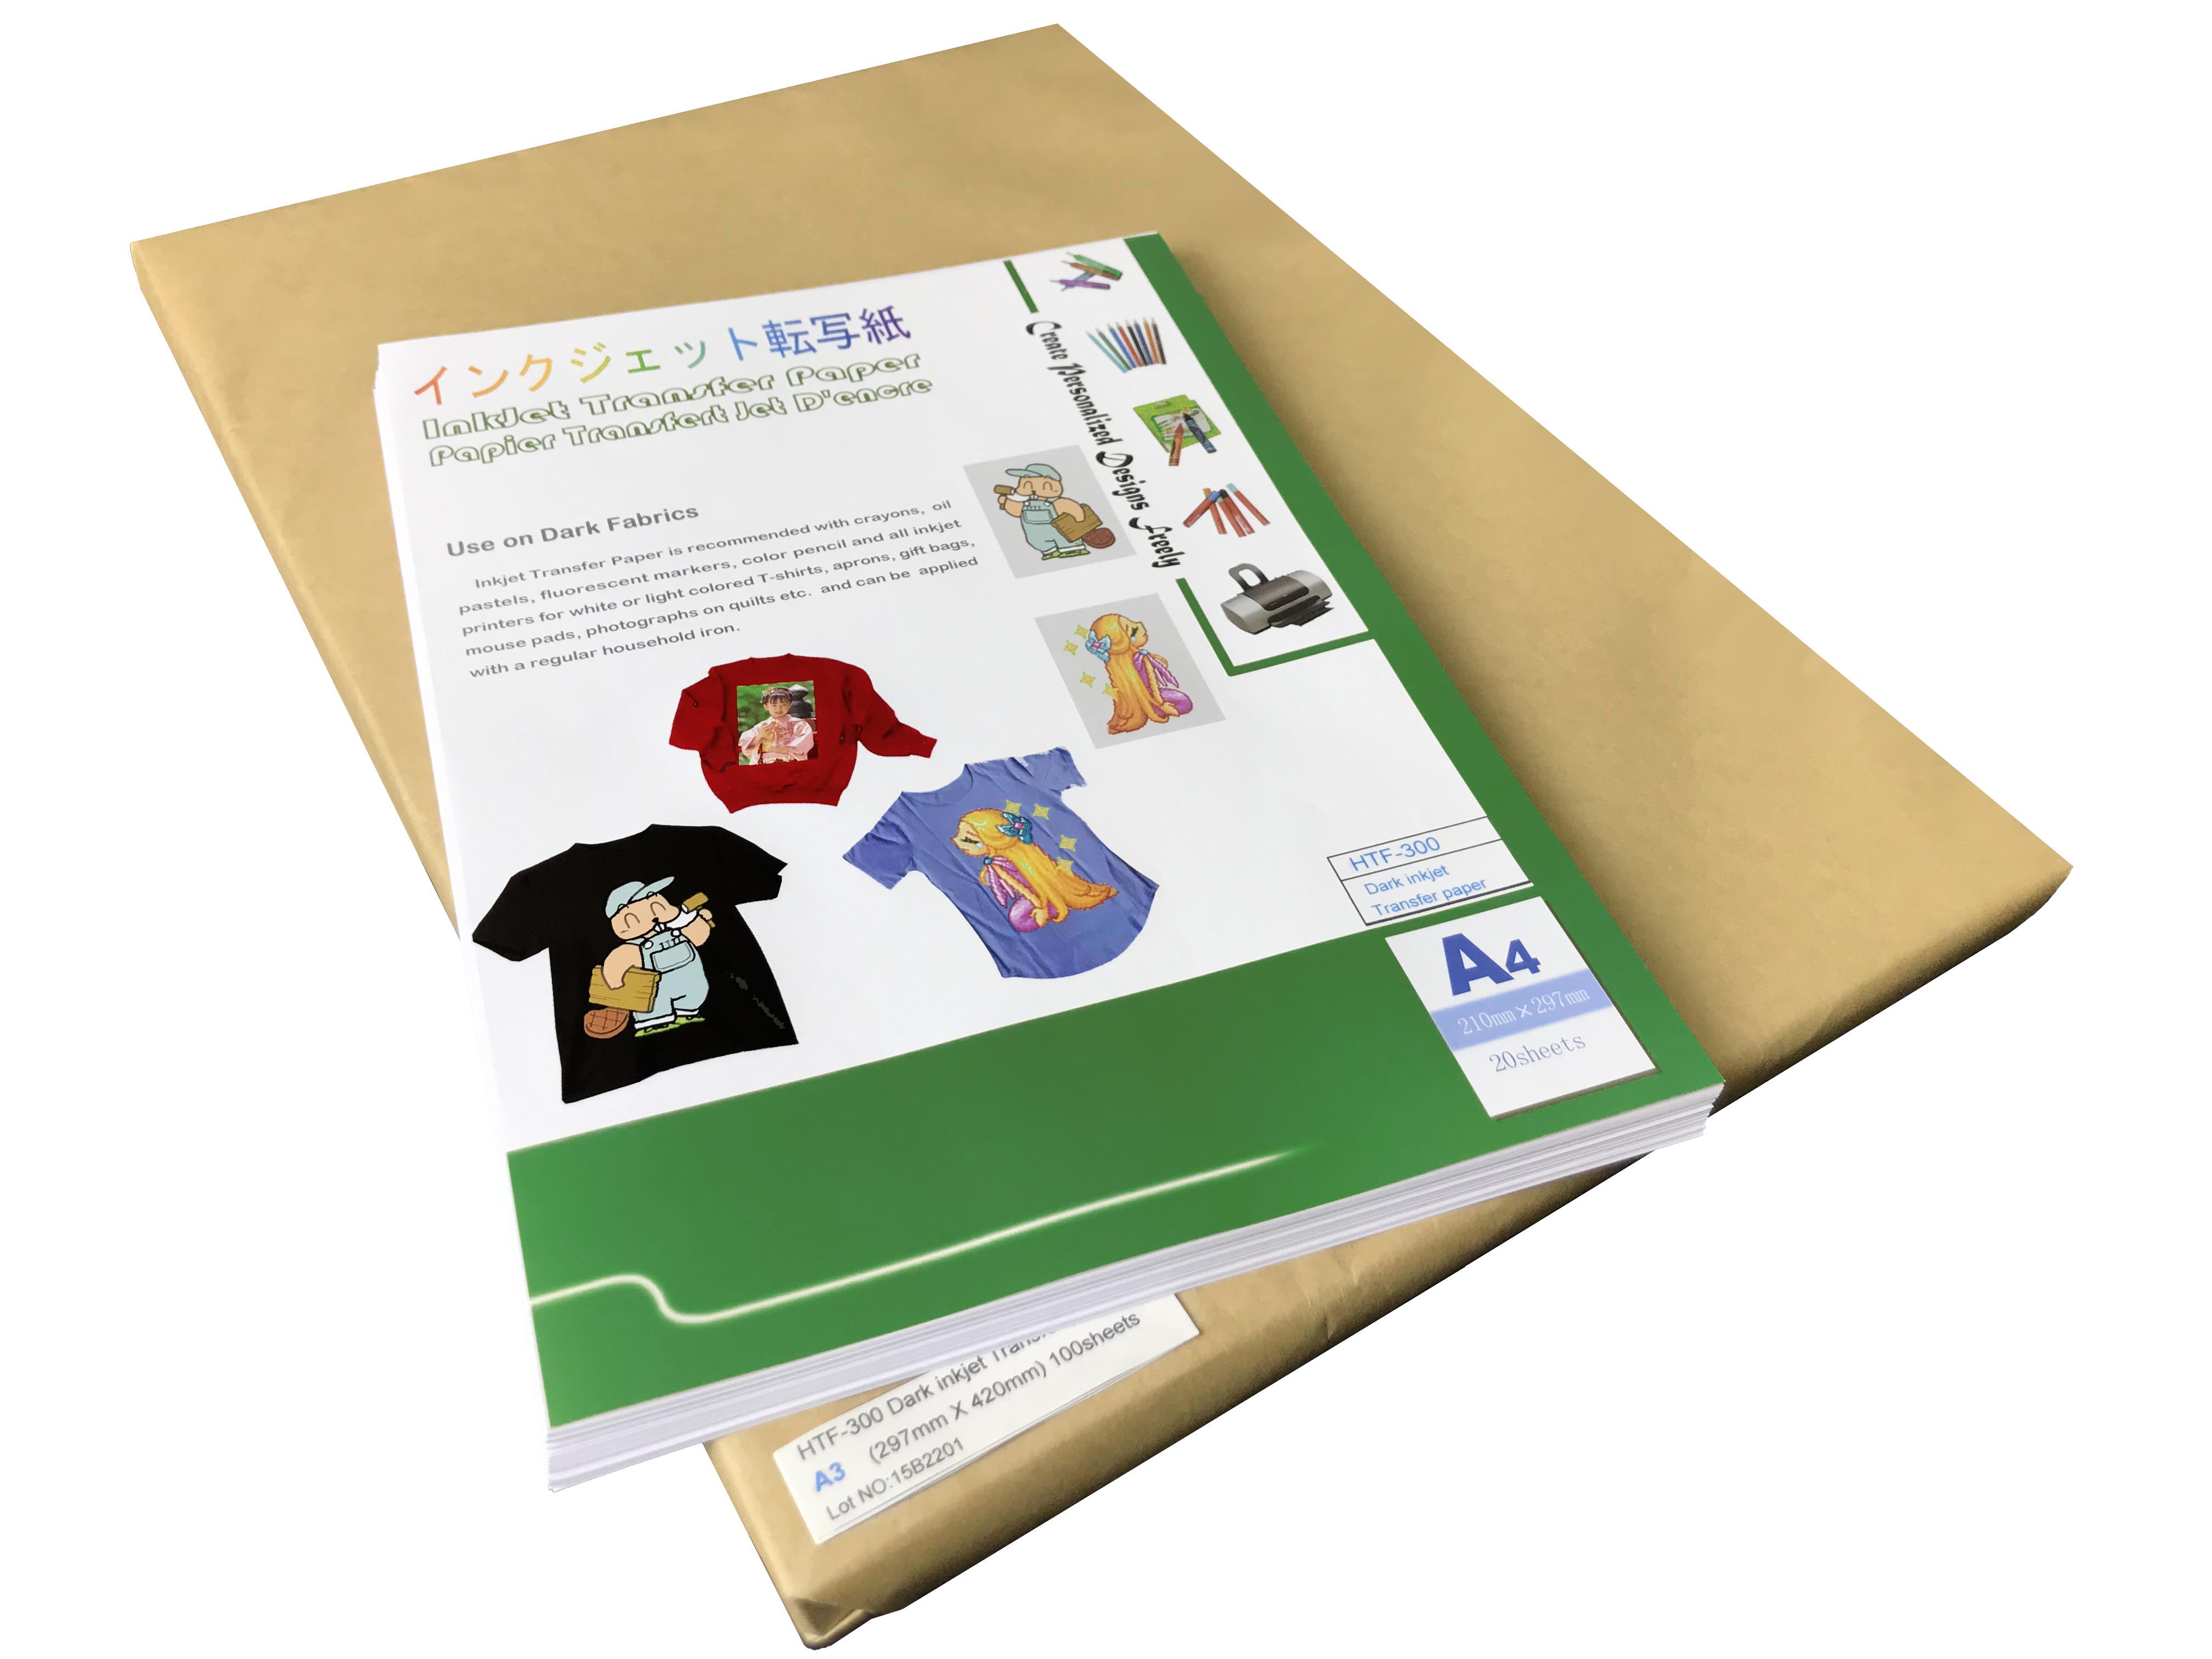
Light InkJet glitter transfer paper
Product Detail
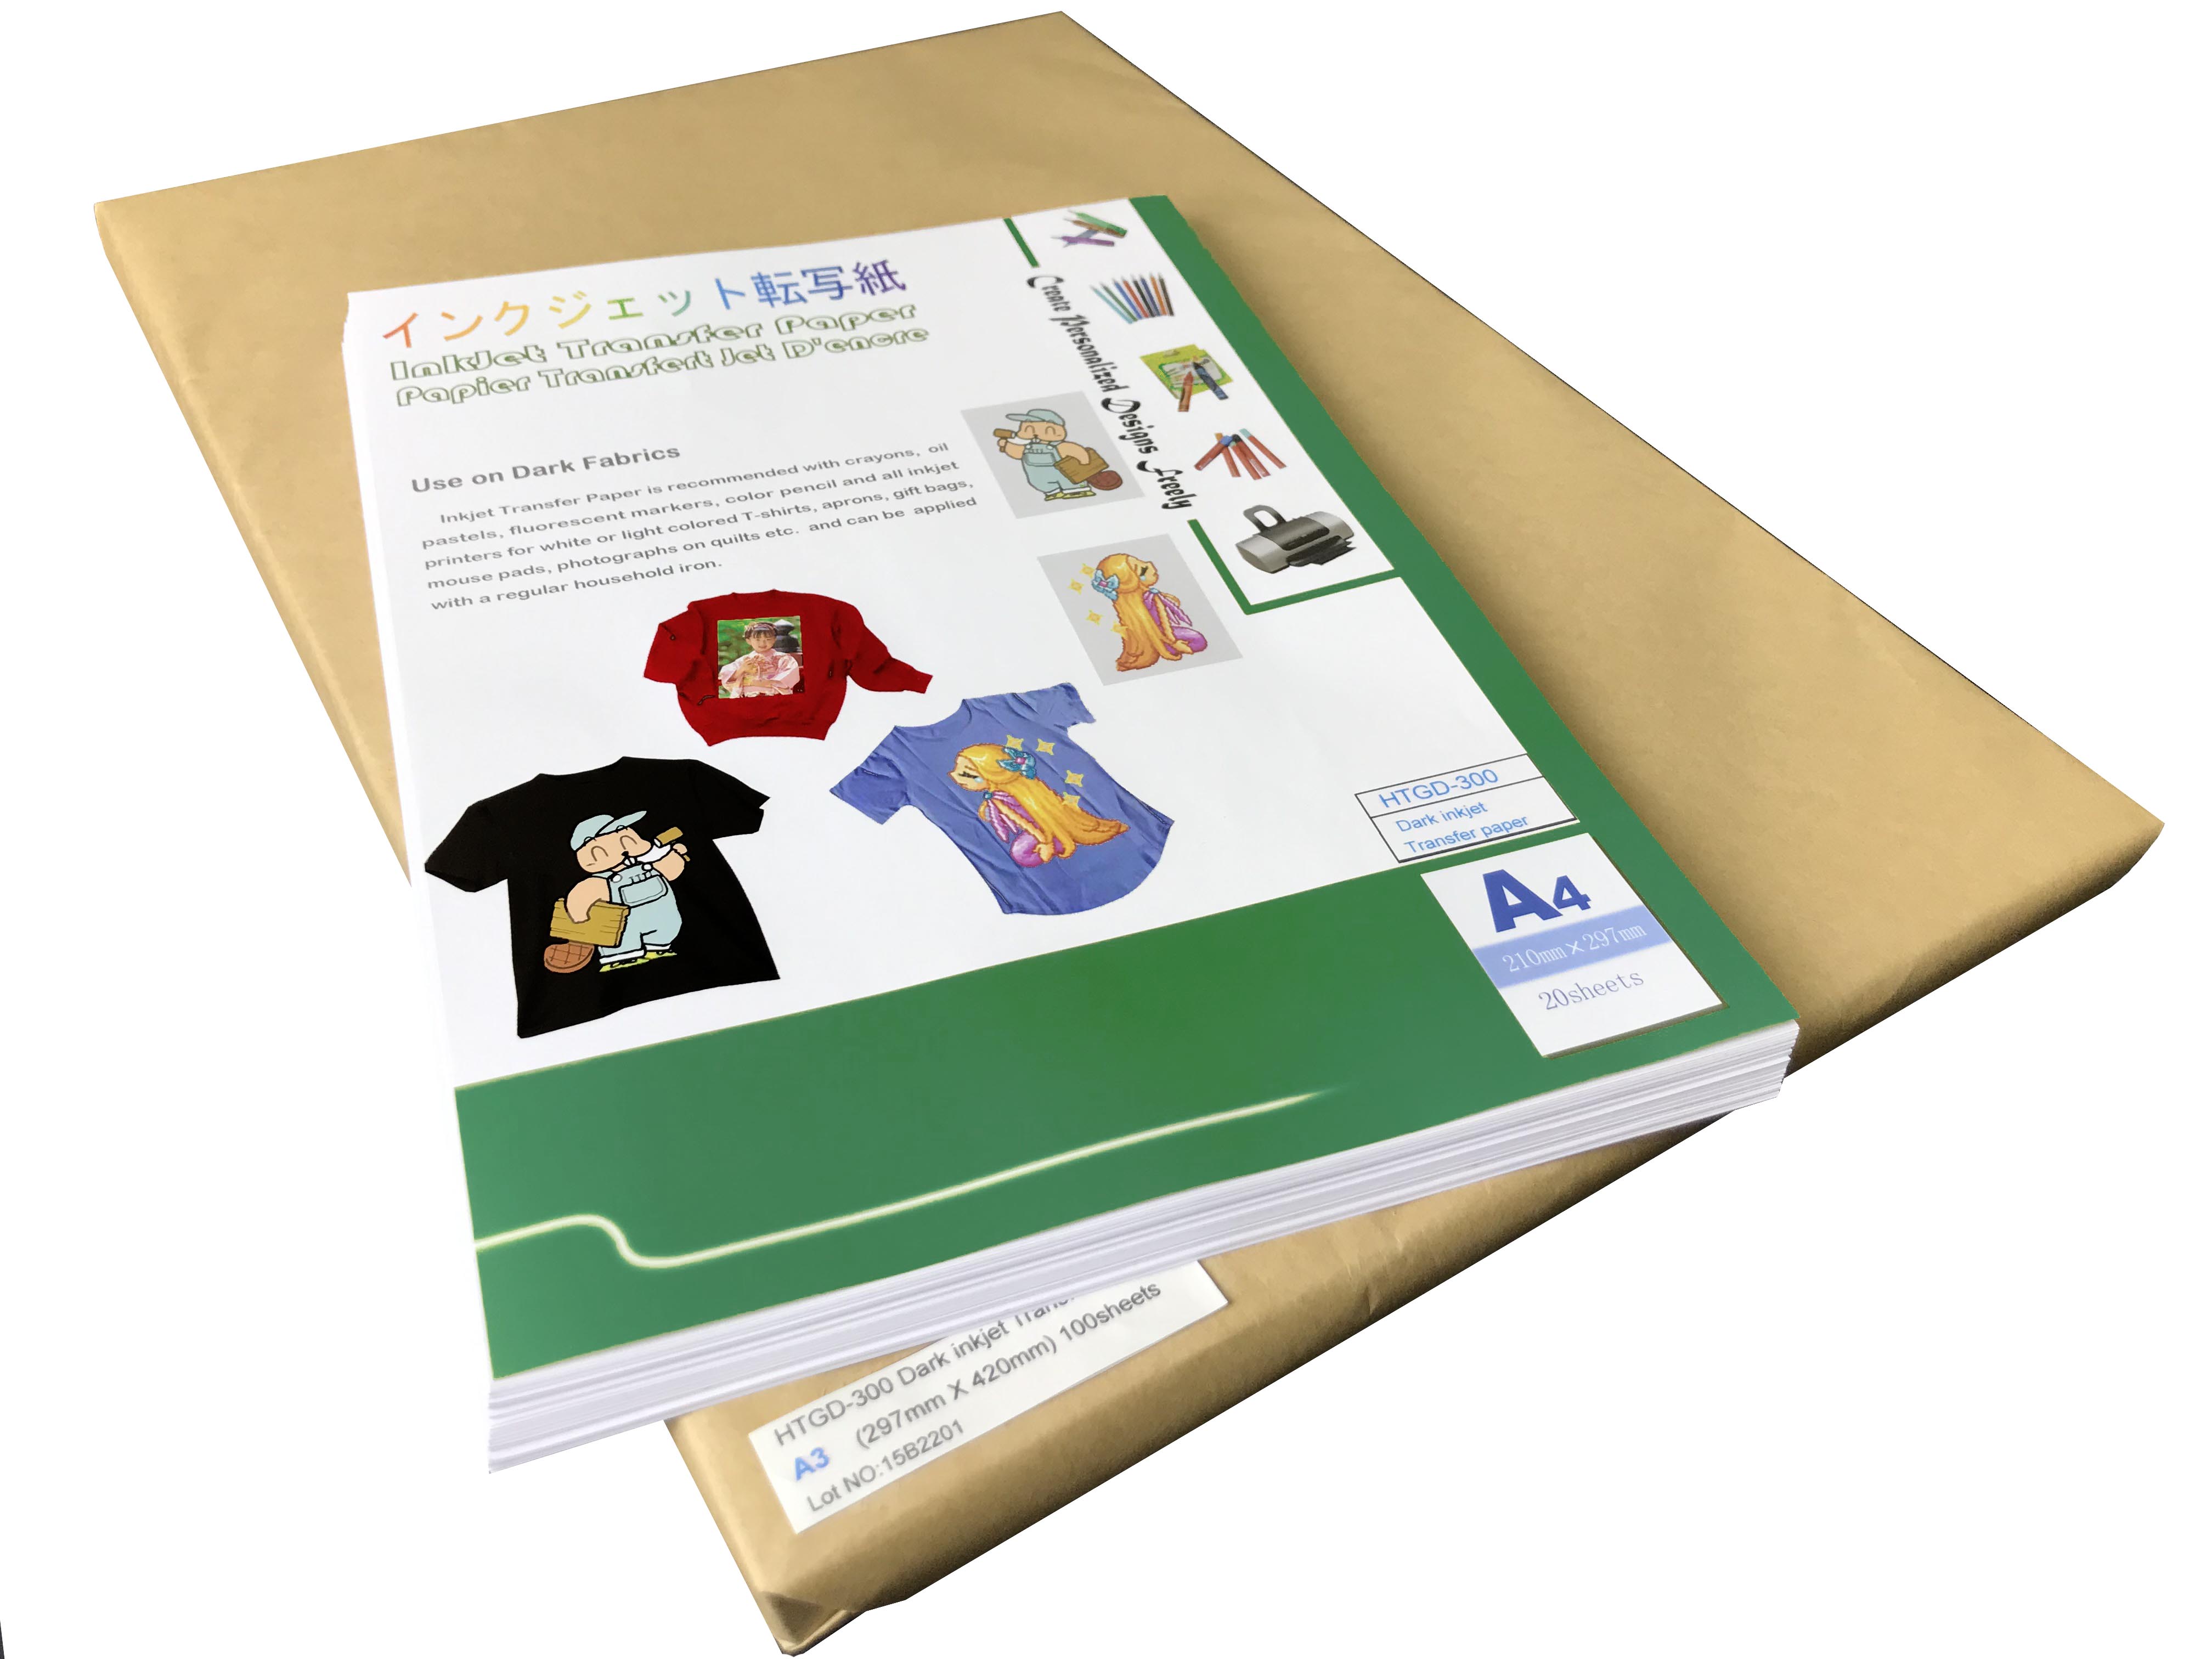
Light Inkjet glitter transfer paper HT-150GL
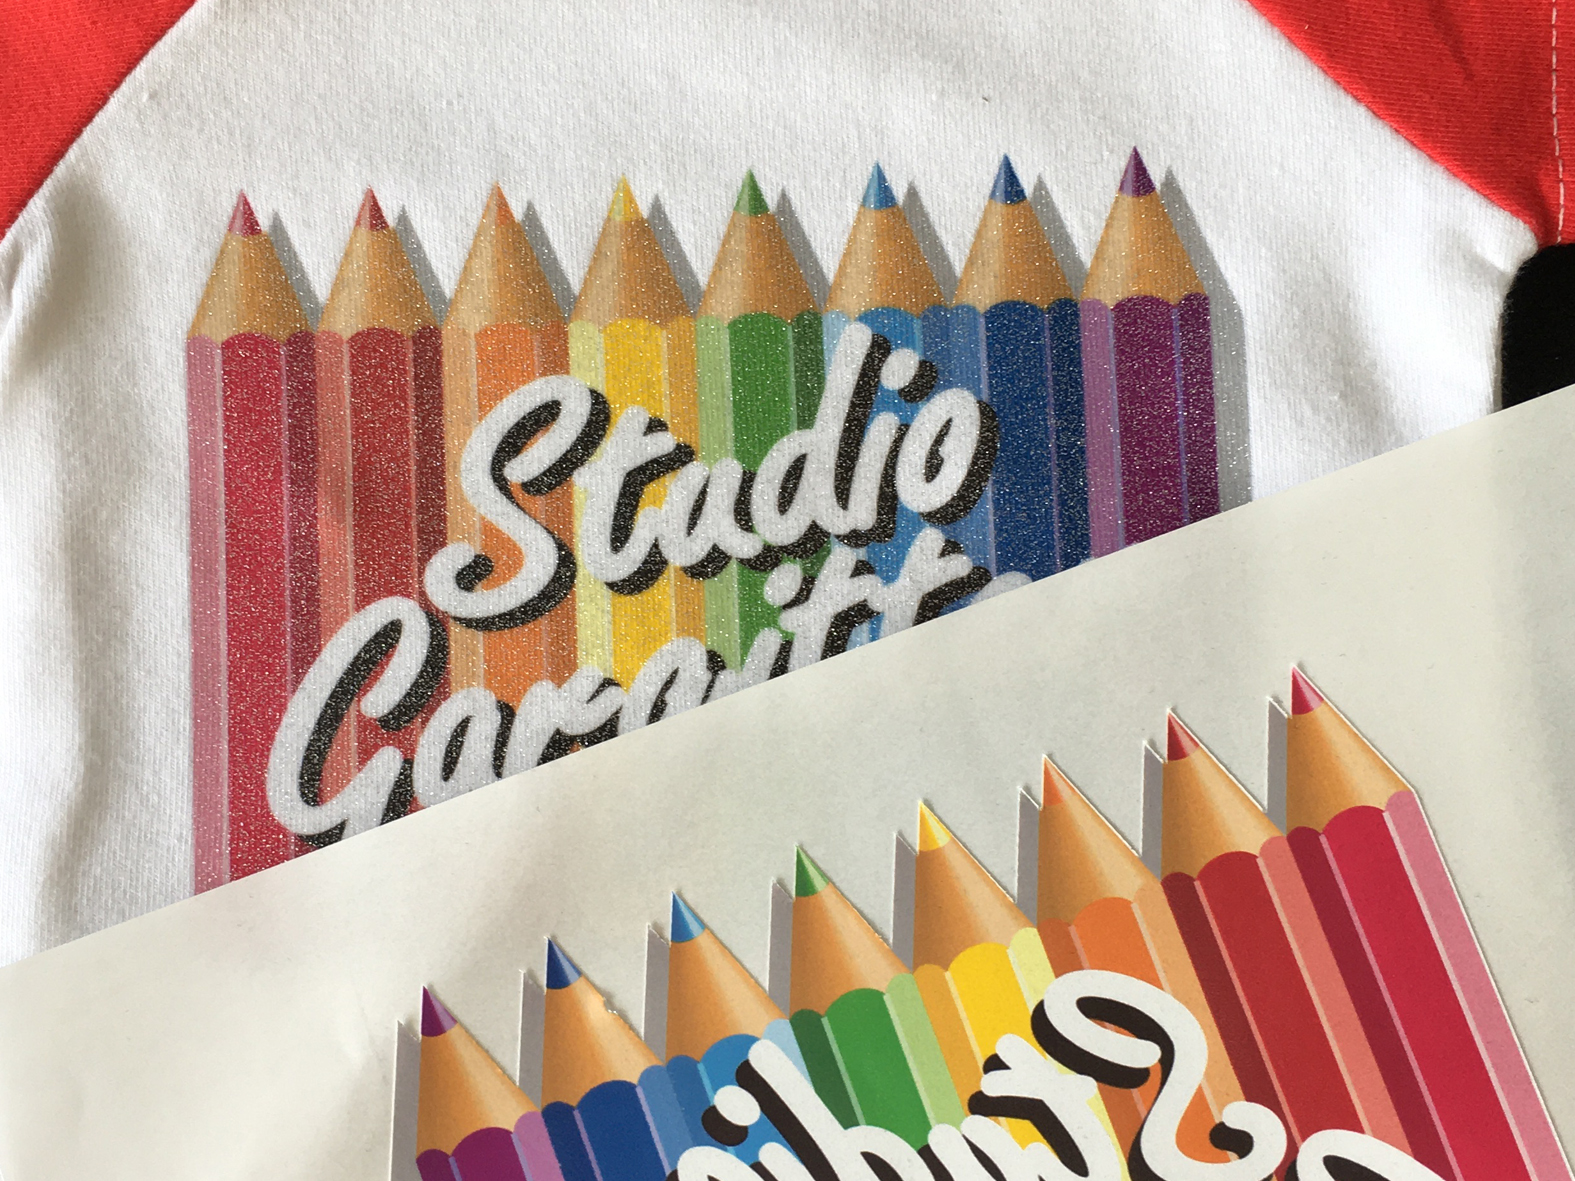
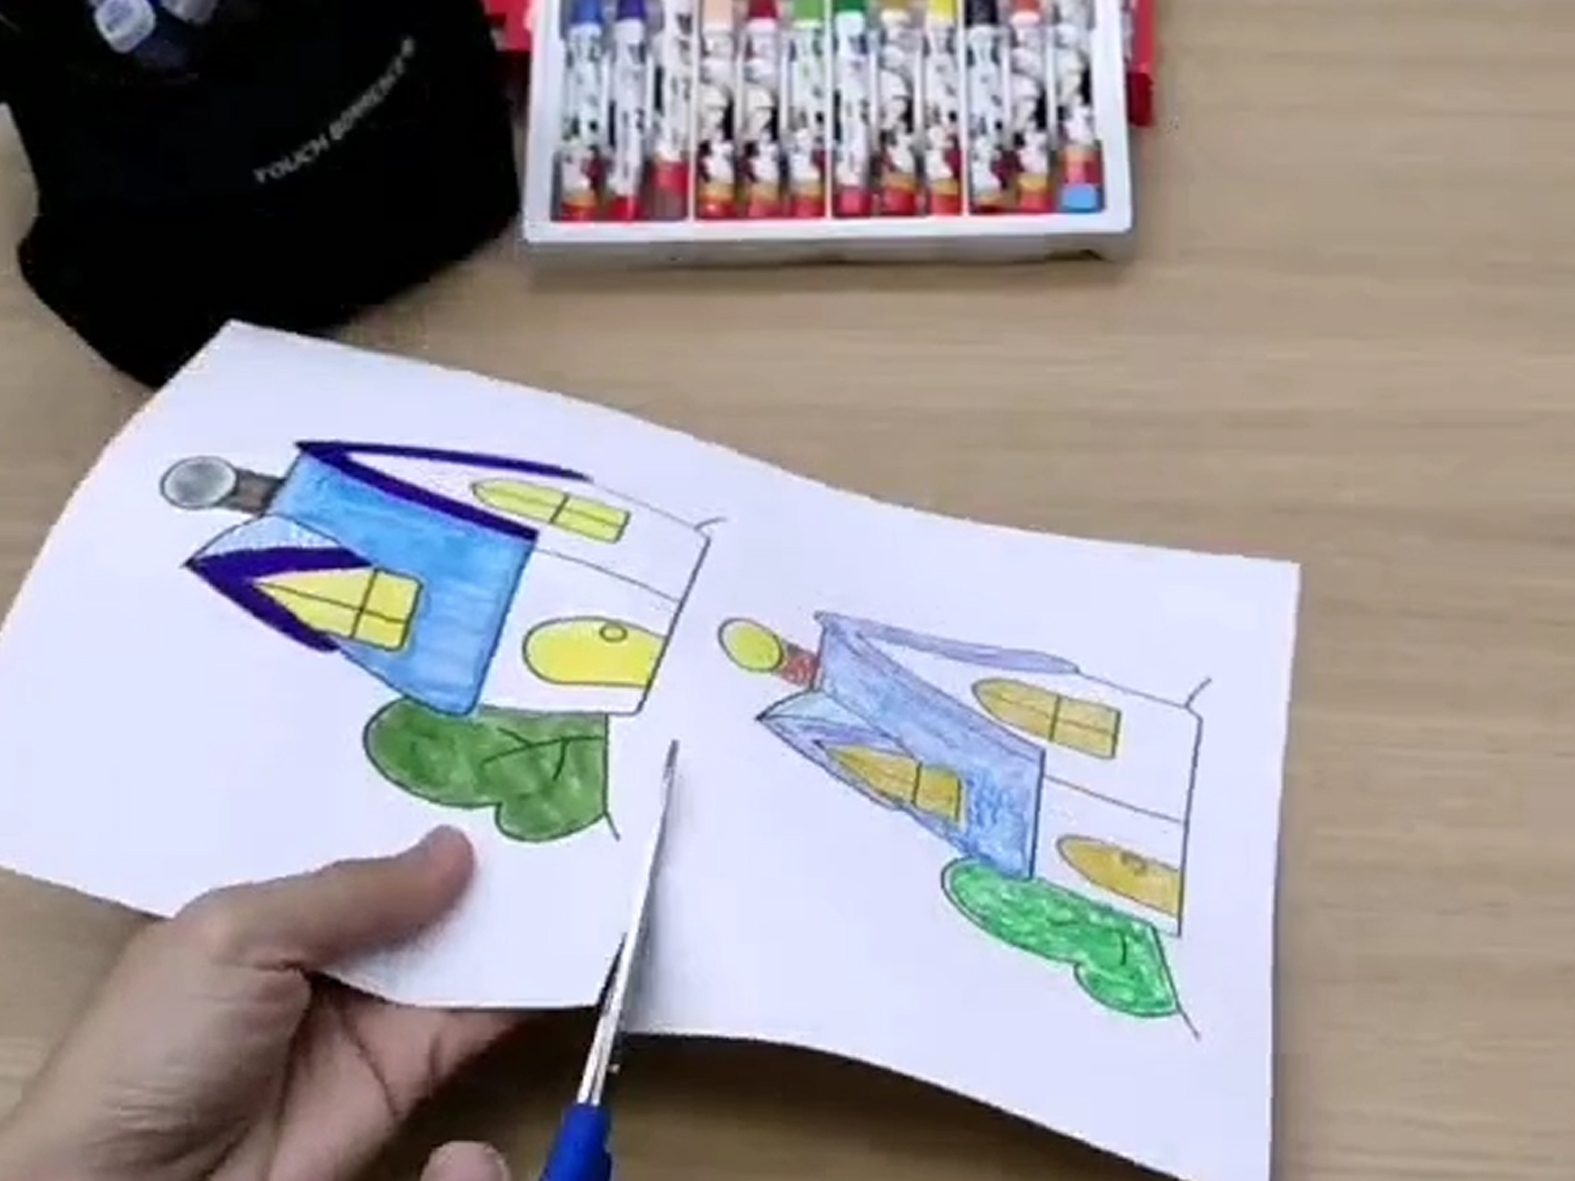
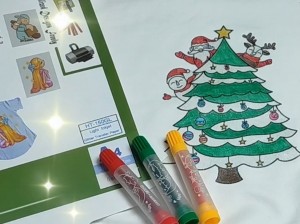
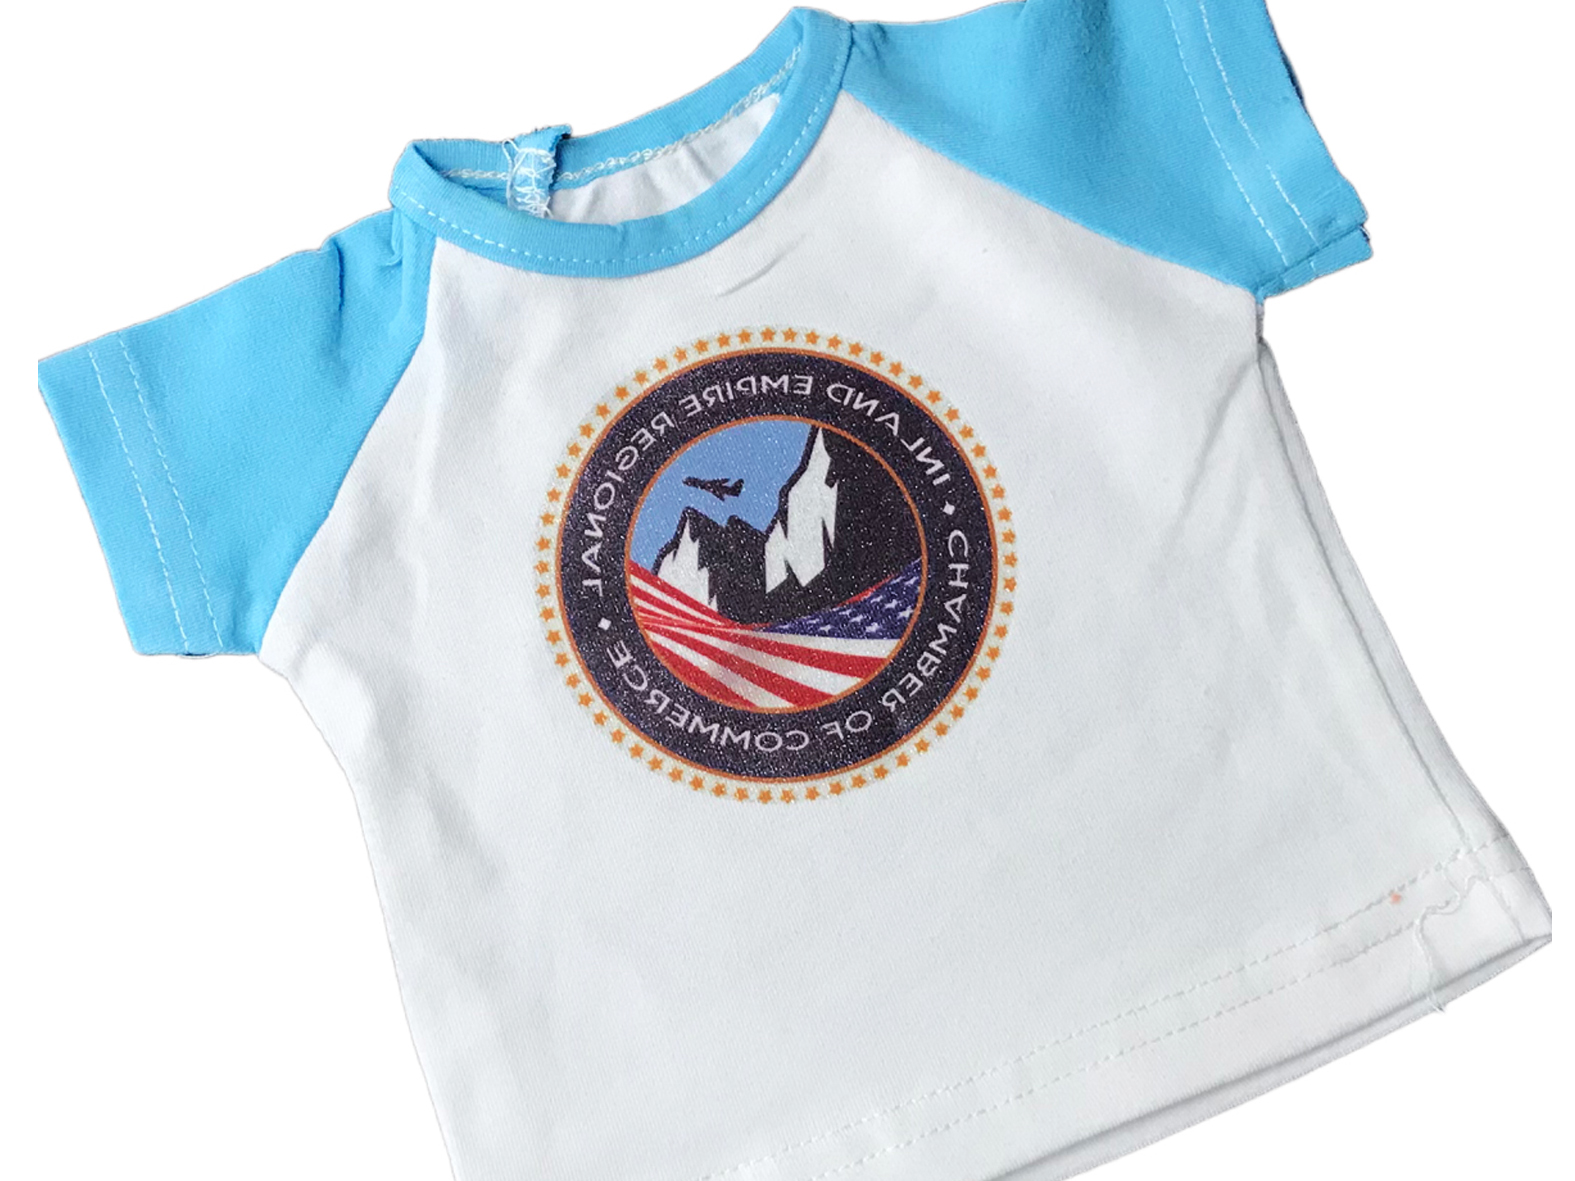
Light Inkjet glitter transfer paper(HT-150GL) can be painted by wax crayons, Oil pastels, fluorescent markers, color pencil, and printed by all kinds of inkjet printers, then transferred onto white or light colored cotton fabric, cotton/polyester blend, 100%polyester, cotton/spandex blend, cotton/nylon etc by a regular household iron, mini heat press or heat press machine. the back paper can be peel off easily with hot or after it cools. Decorate fabric with glitter shinning effect photos in minutes. and get great durability with image retaining color, wash-after-wash.

Advantages
■ Customize fabric with favorite glitter shinning effect photos and color graphics.
■ Designed for vivid results on white or light-colored cotton or cotton/polyester blend fabrics
■ Ideal for personalizing T-shirts, canvas bags, aprons, gift bags, mouse pads, photographs on quilts etc.
■ You can get glossy finished with cool peel or matte finished with hot peel.
■ Good washable and keep coloration
■ Polyurethane materials with more flexible and more elastic
Personalizing Photos and Images of T-shirts with Light Inkjet Glitter Transfer Paper ( HT-150GL)
what can you do for your clothing and Craft projects ?
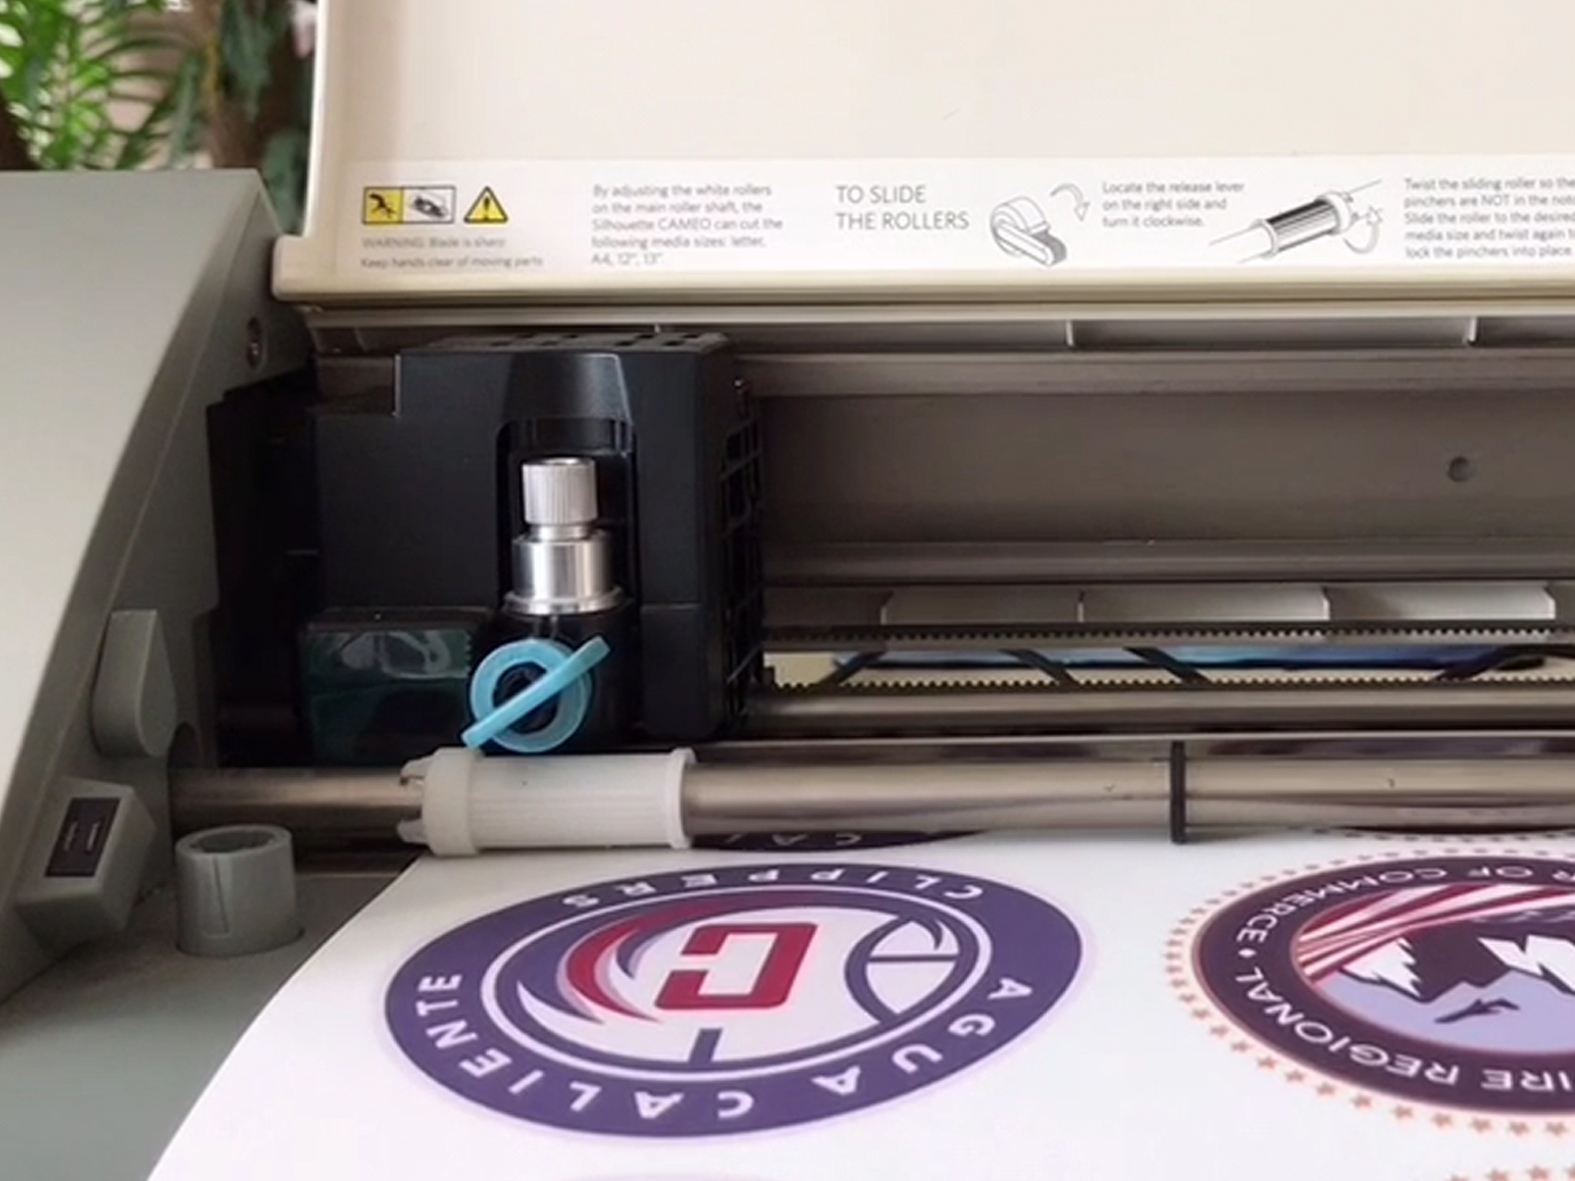
Product Uasge
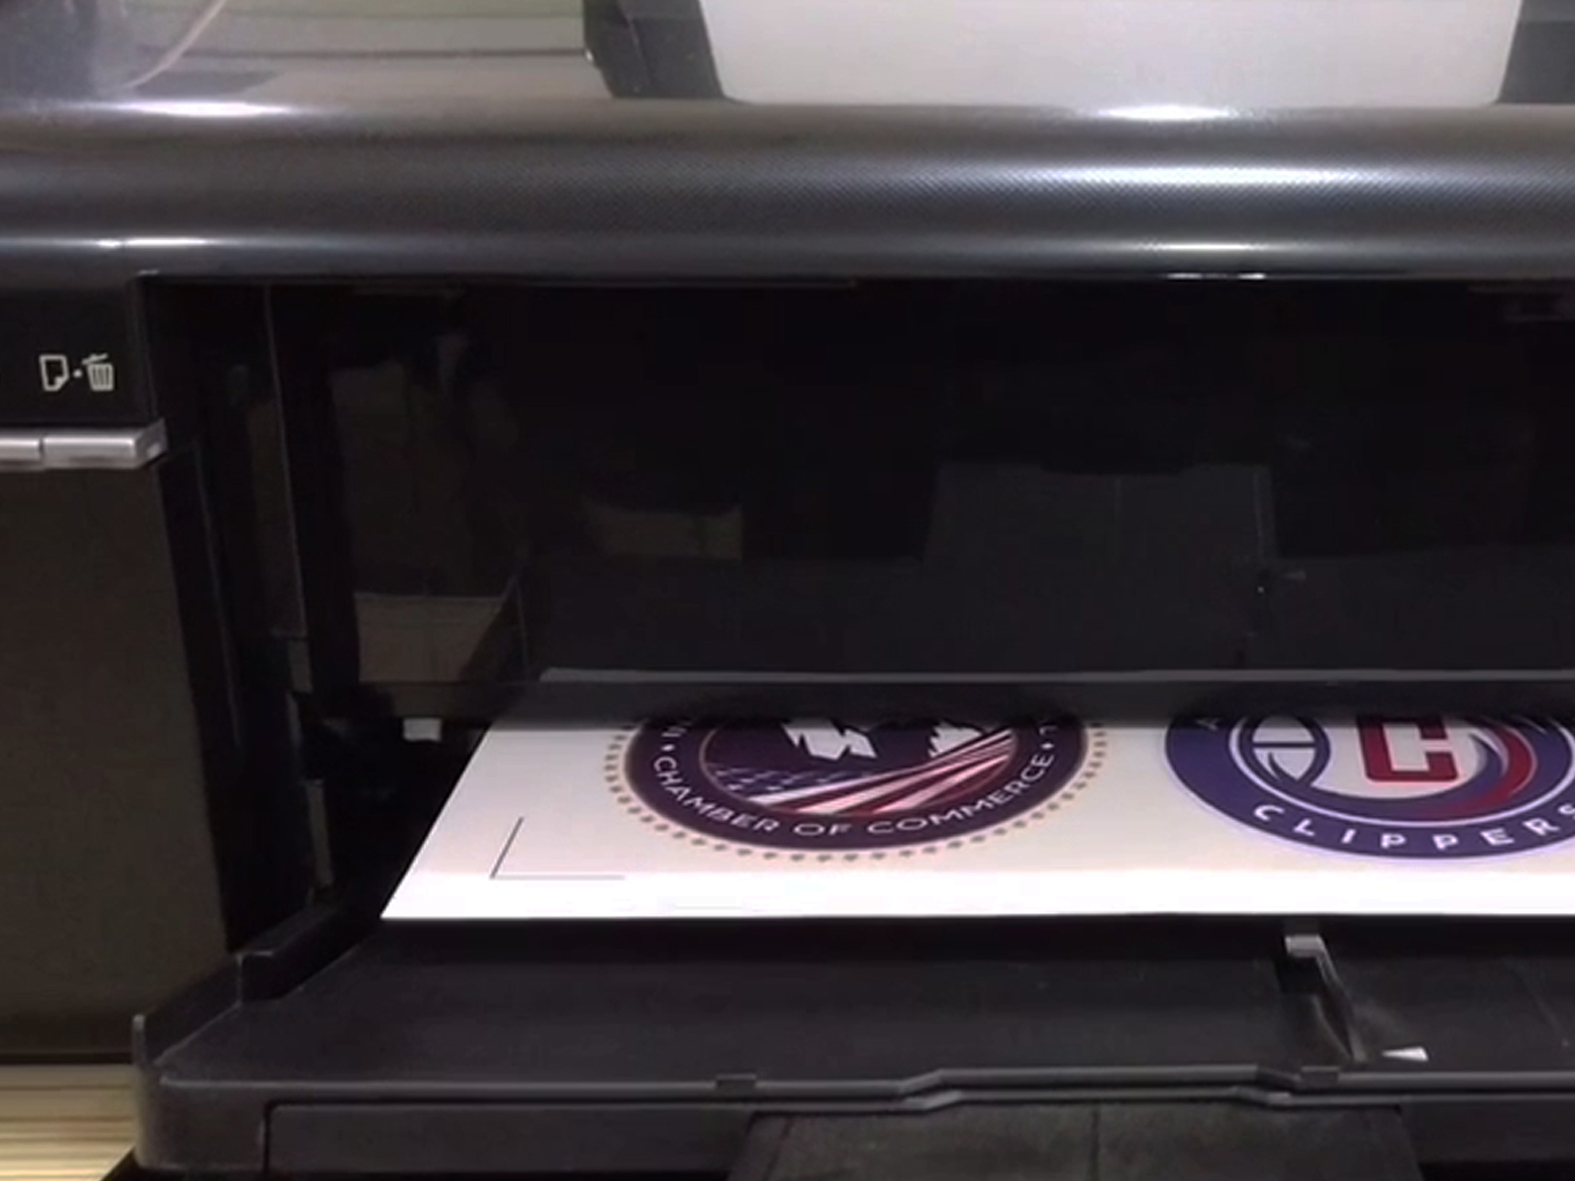
4.Printer Recommendations
It can be printed by all kinds of printers such as : Epson Stylus Photo 1390, R270, R230, PRO 4400,Canon PIXMA ip4300, 5300, 4200, i9950, ix5000, Pro9500,HP Deskjet 1280, HP Photosmart D7168 , HP Officejet Pro K550 etc. and some of color laser printers such as :Epson AcuLaser CX11N, C7000, C8600, Fuji Xerox DocuPrint C525 A, C3210DX, Canon laser shot LBP5600・LBP5900・LBP5500・LBP5800, Canon CLC1100・CLC1130・CLC1160・CLC5000 etc.
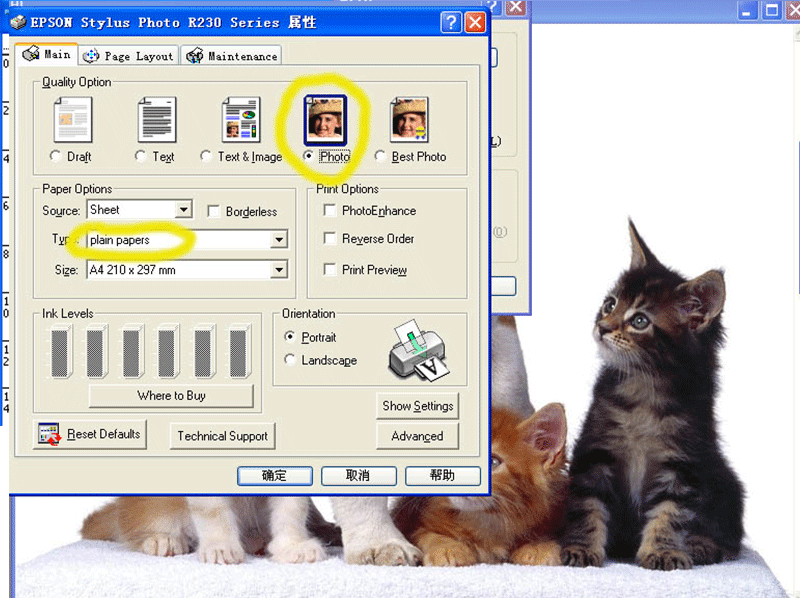
5.Printing setting
Quality Option: photo(P), Paper Options: Plain papers alizarin Co., Ltd.
6.Iron-On transferring

■ Prepare a stable, heat-resistant surface suitable for ironing on.
■ Preheat the iron to the highest setting, recommended ironing temperature 200°C.
■ Briefly iron the fabric to ensure that it is completely smooth, then place the transfer paper onto it with the printed image facing downwards.
a. Do not use the steam function.
b. Make sure that the heat is evenly transferred over the entire area.
c. Iron the transfer paper, applying as much pressure as possible.
d. When moving the iron, less pressure should be given.
e. Don’t forget the corners and edges.

■ Continue ironing until you have completely traced the sides of the image. This entire process should take about 60-70 seconds for an 8”x 10” image surface. Follow-up by ironing the whole image quickly, heating all of the transfer paper again for approximately 10-13 seconds.
■ Peel the back paper starting at the corner after the ironing process.
7.Heat press transferring
■ Setting heat press machine 185°C for 15~25 seconds using moderate or high pressure. the press should snap closed firmly.
■ Briefly press the fabric 185°C for 5 seconds to ensure that it is completely smooth.
■ Place the transfer paper onto it with the printed image facing downwards.
■ Press machine 185°C for 15~25 seconds.
■ Peel the back paper starting at the corner, you can get matte finished with hot and glossy finished with cold.
8.Washing Instructions:
Wash inside out in COLD WATER. DO NOT USE BLEACH. Place into the dryer or do hang to dry immediately. Please do not stretch the image transferred or the T-shirt as this may cause cracking to occur, If cracking or wrinkling does occur, please place a sheet of greasy proof paper over the transfer and heat press or iron for a few seconds making sure to press firmly over the entire transfer again. Please remember to not iron directly on the image surface.
9.Finishing Recommendations
Material Handling & Storage: conditions of 35-65% Relative Humidity and at a temperature of 10-30°C.
Storage of open packages: When an open packages of media is not being used remove the roll or sheets from the printer cover the roll or sheets with a plastic bag to protect it from contaminants, if you are storing it on end, use an end plug and tape down the edge to prevent damage to the edge of the roll do not lay sharp or heavy objects on unprotected rolls and do not stack them.


